Wednesday, August 28, 2024

Transparency Quilting/Another Detour/Quilt of Valor

Ditch quiting
Goal number one on my August list was to begin quilting Transparency. I sure thought that I'd begin the month with this project; but, there were other to-dos on the list that snuck in ahead of it! Let's see how far I get before the month ends!

Block for comfort quilt
I did have another detour. Friday, I received an e-mail regarding the husband of a guild member. He was diagnosed with cancer and a comfort quilt was in the making. . .would I contribute a block? Of course! Colors were chosen based on their Scottish heritage AND fabrics were to be sourced sustainably. . .which means no purchasing! All of these fabrics were scraps from previous projects so no yardage was used!

I used the templates to piece the block which came as an attachment with the e-mail. There was a paper piecing  and an appliqué option. The block finishes at 12 inches.

Adding the blue log cabins
Honestly, making progress on the Quilt of Valor was easier than I expected. I'd work on a step and then I'd move on to the next step because I wanted to see how my fabrics were going to look stitched into the next set of blocks!! 

Blue star
I finished the blue log cabins and moved on to stitching the blue stars. There were only four to stitch so these stitched quickly!

Blue stars added
As soon as I had two finished, I had to see what the stars added to the other blocks. I liked how these looked with the log cabins!
More red log cabins
It was down to a few more red log cabin blocks. I cut my fabrics and began stitching. Before long, all the blocks were stitched and added to the design wall.

Red star
Then I needed to stitch the red stars which were only two so those stitched even faster than the blue stars! I added those to the design wall and enjoyed the view.
All block complete
Next month, I'll stitch these into a top! This pattern is available for purchase on Alycia's Esty store. All the fabrics are from my stash. Mostly, I used scraps which was even better! Linking to Carol at To Do Tuesday and Alycia at Finished or Not Friday.


Sunday, August 25, 2024

Rita's Temperature Quilt--post 2

Testing the size of the triangle to square
the end of the braid
When I first reviewed this project, I thought that I would draft a house for the filler blocks for February. I also planned to draft the triangle to be able to square the end of the braid. 

I decided I'd make a house as the label for the quilt and use filler rectangles for February. It was time to tackle the size of the triangles to square the end of the block.

Using freezer paper and an iron, I pressed the end of the block onto the freezer paper. Once the paper was cool; I pulled out a ruler and marked the outer edge. Next, I cut out the pattern and measured it. It ended up being a three inch finished triangle. It was oversized so I could trim it to size.

I cut inch and a half strips of a neutral fabric and stitched three together. I connected the rows together with these strips. I did have a bit of a hiccup. I needed to trim the strips a quarter of an inch more on each side than I did for the first four rows. 

Finished center
When I could see the end of the seam outside of the neutral strip was when I realized my error. I laughed at myself. How long have I been sewing???? The answer is close to sixty years so I should have figured it out much sooner!

Once I stitched the rows together, it was time to decide where to place the legend. Rita had pieced the fabrics together. She had changed fabrics every two degrees for a great many of the temperatures. She didn't have a label for a couple of the upper temperature fabrics so I made a range for those.

 I had to decide if the legend would run vertically or horizontally. I decided horizontally made the most sense. I'm planning to hand embroider the temperatures below the fabric swatch. Likely I will do this in October while I'm recovering from knee replacement surgery.

I also auditioned fabric for the borders. I'll stick with the same fabric I used for the sashing. The print fabric may become the binding. Working on this project was goal number nine on my August list. It won't be long before it is a top!

Linking to Frédérique at Patchwork and Quilts and Cynthia at Oh Scrap.

Wednesday, August 21, 2024

Quilt of Valor--#3

Fabrics cut for the red log cabins
Goal number four on my August list, was to begin piecing the quilt for the book, "The Women" by Kristen Hannah. I decided that I would make a quilt of valor for my project. I had a patriotic jelly roll in the stash. I had a pattern that I wanted to try. I carefully set the jelly roll aside. Unfortunately, I have no clue as to where I put it so it was on to another plan.

Note: I've been slowly cleaning the studio space and the jelly roll has yet to surface!:

Clue one in place on the design wall
This is Alycia's Spaghetti Like Stars mystery pattern that she shared as a quilt along last winter. You can find Alycia at Alycia Quilts. Her pattern is no longer available.

I began with cutting strips that were in my stash to make the blocks for clue number
one. I didn't try to group the fabrics. Instead, I opted to cut the most pieces from a strip that I could!

Blue log cabin block fabrics cut
Once I had the pieces cut, I arranged them so I could chain sew the pieces together. I've been working a lot of hours this past week so my stitching time has been limited. If I had a few minutes, I'd stitch a seam or two. Over the course of the week, I finished clue 1!

I arranged the blocks on the design wall. I liked what I saw. I'm always impressed with how a variety of scraps make such interesting quilts!

Instead of piecing clue number two next, I started cutting the fabrics for clue number three. I decided that I'd rather piece more log cabins than work on the star blocks.

While I haven't cut quite all the pieces that are needed for this step, I've cut enough to stitch a few blocks together to see how the blue blocks relate to the red blocks! I took advantage of a making a part of a Zoom sew day with my Mavens group on Monday to select leftover strips from Indigo Way that work for this project.

First sections ready to stitch
My friend, Rosanne, gave me some of her patriotic fabrics. I need to prewash it which may happen tomorrow. In the meantime, if I have a few minutes, I will stitch a few seams of the blue blocks. 

I plan to use some of Rosanne's gifted star prints in the star blocks. Rosanne also gifted me a panel so I've the start of at least two more Quilt of Valor projects! I do plan to make them and gift them. For now, I'm going to concentrate of finishing Indigo Way and finishing this top!

Linking to Carol at To Do Tuesday and Alycia at Finished or Not Friday.


Sunday, August 18, 2024

Detour

The palette
When I checked my phone for messages after work on Friday, I learned one of the gals I've sewn with for years shared she was diagnosed with lung cancer. I was so sad. She is a vibrant woman who has followed her extended family through all their activities. She is one with it lady. 

Laying out the pieces
Another quilter organized a block drive. Of course, I joined in and contributed two blocks to the drive. My neighbor finished her blocks. She took them to the organizer yesterday. She consented to take my blocks with her which saved me a delivery trip. We hope that the finished quilt will bring comfort to our friend.

Oops too small
When I read through the directions, I noted that the size of the corner squares didn't match up to the size of the HSTs so I sized the pieces to the corner squares. My block came out too small. I went back to the e-mail because I figured I had read something in error. There was another e-mail which contained the corrections to the first e-mail.

Remade blocks are on the bottom
The corner squares should have measured to 3 1/2 rather than 2 1/2. I recut the fabric and started over. I do think the smaller blocks are great! I added them to my orphan pile. I was bummed because I had a 2 1/2 inch strip of fabric that had words that said you are loved just the way you are. I didn't have it in a 3 1/2 inch strip so I used a white on white fabric for the background instead.

The final layout
Gertie, would like me to keep making these blocks; but, I told her that we needed to get back to the "list." She immediately had me pull some fabric for the quilt I'm making which will be inspired by the book,  "The Women." Let's see what progress happens on that project.

Linking to Alycia at Finished or Not Friday, Frédérique at Patchwork and Quilting and Cynthia at Oh Scrap.


Wednesday, August 14, 2024

Guild Challenge Blocks--Working Via A Committee


One block
Goal number seven on my August list was to work on the challenge blocks. I didn't think that I would be able to share this project because generally the project is kept under wraps until it is revealed the month after the guild quilt show. 

Such a variety in the blocks
I decided that I could share the blocks and some of the progress that we made last Sunday when five committee members gathered to make a start on assembling the blocks into a quilt.

Instruments, treble clefs and piano keys
Guild members made these blocks for the block contest last year. The theme of the contest was music and the contest was titled "As Noted." 

An arrangement of notes
Participants were to make a block that represented music. If notes and/or words were used, the notes and words should be represented in black. Background fabric should be cream. Finished size of the block could be six inches by six inches, or nine inches by nine inches or six inches by twelve inches. Any other colors could be used. No hard embellishments, machine embroidery was okay.

Chopin made an appearance
More than sixty blocks were submitted. On one block, the maker wrote, "Swift Power." So even Taylor will be part of this quilt! Quilt show attendees voted on their favorite block.

The bird in this group was the contest winner
A few blocks contained words that were lyrics. The creativity of our members is always amazing. 

Some of the words in the blocks
Of course, the challenge was figuring out a way to put all of the blocks together into a quilt! When we met to determine the challenge, there was a consensus among the committee members to turn the blocks into a quilt that had a modern feel. Going in the modern direction would challenge all of us!

After the block contest, we had an e-mail conversation about possible setting options. When the committee members ran into one another, they had conversations about the blocks. I drew four thumbnail sketches and emailed the sketches to the group. The blocks provided the inspiration for my sketches.

More notes and piano key blocks
The finished quilt will become the guild opportunity quilt for the year 2025. A committee will be showing it a various events around our community and selling tickets. The proceeds of the  ticket sales will go to a charity that the membership selected via a vote.

Stitching strips
Last Sunday was the first time that I saw the blocks in person. The blocks shared in this blog are not all of the the blocks. Even with the partial representation here, it is easy to see the variations of the blocks! We chose to group blocks into sets of four. Were the parameters of the contest followed? Nope! Cream fabric wasn't used and the blocks are a variety of sizes. We plan to make it all work. . .somehow!

We spent about four hours determining a design, drawing a huge musical motif and stitching strip sets. The musical design we drew is planned for the center of the quilt.

Terry(me) sewing strip sets
One person ironed, two people sewed and two people cut strips and strip sub sets. With that many hands working, we made great progress.
Su at the pressing station

Sharron and Linda H. cut strips. They also pressed seams and fabric for cutting. 

Checking the strip sets
At our third hour of being together, we decided that we had enough strips cut and enough strip sets made and subcut so we could "see" if our design idea was going to work.

Linda H. auditioning strip sets and noting which
blocks were selected as quartets.
Next we laid out some of the sashing to audition our idea. We liked what we saw so Terry and Linda P  stitched the rows together.

Linda P with her first quadrant of blocks
While we embraced the improv technique, it still took us time to stitch a quadrant of four blocks together. With Linda H.'s help, Terry K pieced a quadrant too! Su shared it for the camera.

Su held up a second quadrant of blocks.
Terry took home the extra music fabric since she volunteered to piece a back for this projects. We all felt like we made great progress. Fingers crossed we have a successful sew day next week too! 

You've had a sneak peak at the blocks and met the committee members.  The members all have good ideas, take on tasks without being asked and are kind to each other. It's a pleasure to be part of the "play" for this project! Let's see if we are able to construct a modern quilt out of these blocks! Likely, you won't get more peaks; but, I will share the back when I get it pieced!


Sunday, August 11, 2024

Piecing the Back for Temperature Quilt 2022-2023

Building the legend
After I had pressed the top of my English Paper Pieced temperature quilt, I was ready to piece the back. All along, my plan was to use the colorful batik that I had used to frame the outer edge. I thought I'd have at least enough to cover half of the back. I was incorrect! Then I remembered that I had decided to stitch blocks for two years so I used more of that colorful batik than I had planned when I purchased it!

Auditioning the fabrics for placement
Not only was the colorful batik short; but I also remembered I had planned to piece a legend to place in the back. Suddenly a quick pieced back turned into a project! First, I pulled other batik fabrics from my stash. I had a wonderful red fabric with a beautiful gold border. I decided that I would use the border as my sleeve. I cut and made the sleeve. I had a small chunk of the border left.

Adding filler strips of the pumpkin batik
Next, I gathered four batik fat quarters that have lived years in my stash that sort of went with the colorful batik. I was getting closer to enough fabric; but, I was still short! Back to my stash, I went. I searched. I came up with a bit of golden pumpkin yardage that I thought would work.

Finished back
I began squaring the fat quarters and stitching them together. Then I stitched the legend together. I decided that I would hand embroider the numbers using two strands of black embroidery thread and incorporating the backstitch. This took some time; but the results were good. I added some purple to make the strip longer. Also, the binding will be purple so I needed a little purple somewhere in this back! (At least, that was what Gertie, my inner squirrel, was telling me!)

Then, I sewed the smaller pieces to larger pieces. I needed to add a strip to the fat quarters and I needed to add a strip between the colorful batik and the red batik. I still didn't quite have enough width so I cut the leftover sleeve fabric in half and used a trimmed strip from one of fat quarters to make the chunk long enough. I stitched those pieces together. I used the pumpkin batik yardage as filler chunks more than I thought that I would. In the end, it worked!  

This is the top
Next month, I'll plan to layer and pin baste this project! Documenting this process was goal number eight on my August list. Linking to Alycia at Finished or Not Friday; Frédérique at Patchwork and Quilting and Cynthia at Oh Scrap!

Wednesday, August 7, 2024

Orange Selvage Squares for the Rainbow Scrap Challenge

Orange selvages
Goal number five on my August list was to make the squares in the color for the Rainbow Scrap Challenge this month. Angela chose orange, so I pulled out my orange selvages. I didn't have as many as I thought that I did! I contemplated putting out an S.O.S. to you; but, in the end, I was able to construct four sets of four squares. I did use the unprinted selvage edge to be able to create enough fabric for the squares.

More selvages--note the unprinted selvage
A question from Anne Marie of the blog, Stories from the Sewing Room, was how wide I cut the selvages.  I cut at least a half inch into the fabric and as wide as an inch. Some selvages, which were given to me, were cut with a quarter of an inch into the fabric. These selvages ,when put into a project, won't show the print of the fabric. There are some projects where none of the print shows so it isn't "wrong" to cut solvates where none of the print shows. You can see in the photos of the selvages, how the printed space of the selvages differs. Some selvages sport a narrow band, while other selvages sport a wide band. Thanks, Anne Marie for the question!

Orientation of the squares
Melisa of Pinker N Punkin Quilting and Stitching and Jane from Australia asked why I glue the selvages. I use glue to tame the selvage edge from crawling. I'm not using a stabilizer for this project which would help the edge from slipping. A leave in stabilizer would add bulk to the project which I didn't want. I could have used newsprint and then removed the paper; but, I didn't want to go to that trouble either! Also, there have been a few instances where I didn't like the arrangement. It was easy to gently lift the edge of the selvage to remove it, re-glue and place it in a different arrangement! I use tiny drops of Elmer's School Glue. This is a washable glue and it works great!

For set of orange selvage squares
Next year, I plan to figure out a background fabric and sew the squares into blocks. I'll have four blocks of each color. Linking to Angela at So Scrappy.


Sunday, August 4, 2024

July Recap and August Goals


Pressing the back of the 2022-2023 
Temperature Quilt
My July goals were:

✔1. Complete the June embroidery software lesson. Maybe stitch out the January lessons.
✔2. Press the top of the 2022-2023 temperature quilt.
✔3. Make the back for the 2023 temperature quilt.
✔4. Document The Farm Quilt finish.
✔5. Process The Farm Quilt scraps.
✔6. Work on the border for Indigo Way.
✔7. Keep up on the 2024 Temperature quilt.
✔8. Figure out the filler blocks, sashing and binding for Rita's temperature quilt. Purchase fabric if needed.
✔9. Stitch selvage squares in the Rainbow Scrap Challenge color of the month--which is aqua.
✔10. Document the recipes I've been making from a sourdough cookbook.
✔11. Update my knee surgery progress as well as my cataract surgeries.
✔12. Finish the improv piece I began in the Cindy Grisdela class which I'm calling "Play."
Making the legend for the 2022-2023 Temperature Quilt
✔13. Document the pieced back I made for the Transparency quilt.
✔14. Share the photos from the guild participants' Indigo Way.

✔15. Sew with a granddaughter should she be available.

This was a huge list, especially considering I worked a four day. I was also down with COVID for a full week followed by two weeks of serious fatigue and coughing. 

Gertie, my inner squirrel, helped me with the quilting filler for "Play." 

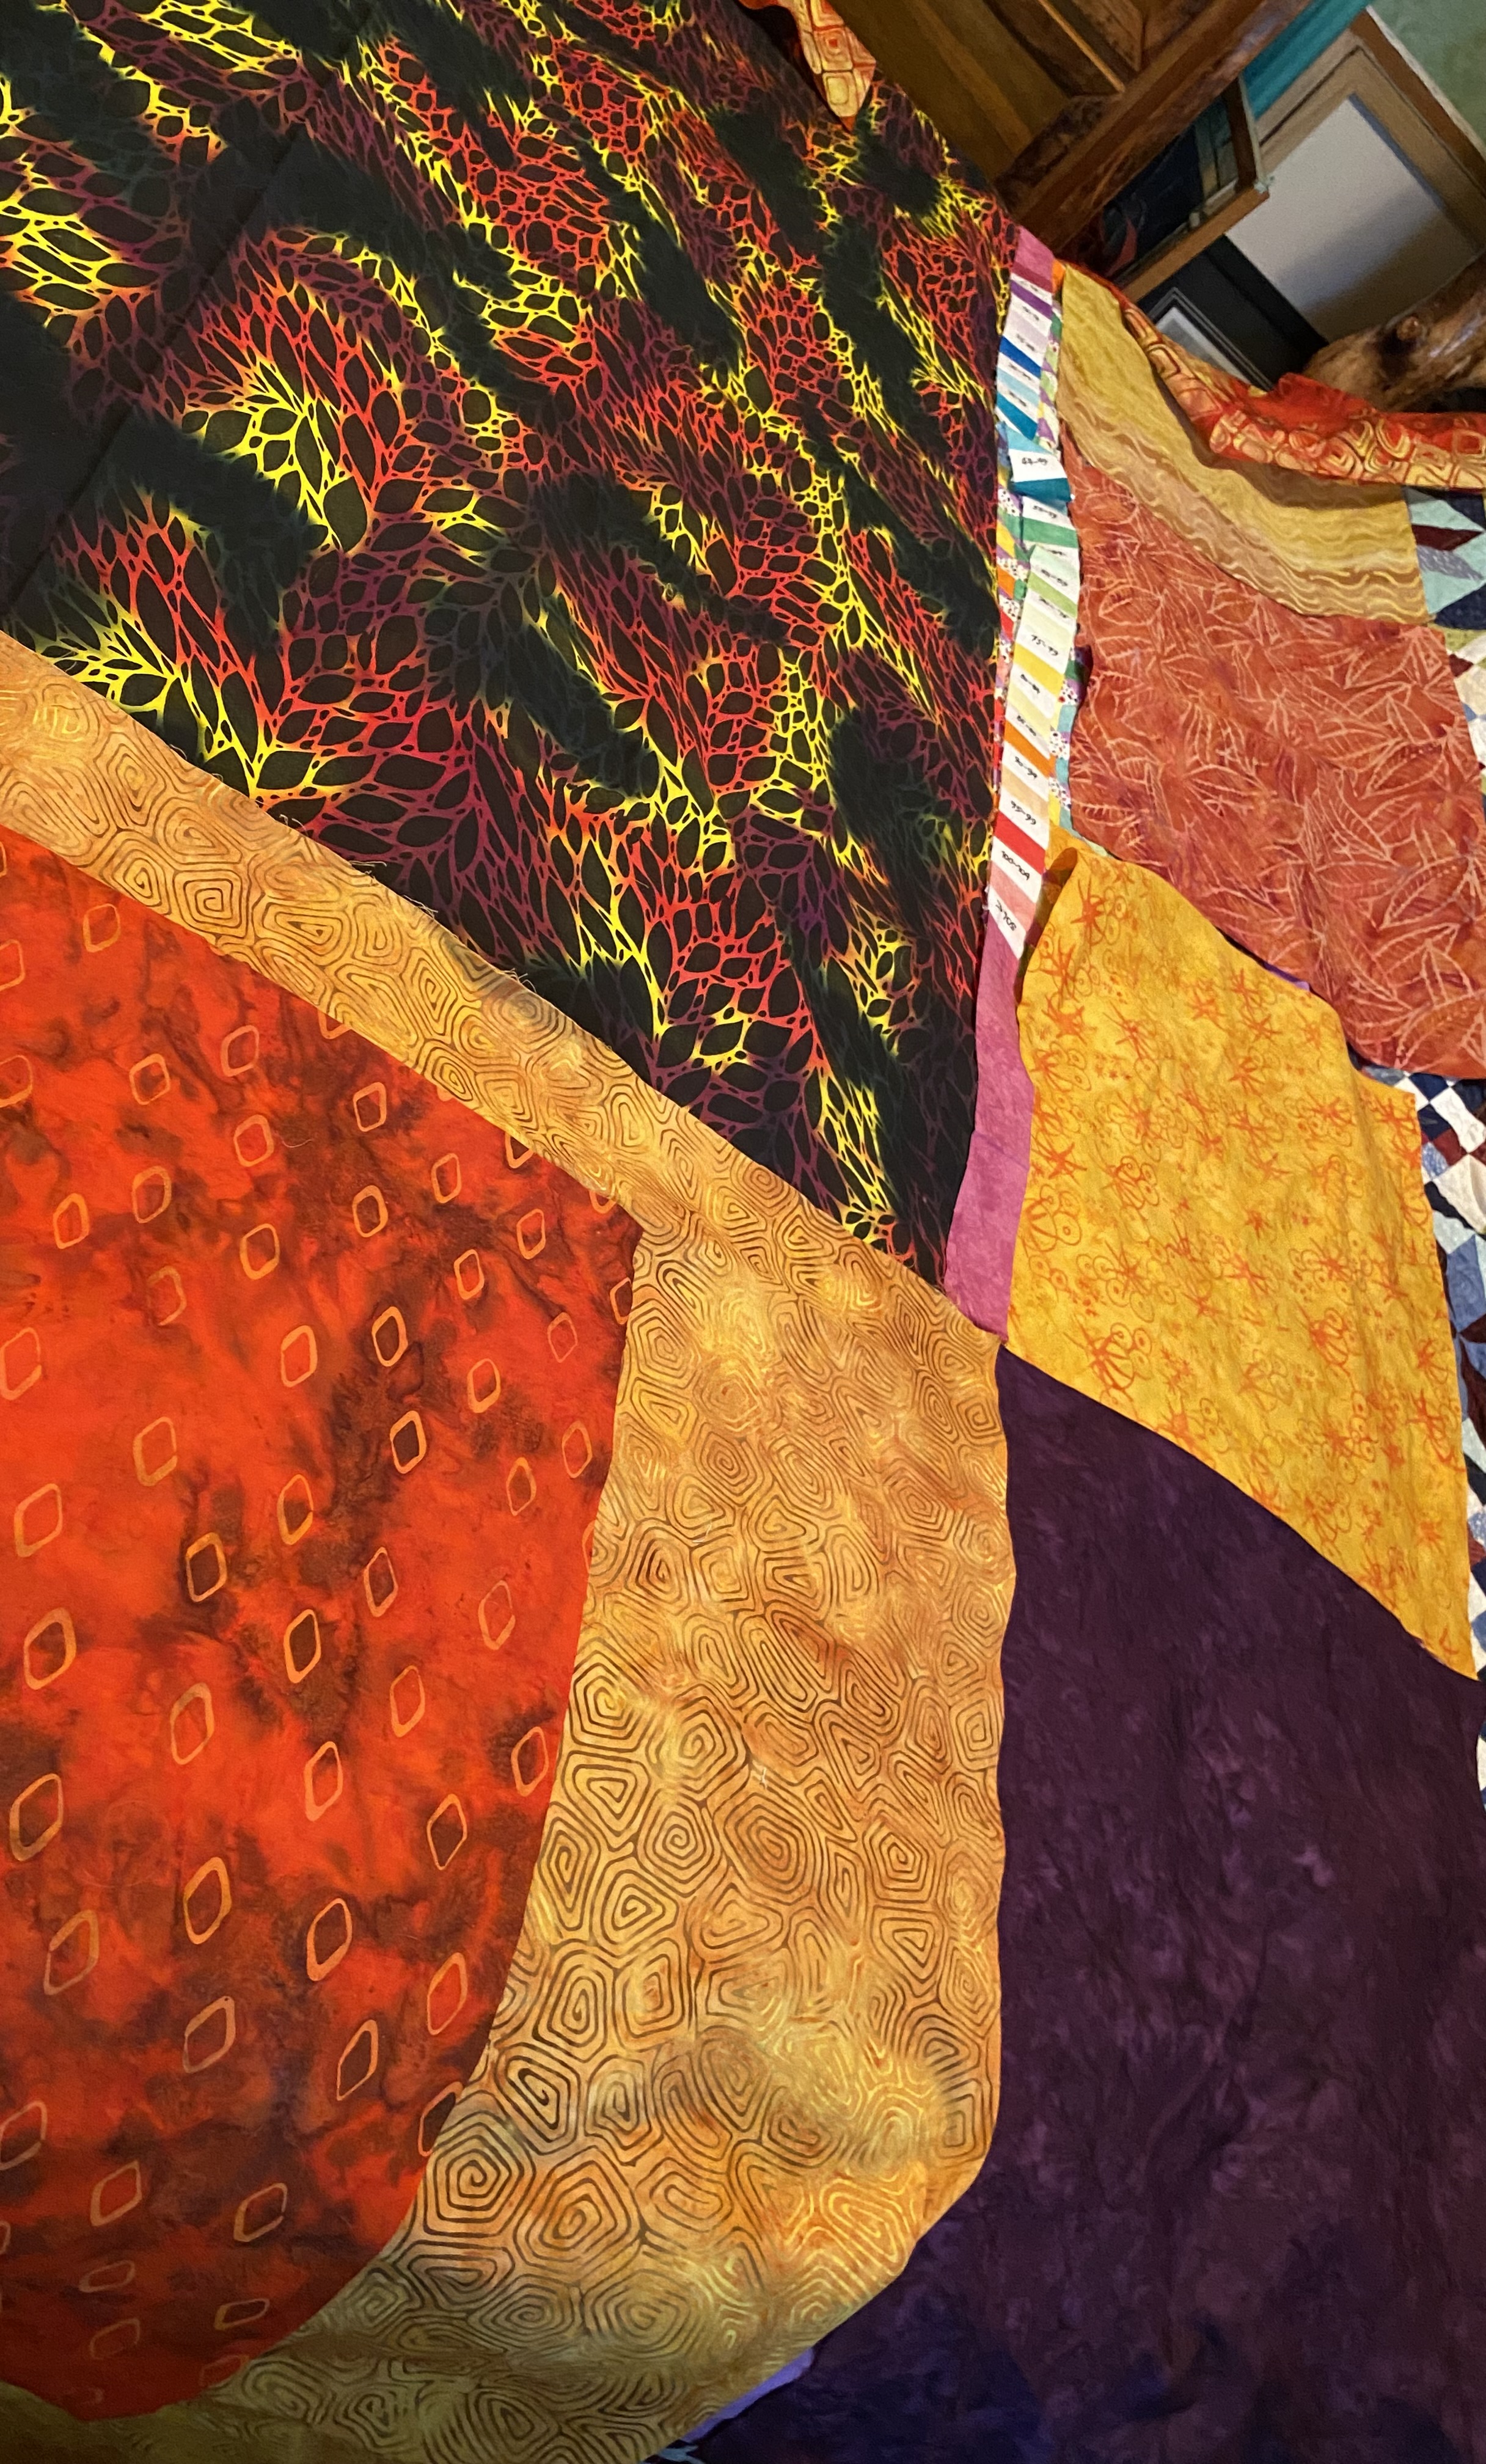
Auditioning back fabrics.
July 30, I had my second cataract surgery. I had the same surgeon; but a different anesthesiologist. With the eye block, I had ZERO pain. The surgery lasted about ten minutes and went well. 

July 31, I had an eye check with an ophthalmologist to ensure all was well. Next week, I'll have one more  eye check before being released to my optometrist.

I don't have much to report on the progress of  my knee other than I've decided to take care of the Achilles tendonitis that happened after I tore my quadriceps muscle. The heel pain keeps me walking "wonky" so my knee and quadriceps healing isn't progressing. J've made an appointment with a podiatrist.
Miss K quilting stitching in the ditch

As I pulled the fabric I had planned for the backing of the 2022-2023 Temperature Quilt, I found I didn't have near enough. I also remembered that I wanted to make a legend. I picked out four batik fat quarters that sort of coordinate with the main backing fabric. I made the legend and with the addition of couple other fabrics constructed the back. In August, I'll document the process.

Squaring the end of Rita's braid
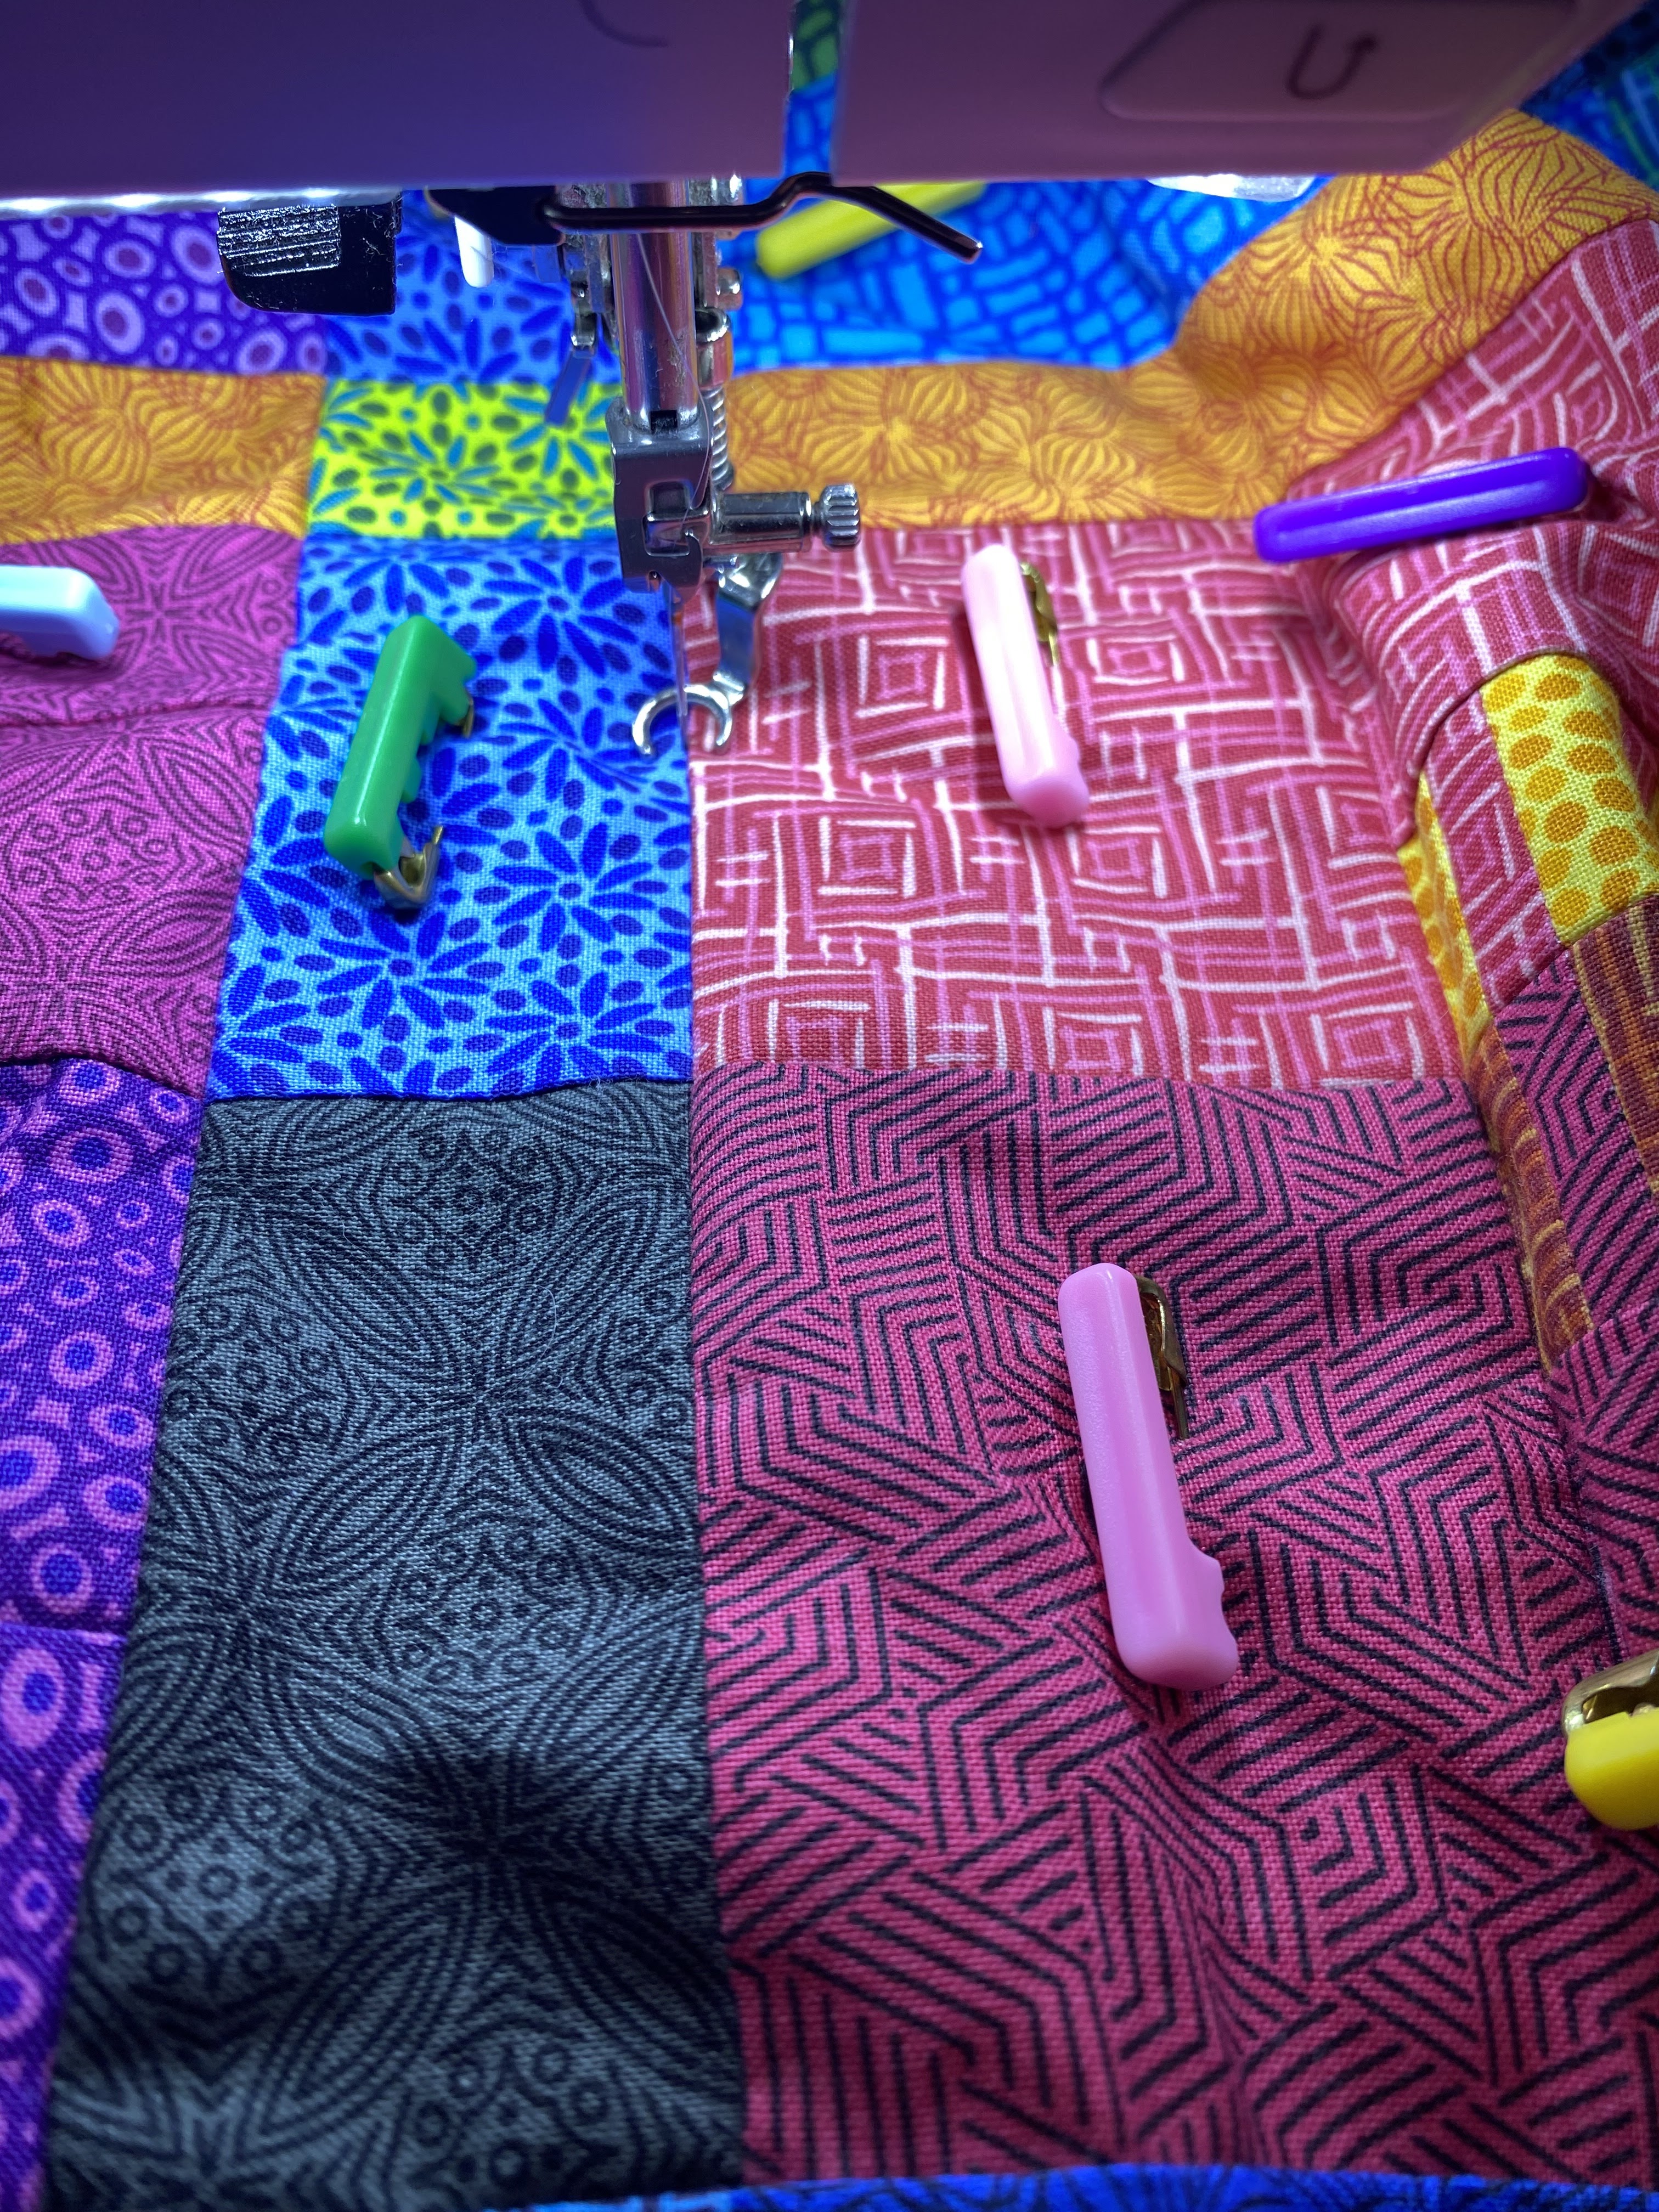
I even figured out how to square the end of Rita's braids for her temperature quilt. 

The absolute best part of the month was that my granddaughter came to stitch a day! It is always wonderful to spend time with a grandchild!

I was able to complete all of my tasks in July . . . WAHOOOOOoooooo!!!!!!

My August goals are:
1. Begin quilting Transparency.
2, Work on the August Embroidery Software class.
3. Continue keeping up with the blocks for the 2024 temperature quilt.
4. Begin the piecing for "The Women" book club quilt.
5. Stitch selvage squares in the Rainbow Scrap Challenge. The color for August is orange.
6. Sew with Miss K should she be available.
Seven months of recorded temperatures
7. Work on the challenge blocks. This will be a project that I can't share on this blog until there is a reveal in June 2025!
8. Document making the back of the 2022-2023
temperature quilt.
9. Work on Rita's temperature quilt. Now that I've figured out how to end the rows, it's time to make the top.

I'll be the teaching participants how to teach the Red Cross Water Safety programs this month and helping other participants complete their American Heart Basic Life Support skills tests so I'll have to be diligent with studio time!

Linking to Cynthia at Oh Scrap and Carol at To Do Tuesday!