Sunday, February 26, 2023

Nuggets--A Study In Floating Triangles

Waste triangles
Our Thread Tales book club read the book, "Where the Forest Meets the Stars" by Glendy Vanderah. I started reading the book at the end of August. After reading the first chapter of the book, I had an idea. After I finished the book, I was inspired enough to draw a pencil sketch of the translation of the words. Then I was rear ended in a car accident. To take that idea to a finished project would take more body ability than I had. 

For a few months, I didn't know if I would be able to make any project. I didn't sew for more than three months because sewing caused me too much shoulder, head, neck and back pain. Currently, on some days, I have less pain than other days. I'm thankful for those days. I posted here about my recovery progress. 

Triangle blocks
I have had success at machine piecing. I decided I would try to piece a project. The "what" was the issue. Last month, I joined the Portland Modern Quilt Guild. I also belong to a small group whose focus is modern. I have tons---well, not really TONS; but, I do have a lot---of scraps.

Finished top -- profile orientation
Could I make a project with scraps? What would it be? My eye drifted to the book cover and I thought Stars could be my inspiration. I perused Pinterest for ideas about stars. . .in a way that would translate to modern. I happened on Amy's Night Sky tutorial. I liked it. I have a lot of waste triangles, many are from my friend, Martha

Finished top -- landscape orientation
I laid out about 20 yellow triangles on my ironing surface. As I viewed the triangles, there wasn't enough of a value change so I added a variety of purple triangles. I liked the design much better with the color variety. In the book, purple is a favorite color of a couple of characters. Martha loved purple.

I had a half yard of a print on a black background. I decided that I would pair that background with a half yard of solid black fabric that I had on hand. I would see how many blocks I could create with those fabrics.

Although I could have stitched several more blocks, I didn't have enough fabric remaining to stitch another row of blocks. In the end, I stitched 30 blocks into a 20 inch by 28 inch top. It was a fun process. I played about four hours. I didn't plan the location of the background. 

I liked the orientation of the piece until I tried to use a piece of fabric from my stash for the backing. The fabric was a half yard of a bird print that I bought because I liked the print. 

Quilting pattern on the bird print backing  
Birds were part of the story line in the book. The print would be better featured if I turned the project a quarter turn. In the end, I liked the landscape orientation better! I did piece my back because I didn't have enough fabric for the length. I layered and pin basted the back, the 80/20 batting and the top.

Using black 50 weight Aurifil thread and my walking foot, I quilted straight lines one quarter inch apart. I did not quilt over the triangles so there was a lot of stopping and starting. I spent about 12 hours quilting this piece. 

Quilting was hard on my body. I will try to adjust the height of my chair to see if I have less neck and back pain. I took a break after every 30 to 45 minutes. I had considered matchstick quilting; but, quilting lines one eight inch apart which would likely take me a bunch more hours didn't sound like the best plan.

From my "precuts" which are scraps that I've cut into specific strip and square widths, I pulled a couple strips. I paired these with the remainder of the strips that I didn't use in the piecing process. I faced the quilt and hand stitched the facing to the back of the quilt. 

Label
I added the sleeve and the label. I do note a materials cost and a time estimate in making the project. If I were to have gone to a shop to purchase the supplies, I would have spent about $40. For this project, my actual out of pocket expense was zero dollars because I had all the supplies on hand. I started noting the supplying time information after I had a couple quilts appraised.  

Finished front
My first finish of the year was complete! I used about two yards of fabric in this project which brings the total yards of fabric used from stash to negative four and a quarter yards. After a few more small finishes, I'll be back to reducing my stash instead of adding to it!!

I exceeded goal number eight on my February list. I had only planned to work on this project; but, I finished it instead! This is a big win for me!!!

I named the project "Nuggets" because small clues were released throughout the story of how a barefoot little girl named Ursa from a land far far away arrived at the outdoor cooking fire of a bird researcher. Looking at the finished piece, reminded me of a photo a national news program flashed on the screen of a star constellation. The photo showed different colors of star light in the sky.

Because I've used scraps, I'm linking to Cynthia at Oh Scrap/Quilting Is More Fun Than Housework. Cynthia always inspires me with the quilts and projects she makes from scraps. Sundays, I enjoy her link up to see what other great projects people are creating. Please pour yourself a cuppa and head on over for lots of scrap inspiration!  


Wednesday, February 22, 2023

Flannel Strings--post 1 of 2

Some of the girl print selection

Last Thursday, I attended a virtual lecture "Sustainable Stashing: Living an Eco Friendly Life" by Carol Lyles Shaw. Little did I know that I've been working toward sustainable stashing! In general terms, sustainable stashing is about using what you have and buying with intention.

For at least the last five years, I've worked toward reducing my stash. In the beginning, I noted that as I created space, I more than filled it with new purchases. I began tracking how much fabric I used from my stash. 

My goal each year is to use a hundred yards. If I purchased fabric, I would track that as part of my total yardage used. The first year, I noted I purchased more than I used. Since then, I haven't always achieved a hundred yards, but, I am using more fabric than I am purchasing.

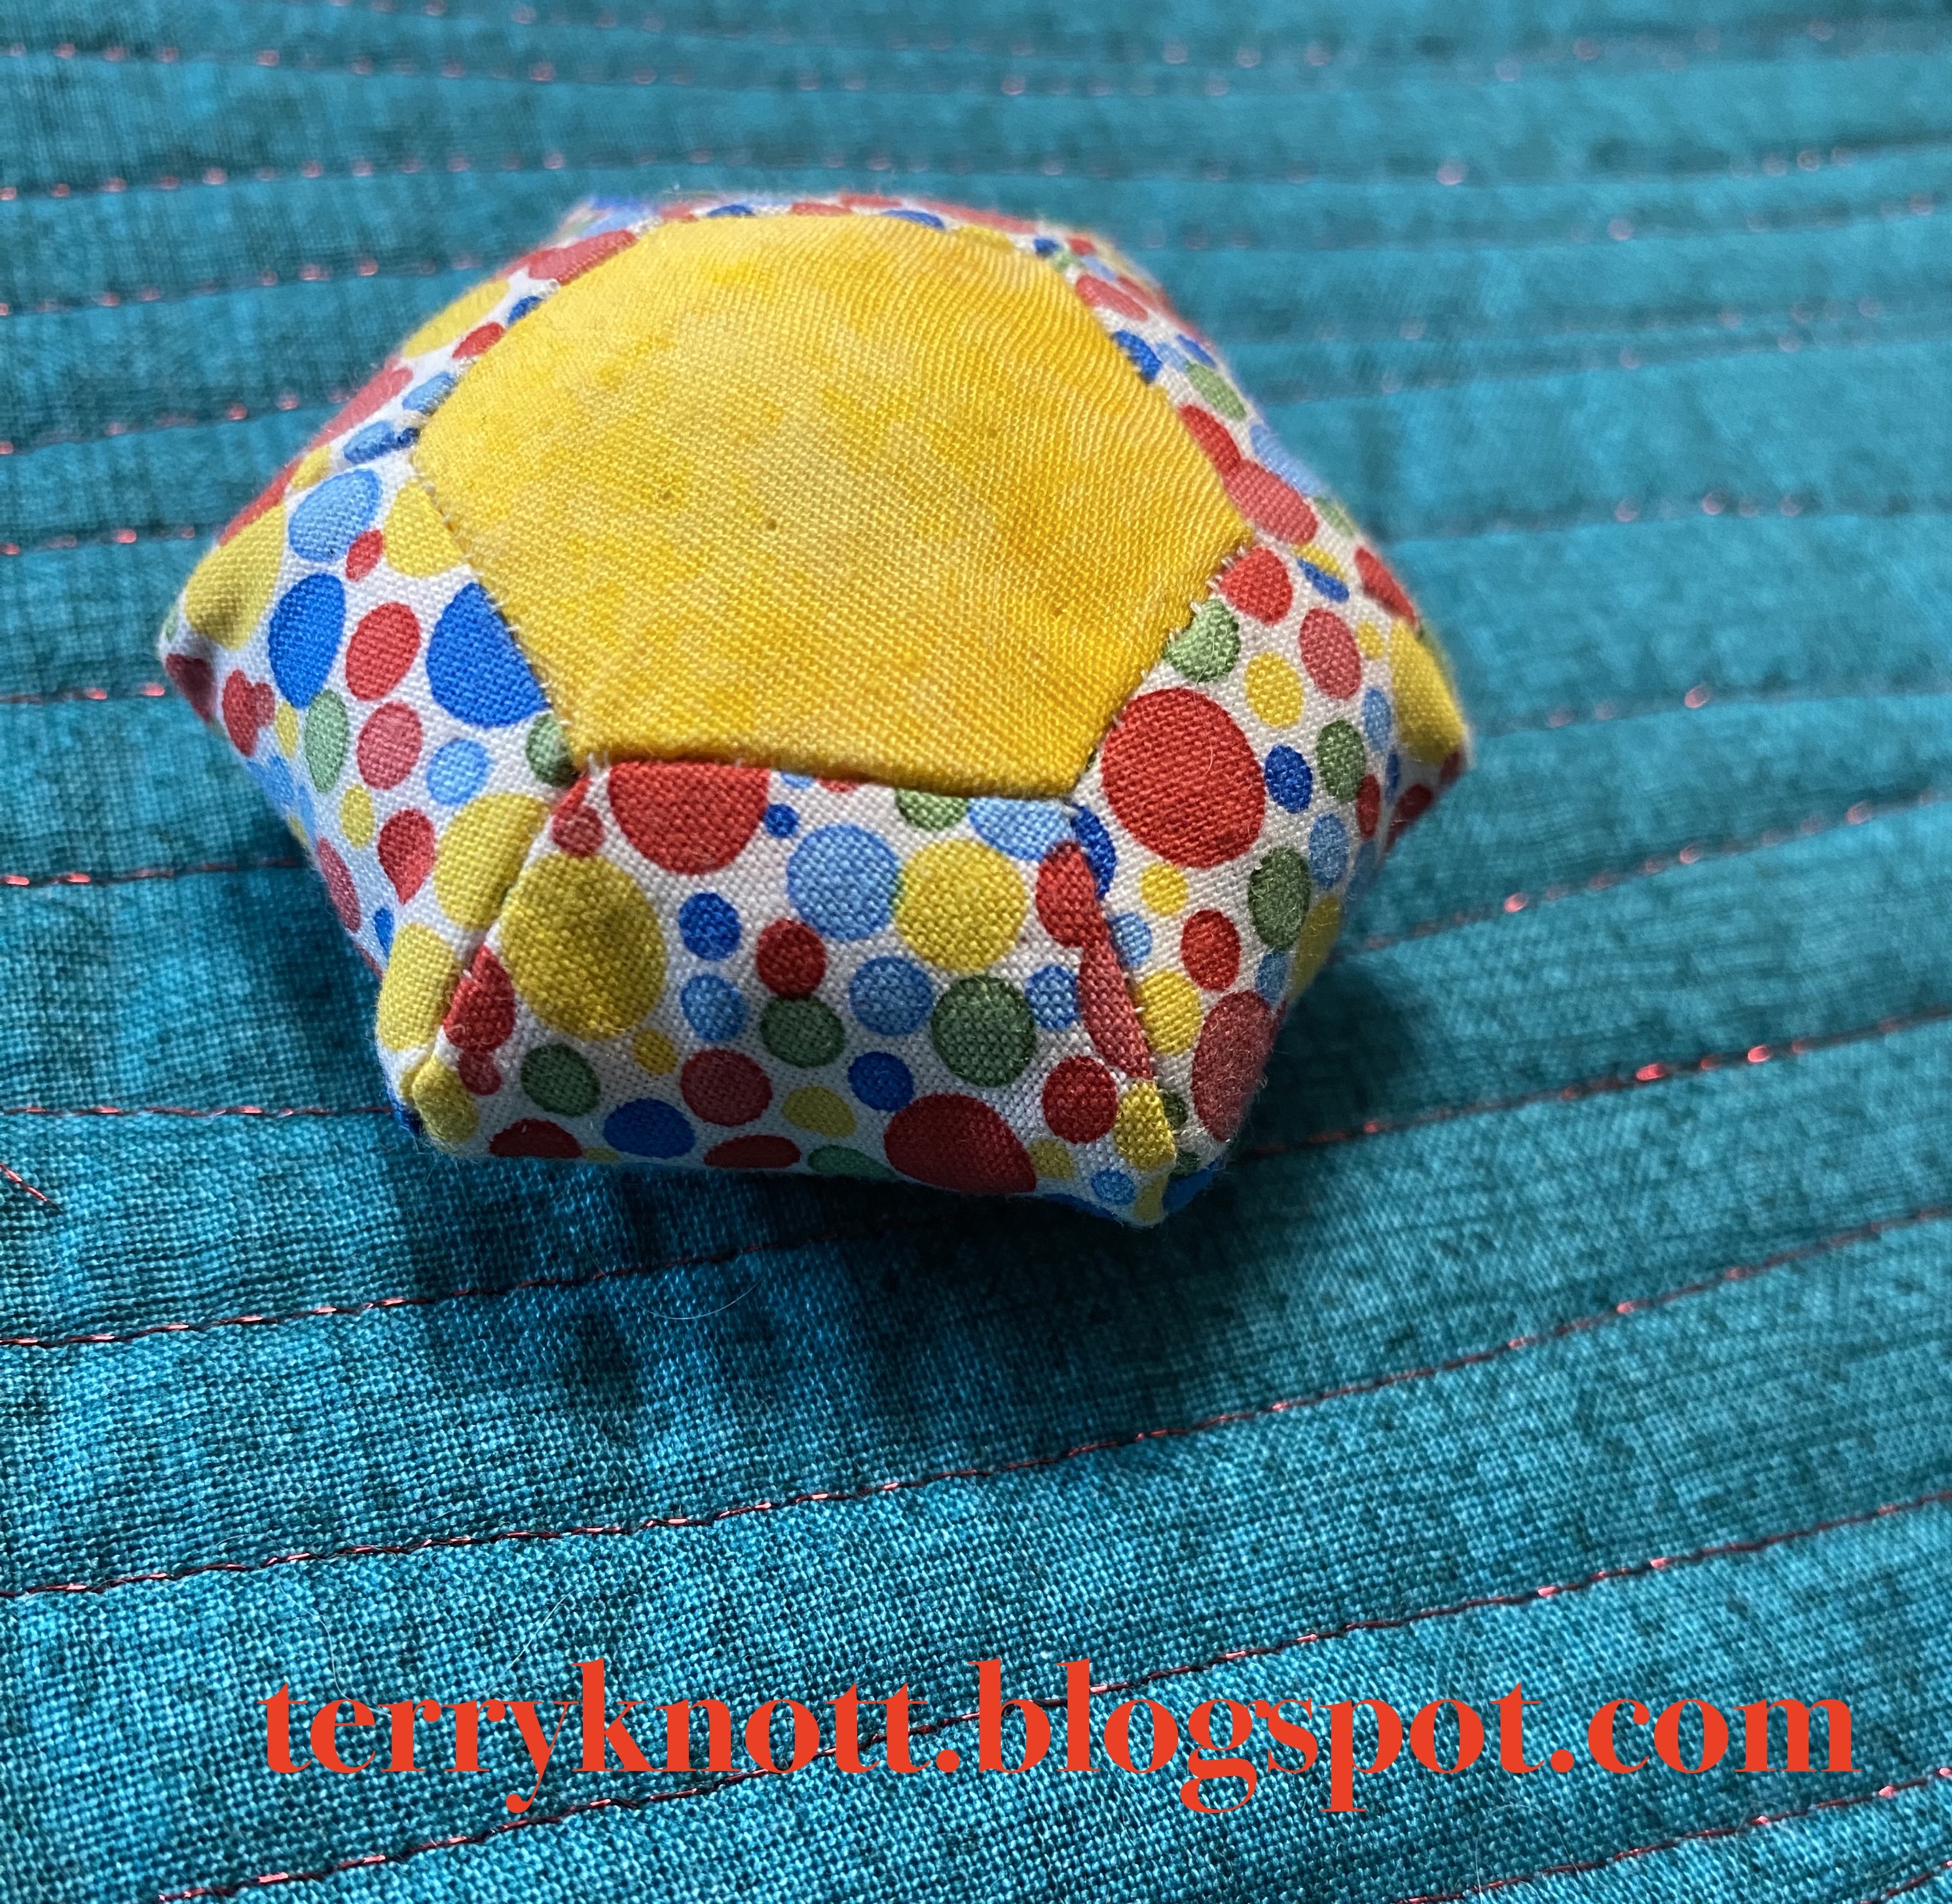
Some of the boy print selection
For the last three years, I've been purposely making projects from my scraps. This year, I've challenged myself to make my four book club projects from my scraps. 

For the last two years, I've been buying fabric with intention. Buying with intention means I need it for an immediate project rather than for a project unknown in the future. I have drooled over fabrics in the store; but, for the first time, I didn't bring them home with me just because they were "pretty!"

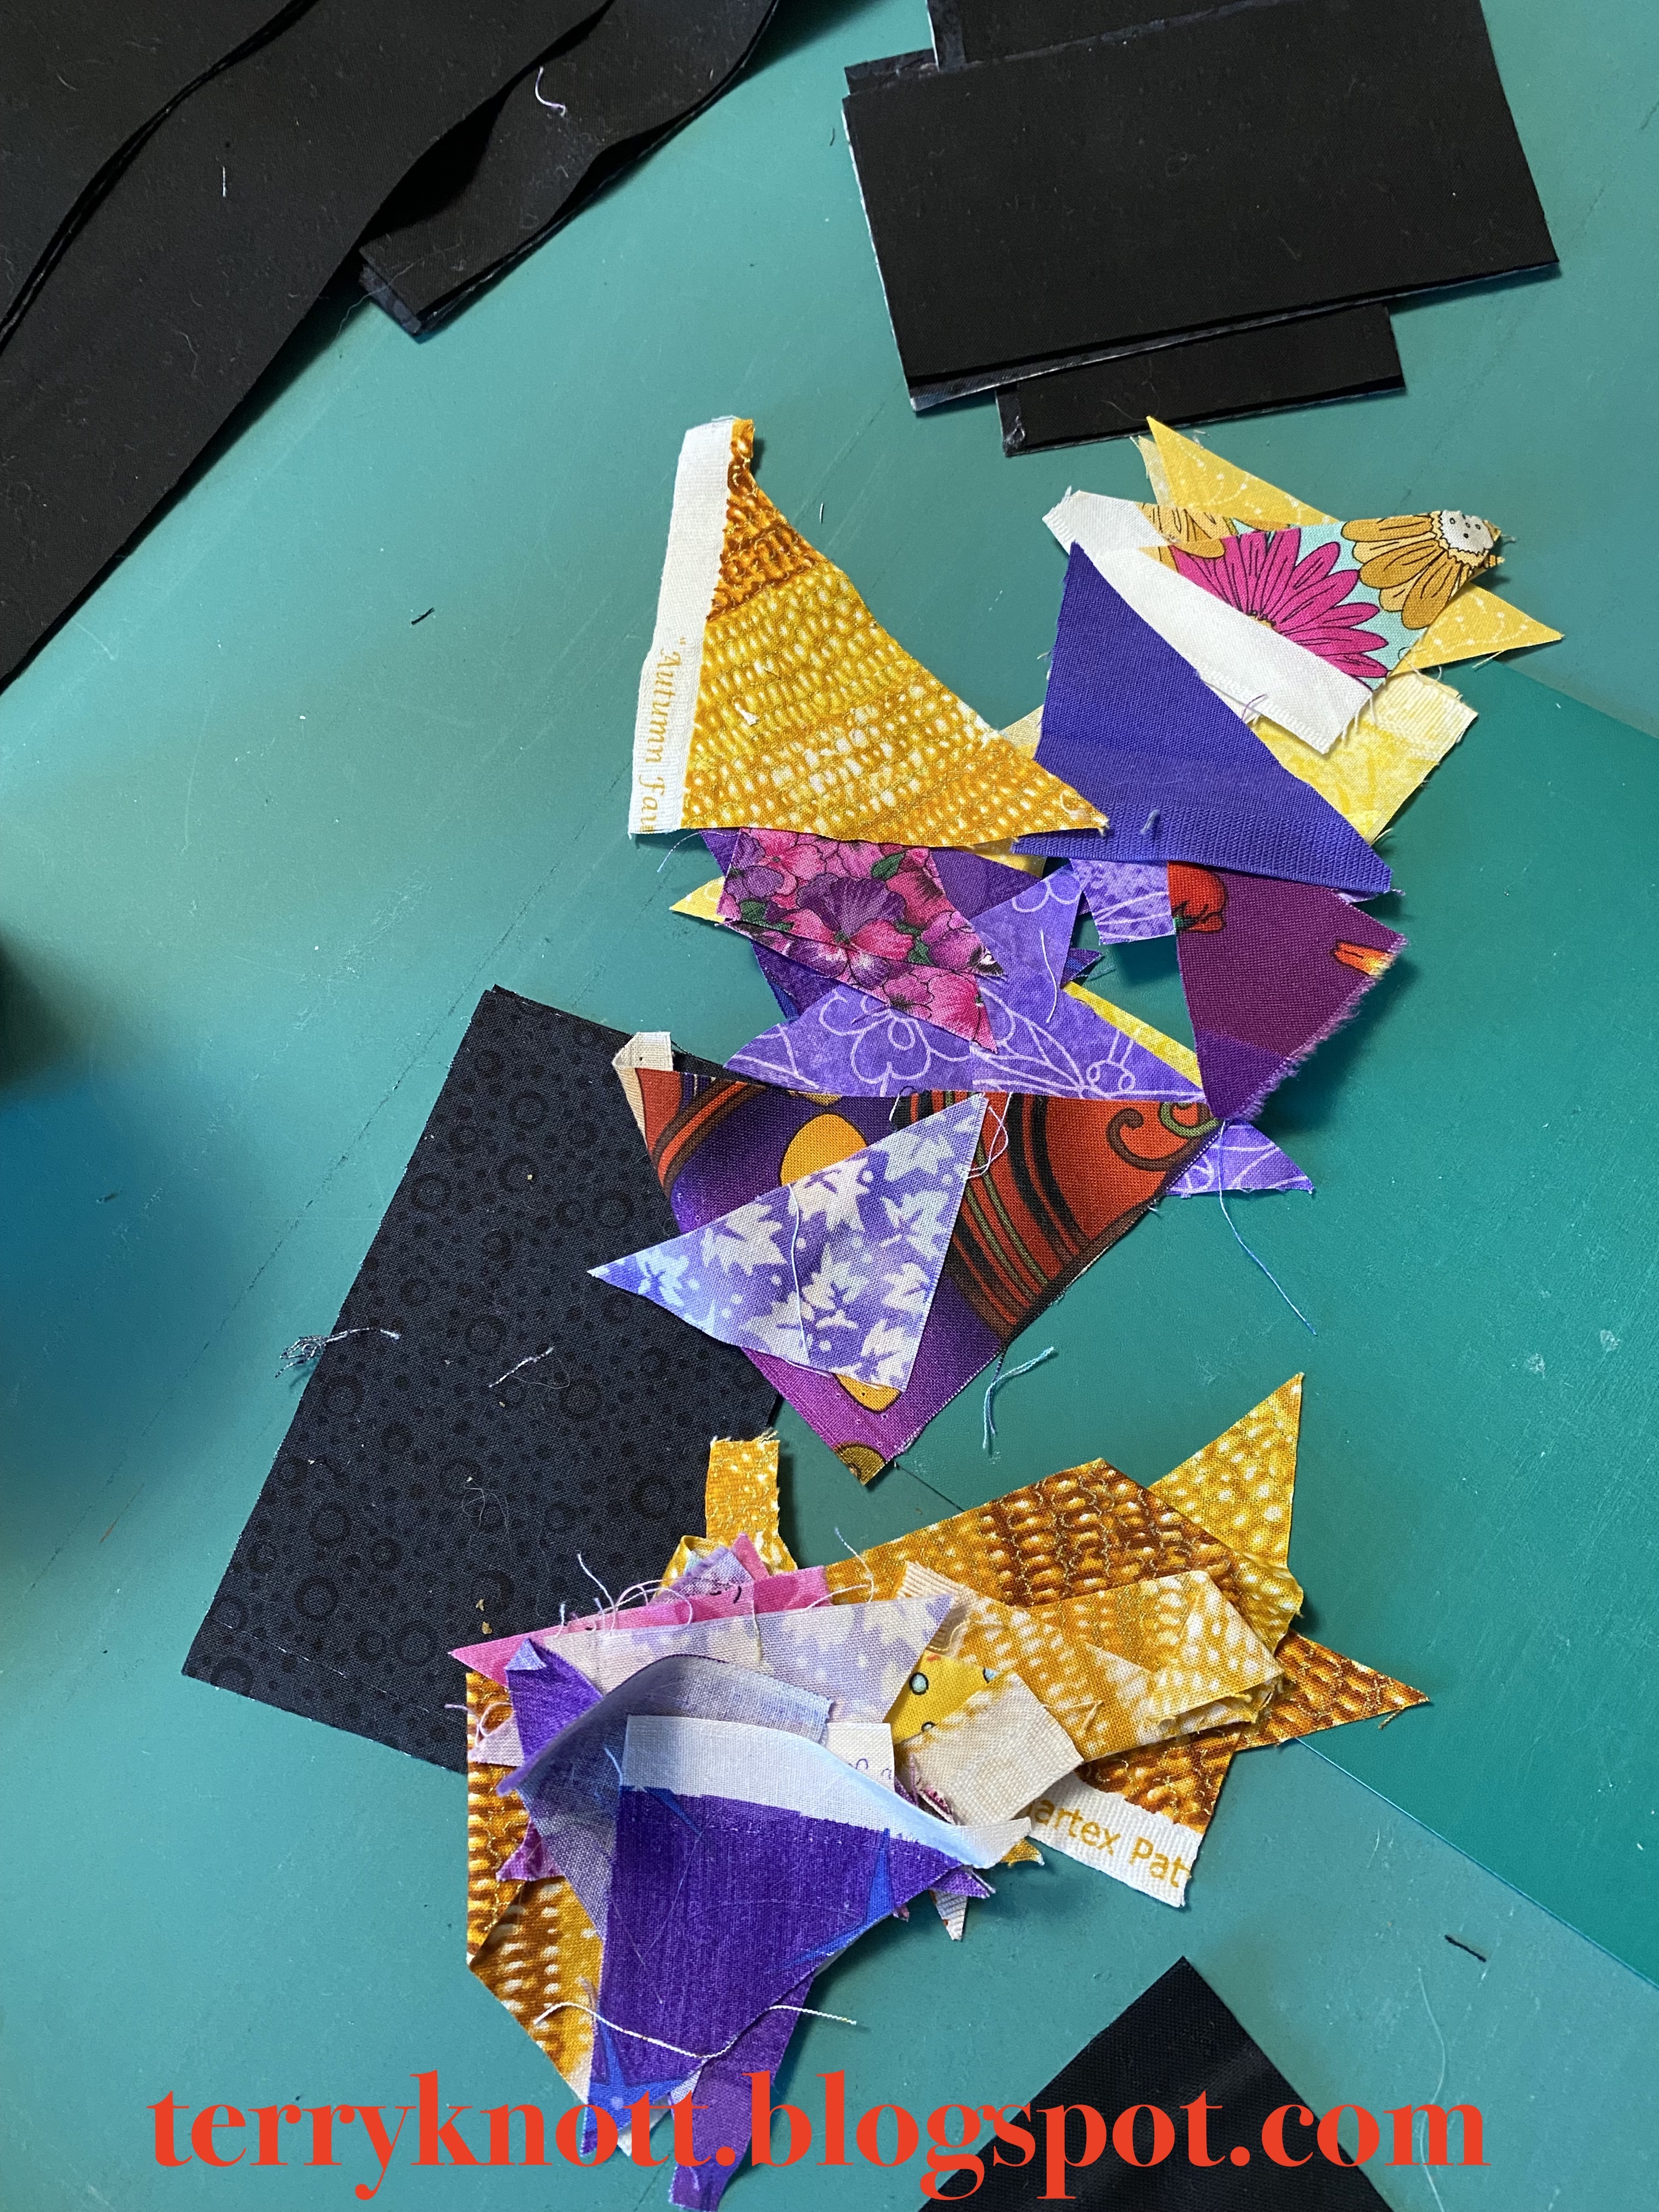
This year, I'm also planning to finish more small projects using scraps that I've crammed into bags. I have strings, strips, triangles, squares and rectangles squirreled away in containers that bulge. 

Beginning to piece the string strips
In terms of getting a handle on my stash, I'm still a long way away; but I will continue to work towards using what I have. I picked up on a few organizing and destashing tips in Carol's lecture as well.

The flannel scraps were unruly. It was time to do something with them! Goal number four on my February list was to string piece some of Martha's scraps.  

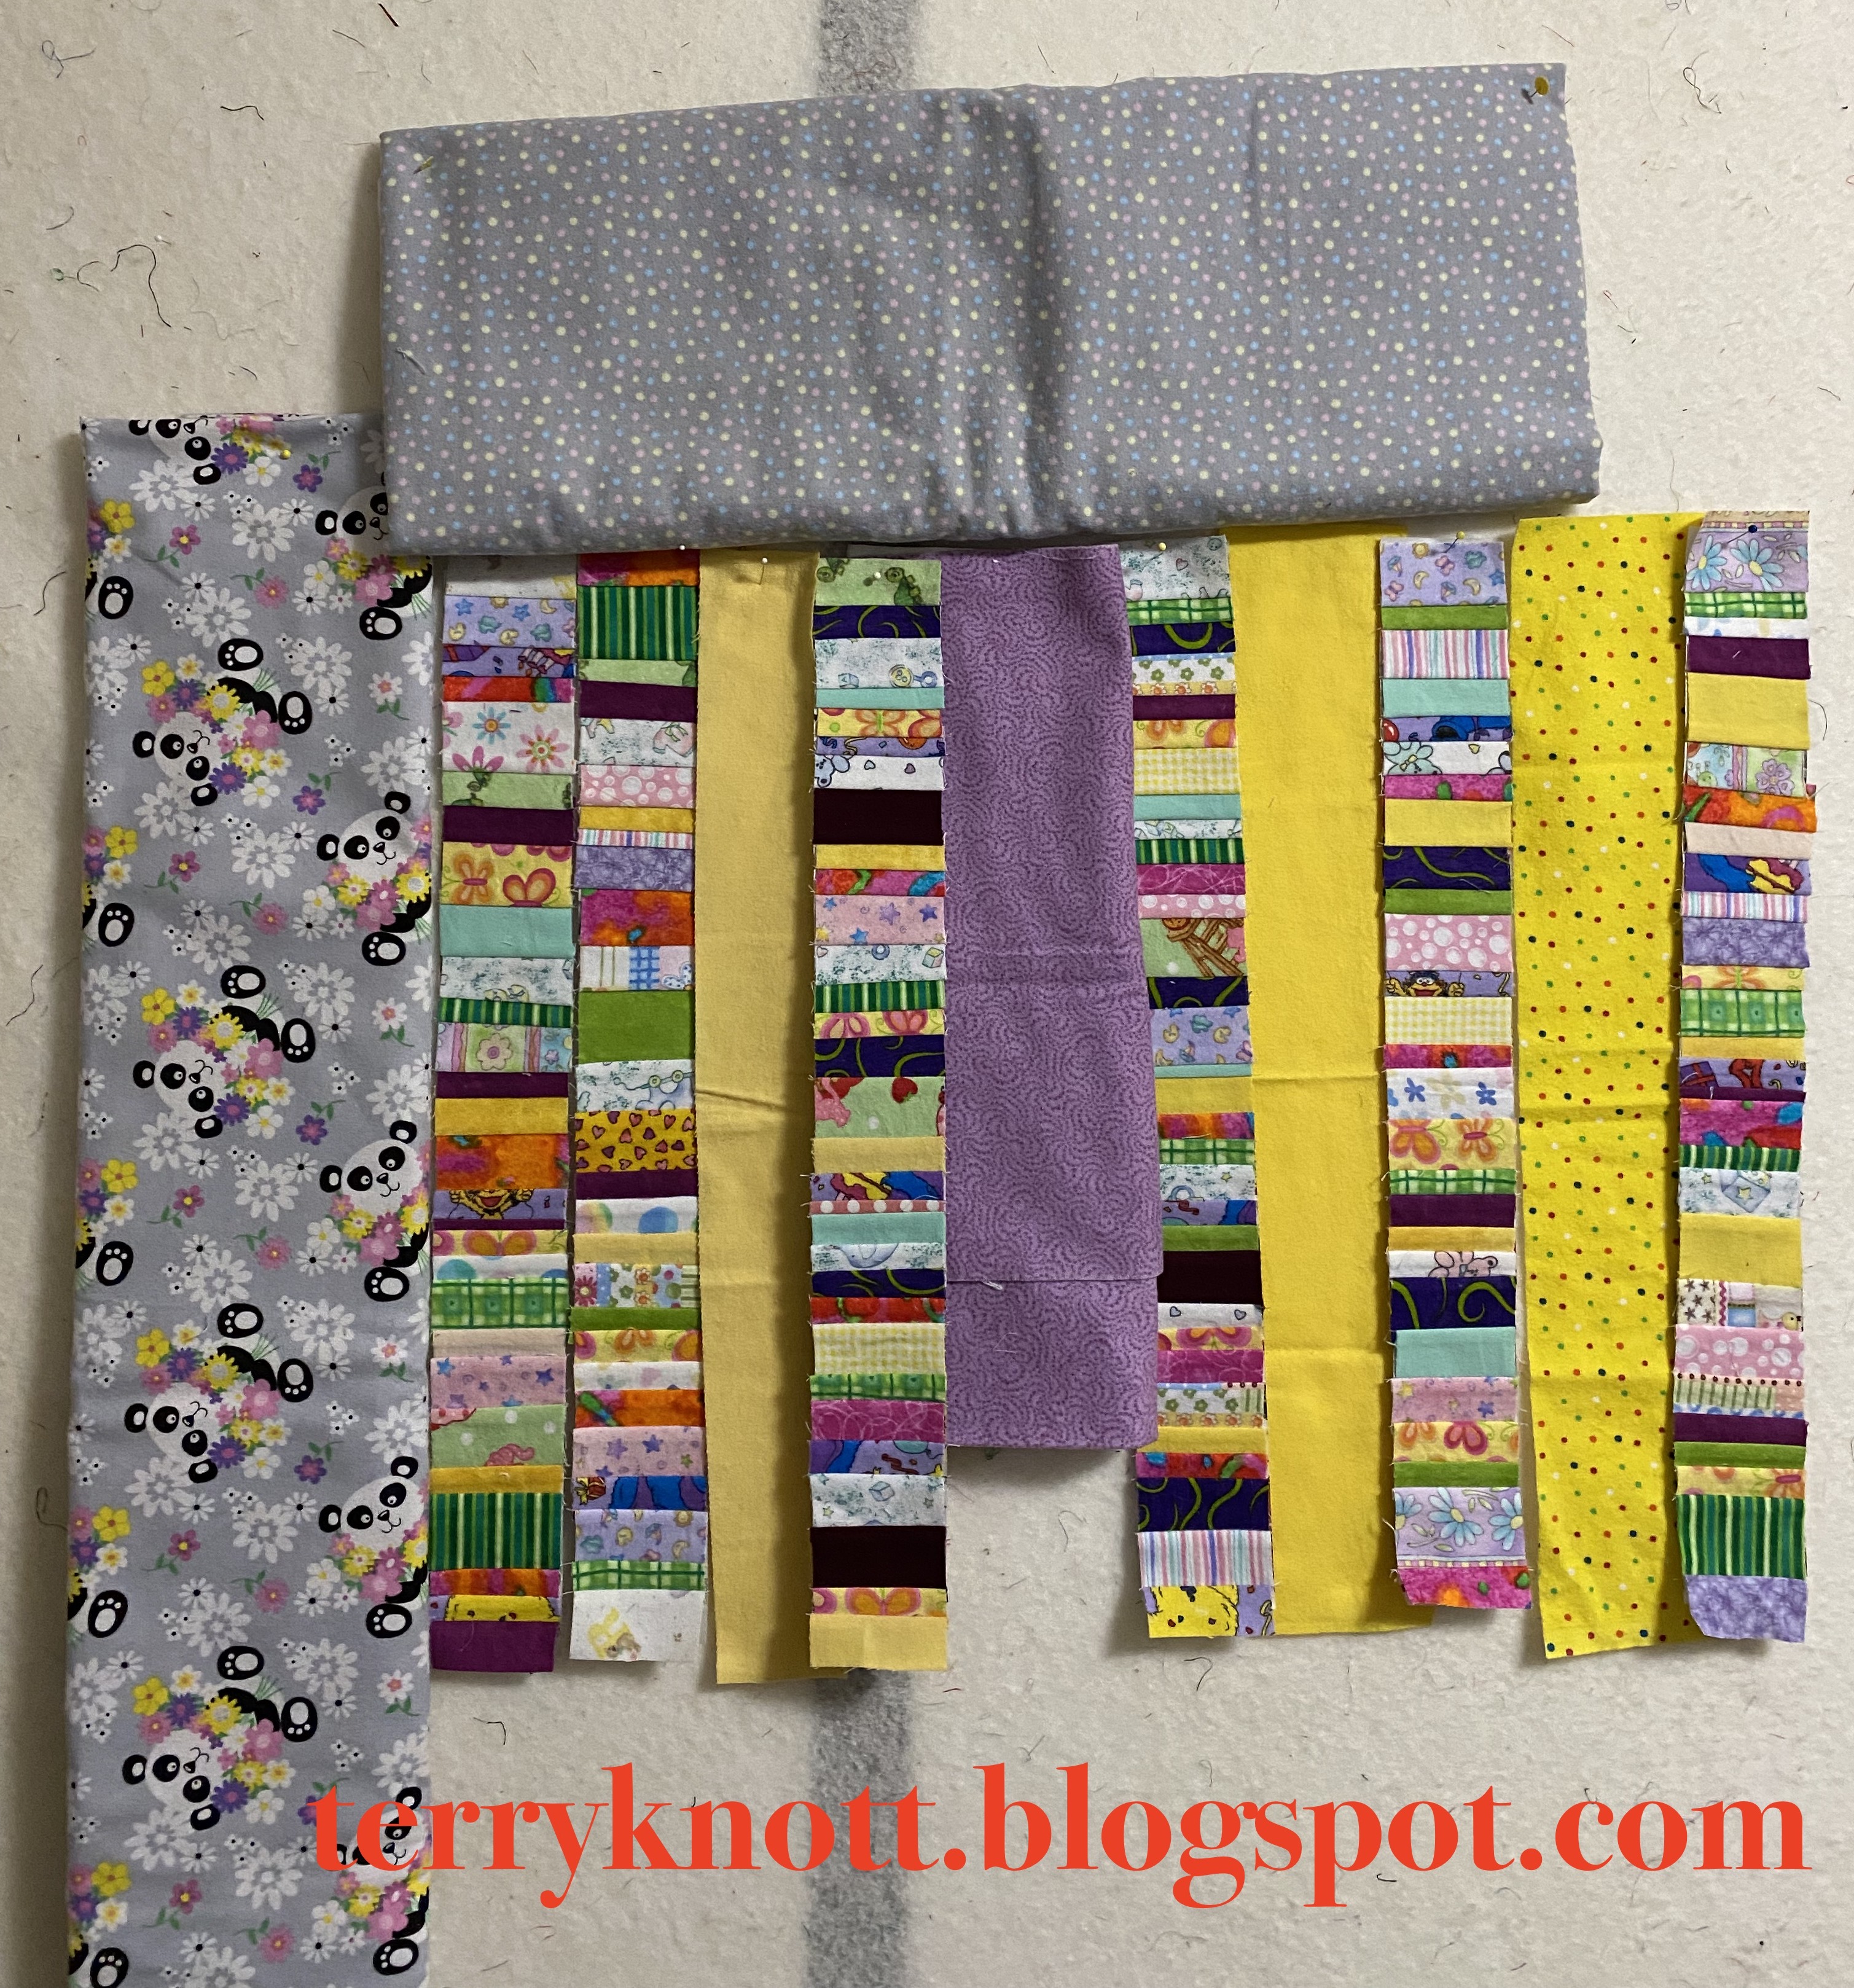
Auditioning strips with non pieced strips
Last month, I bought five pieces of flannel fabric to augment my remaining flannel bits from Martha. It was hard to purchase the flannel because I don't like sewing with it. Martha's flannel scraps were much brighter than the vintage chunks that I already had. So what I had on hand didn't work. . .at least, I didn't think that they worked. 

While I don't like sewing with flannel because it tends to stretch and it shrinks more than I like. I will admit that I do like how the flannel quilts feel. I chose two pieces that read "girl" and three pieces that read "boy" to me. A bonus was that all the fabrics were on sale. 

I bought the fabrics because I needed larger pieces of fabric to coordinate with my scrap bits. Likely, the new fabric will become a back and binding. Maybe it will also appear with the strings in the top. 
Pieced strings auditioned with two new flannel fabrics

I sorted my strings and small bits into girl and boy type colors based on the new purchased fabric. I wanted to make two quilts to have on hand when I learn someone is having a baby. Then, I started stringing the girl fabrics! 

When I began, I didn't have a piecing plan. I left the larger scrap chunks in the acrylic container and pulled all the smaller pieces. There were strings, strips, rectangles and a few squares.

Next, I sorted the pieces into girl and boy. Some of the pieces worked in both! As I sorted, I reminded myself that last fall, I planned to challenge myself to empty this bin of scraps. The easiest way of dealing with the small scrap pieces was to toss them. 

I, however, didn't want those bits ending up in a landfill. I could have brought the bits to the guild free table. This wasn't a good solution. I have attended so few 

Auditioning an alternative binding

guid meetings in person now that I can watch the meeting on Zoom. 

The best option was to string piece the bits into two and a half inch strips. Two and a half inch strips could become sashing. I like making fabric. 

I foundation pieced the small bits to newsprint. The newsprint is also recycled because it was originally grocery ads! I do have some smaller bits and I likely will piece the crumbs together. There is something so satisfying about using it all!  

After I had pieced three strips, I put them on the design wall. I liked what I saw so I pieced three more strips. While I liked the 
Finished 36 inch by 40 inch top
effect of the strings together, there wasn't enough of them to make a baby quilt. Definitely, I needed more string yardage.

I wondered what the purchased fabrics would look like with the strips. I auditioned them. The verdict was the fabrics were too blah looking. I found some yellow strips in various widths and a  purple chunk that might be close to half a yard. 

Hmmm. . . alternating an unpieced strip with a pieced strip is a good option. It would resemble a Chinese coins quilt. 

I had enough strings to piece three more strips; but, likely not enough to piece six more strips. I did have some crumbs remaining and some squares. . .I crumbed together a two inch strip and didn't like how it played with the other strips. 

I didn't like the unbalanced look. I scrounged a few more candidates for strings from the chunks in the acrylic box. I pieced another strip. 

The leftovers
Not long after I had finished the string piecing, I had pieced the yellow fabric strips to the strings. I had finished a top! It measured 36 inches wide by 40 inches long.

While I did have some leftovers, I didn't 
have that many. These leftovers went back to the acrylic box. The panda and grey dot print yardages will become backing, a border, and a binding for another project. The gray dot would be a good neutral. The panda print makes me smile. 

Pieced back
I considered that maybe, some of my vintage flannel scraps would make a better back and a binding for this project. I have flannel leftovers from the days when I made pajamas for my daughters which was more than 30 years ago! Hmmmm. . . .I pondered and then I auditioned the vintage flannel. 

I liked the vintage flannel scraps. Blue and yellow is such a good combination! There was a second fabric that was almost large enough for the back. It was another color way of the blue print.

With careful trimming, I was able to cut the blue fabric into a binding and a piece to add to the back. I cut a piece of my patched together batting, layered and pin basted the quilt. 

When I finish a quilt, I take the leftover fabric and trim it to the sizes I use in my precuts. I piece the batting together. The pieced batting works well for small projects. Piecing it together makes it more useable as well as keeping up with the piecing means that the batting doesn't become unruly!

Ready for quilting
This project is ready for the quilting. I plan to quilt the majority of the project with my walking foot using a polyester thread. To not experience becoming overwhelmed, I won't begin the other "boy" flannel quilt until I finish this project. I'm still doing better if I concentrate on one project at a time.

As for the container, I can easily close the lid even though I put more yardage in it! I was also able to put all
the larger chunks of flannel yardage into one container. I am making progress!


Sunday, February 19, 2023

Hexagon Christmas Ornament--post 2

Ornament fabrics 
Goal number three on my February goal list was to make another hexagon sample for my class coming in May. For me, completing each hexagon is like eating a potato chip. . .I can't stop at one! As I stitch the hexagons, I think about other projects that would be fun to stitch. 

Because I remind myself that I have many unfinished projects, I haven't started a big scale hexagon project. Likely, there are many quilters who also have many unfinished projects. 

My class participants may be quilters with unfinished projects. They wouldn't want another project to make. I decided that I would teach how to piece the hexagon. What they do with their pieced hexagons is up to each participant. 

Fussy cutting
If someone was new to hexagons, they might decide to piece more rosettes if they saw examples of finished projects. Because what appeals to me might not have the same appeal to another quilter. I knew I needed to have a variety of projects. Projects that could be gifted would be good choices.

Auditioning the block
My inspiration for the wreath ornament came from Createwhimsy.com. Ornaments make good gifts and a hexagon ornament would be unique! 

In my stash, I had a little bit of a snowman print and even less of a red/white stripe on a green background fabric. These two fabrics paired well. The fabrics spoke Christmas to me.

Auditioning the stripes
I fussy cute the snowman fabric because hexagons made with fussy cut fabric grab your attention. Hexagons made with striped fabric also provide visual interest.

Clipped and beginning to stitch
The snowman print wasn't printed evenly in each of the squares. I centered the print the best that I could to cut out the pieces. I might be able to cut two more ornaments out of the remaining fabric.

I also fussy cut the stripe fabric so that the stripe was centered in the middle of each hexagon. Once I had the pieces cut, I glue basted them to the paper foundations. I was mindful to check the position of the snowman as I glued the edge of the fabric around each template. Once the pieces were basted, I laid the pieces out as I would stitch the pieces. 

Almost invisible whip stitches
I used the ladder stitch to stitch the pieces together. I used a thread that matched the fabric. It didn't take long. I repeated the process with the striped fabric. I cut a piece of ribbon to act as a hanger. 

Then I used dots of Elmers glue along the edges of the rosette to join the two blocks together. I also inserted the ribbon. I used clips to hold the edges together until the glue dried. I used glue because I didn't want the edges misaligning. Gluing the edges helped.

I left the papers in the hexagons so that the ornament would have a firm shape. I used the whip stitch and a neutral thread to stitch the two hexagons together. I loved how the neutral thread blended into the fabric making the whip stitches nearly invisible. I have friend who will whip stitch with a polyester invisible thread to ensure that her stitches are not visible. 

I liked the result. I plan to cut more pieces for additional ornaments. I will make some step outs for class with those pieces.  It was super challenging to stop at one ornament!!! I definitely was feeling potato chip syndrome!

Finished back
The amount of scraps that I used in this project was small. Of the striped fabric, I used a two inch wide strip about 16 inches long.  I used a 5/8 inch hexagon template and the finished wreath measured about three and one quarter inches square.

Finished front
I've been playing with small scraps the last couple of weeks. This is my second project  using small scraps. (If you missed my Wednesday post about the Valentine postcards, click here.)  

I'm linking to Cynthia at Oh Scrap/Quilting Is More Fun Than Housework. Tune in Wednesday for my next post, I'm planning to play with some flannel scraps!


Wednesday, February 15, 2023

Postcards--AKA Down Another Rabbit Hole

Motif selection
Happy Valentine's Day! Yes, it was yesterday; but, these days I tend to celebrate holidays anytime!

View of the post card back
Mofifs pressed into place; ready for quilting
In my friend Martha's scrap stash was a metal box of flower and star motifs. Martha had backed the fabric in fusible web before cutting out the shapes. I have no idea what her plan for these motifs were. I didn't see her cutting out the flowers. 

I don't think that she made any postcards either. Perhaps, she planned to raw edge applique these motifs to quilt blocks or perhaps to build a border. She had all sorts of creative ideas. 

I thought that the box contained good ingredients for making postcards. Valentine's Day was approaching. (Yes, I started the project a couple weeks before THE day.) Here was an opportunity to  create some cards that I could gift.  

Years ago, I asked Bonnie Sabel to lead a Saturday Workshop to teach people how to make a fabric postcard. Bonnie authored the book, Positively Postcards: Quilted Keepsakes to Save or Send. Bonnie wrote the book in 2007. She made kits and vended those kits as well as her book at many quilt shows over the years. 

Her booth was always popular. She was always gracious with her time and knowledge. Bonnie taught a Saturday workshop class for a number of years in a row. Her classes were well attended. Participants had fun creating little pieces of art. Bonnie gifted me a copy of her book which was reprinted at least two times! 

I always would tell myself, I wasn't going to stray into making postcards. It took about ten years for me to stray into postcard making! I cut leftover batting scraps as my filler. I cut backgrounds from my scraps. I arranged and then fused the motifs to the background. 

Finished front of card
I used a pigma pen and wrote Happy Valentine's Day. Using a matching thread, I free motion quilted the motifs to the background and I quilted a bit in the background. I slipped a backing on the card and satin stitched all the layers together.

Of course, the process took much longer than I had imagined. My friend Wendy gave me a package of postcards to use as backing. I made three postcards. I found that the satin stitching perforated the backing paper too much. 

Narrow satin stitching
I considered camouflaging the description area of the post card with Washi Tape; but I didn't. I did like the stability that the postcard provided.

For the next three postcards, I used a neutral light fabric that I backed with freezer paper to be my backing. I left the freezer paper in the project.  

I drew a line on the backing fabric two and three quarter inches from the right edge. I drew a second line two and seven eights away from the right edge. I used this space to divide the card into a message and address area.

The first six finished postcards
I wrote most of the messages on the card backs before I applied it to the card front. I did write one message after I had assembled the card. I had no issues writing on the back of the card after it was assembled. Again, I used a pigma pen. I also heat set the ink when I finished.

Next, I experimented with the satin stitching. I thought that I liked the wider finish on the edge of the card. After experimenting, I decided that I liked the look for the narrow stitching better. 

The second group of six finished postcards
I achieved the narrow stitching in three stitching rounds. First, I stitched the
perimeter at .60 for length and 2.5 for width on my 790 Bernina machine. Second round I stitched the perimeter at .45 for length and 2.8 for width. Third round I stitched perimeter at .30 for length and 3.2 for width. I also found that I liked the impact that polyester thread made on the edge better than the cotton that I had used in the beginning.

The last ten cards
It was fun to place the motifs on the background. Sometimes, this took me a long time. To ensure that I would have supplies for all the batting that I had cut, I made little minis. I placed components on the batting and stacked the batting as I progressed. I did leave a few components behind as filler material. 

Arranging the minis helped me move a bit faster through the process. In all, I created 22 postcards. There are still fusible backed motifs in the container. Those will wait for another day. 

I mailed 13 of the postcards. Nine were mailed sans envelope. Four were mailed in envelopes. Two of the four were mailed overseas. Three were hand delivered. At least three will arrive after Valentine's Day. The remaining six postcards will wait for an occasion to be sent.

I tracked how many spools of threads I used in the process. . . 23! I'm glad I have a thread stash! 

These postcards were fun to make. I likely will make more cards in the future. Making postcards is great way to use small scraps! It is a good way to play with fabric values, design arrangements and free motion quilting motifs. 

23 spools of thread used during the project
I used three-quarters of a yard of fabric scraps from my stash. This brings the total yards I've used from my stash to negative six and one quarter yards. 

This was goal number five on my February goal list. Check out my Sunday post, I'm finishing a hexagon sample. How is that for a teaser??


Sunday, February 12, 2023

Kitchen towel project

Kitchen towel fabrics
 I made a couple kitchen towels this week. My dad's wife has a small bed of roses in her yard. My dad had a few favorites and looked forward to those plants blooming. I've had this half yard of rose fabric in my stash for about 30 years. It seemed like a good fit for the project. 

My mom gifted the fabric to me because she thought it would make a great insert to a t-shirt. In the 90s, I inserted a print fabric into a t-shirt. I cut away the t-shirt in strips to expose the print fabric. I placed beads on the ends of the strips. The beaded strips became fringe. Now, people fringe hemlines and sleeves; but, I don't see the fringe in the shirt front.

Close up up the kitchen towel
In November, I bought a striped kitchen towel thinking it might make a good Christmas gift; but, then I got sick and there was no sewing. 

At the beginning of February, my dad's wife had a birthday. I thought that she might enjoy new decorative kitchen towels as part of her birthday gift. I used a pattern through Craft Warehouse.

Finished towels
I usually gather the edge of the towel; but, this time, I wanted to pleat the towel. That took me a lot of trial and error before I figured out the depth of the pleats. I pinned the pleats until I had the width that I needed. 

From the fabric, I was able to make two decorative towels. There were few scraps left which was great! The bias tape trim came from my grandmother's stash. The buttons came from her button jar.

I spent an afternoon working through the project. The top stitching of the handle went well. I often have a challenge with the towel not feeding when I turn the corner. 

I like the finished towels. They would look nice in my kitchen. I did gift them though. My dad's wife loved them. My dad, were he still living, would have gotten a chuckle out of the inspiration behind the project!

Spool block
I used half a yard of a scrap fabric. This brings my total to -7 yards used from my stash.  I've been working on my postcard project which was goal number five on my February list. Tune in on Wednesday to see how many I've completed!

I also am documenting a block that I made last month which was gifted at the February guild meeting to the outgoing president of the Mt. Hood Quilters guid. 

I liked the spool block pattern. I used a green and white striped fabric to represent variegated thread. It is a six and half inch block. I made it from scraps.

I'm linking to Cynthia and Oh Scrap/Quilting Is More Fun Than Housework. Please check out the link as there is all kins of scrappy goodness!


Wednesday, February 8, 2023

Ottolenghi Recipes--post 4

From time to time, I'll continue to document the Ottolenghi recipes that I've made. My London daughter hooked me on his style of cooking while I was visiting last year. Most of the recipes are from "SIMPLE", a cookbook that Yotam Ottolenghi wrote. One recipe is from a Masterclass that my daughter took online during COVID. My daughter left a comment on my February goals post writing that I needed a goal nine (try a new Otto dish) and ten (plan a trip to London).  

I haven't made a new recipe from the cookbook in a few weeks; but, maybe that will happen. Many of the recipes list fresh herbs. Unfortunately, availability of those herbs is not as good in my neighborhood grocery stores as they are in my daughter's neighborhood grocery stores.  I may need to wait until spring before more than parsley is available for purchase. As for planning a trip to London. . .that is happening backstage!

Feedback regarding four recipes follows.
Sweet Potato Mash with Lime Salsa

One of the first recipes that I made from the SIMPLE cookbook was the Sweet Potato Mash with Lime Salsa on page 131. It was delicious. I plan to make that recipe this fall many times.

Green Herb Shakshuka

In London, we made Green Herb Shakshuka several times. We had our doubts because of the quantities of leeks and herbs in the recipes. It was delicious. I liked being able to serve from the pan that it we cooked it in. I loved how the garnish made the recipe look so beautiful. This is a recipe from the Masterclass.

Curried lentil, tomato and coconut soup

Curried lentil, tomato and coconut soup page 52 was mmm soooo good! I made it several times in London and have made it several times at home. 

Zucchini, pea and basil soup

Zucchini, pea and basil soup page 53 was a pleasant surprise. The lemon zest garnish added so much flavor and interest to the dish. I'm looking forward to making it again when I have basil from our garden. I've had it plain, garnished with feta and garnished with porchetta. I like it best garnished with both feta and porchetta!


Sunday, February 5, 2023

Hexagon Placemat and Hexagon Pin Cushion--post 1

A possible EPP project
Last October, I was asked to teach an English Paper Piecing (EPP) class for an event that the Columbia River Gorge Quilters quilt guild is sponsoring in May. Click the link to see the classes. Registration is open to the public.

Mini pincushion
At first, while I was honored to be asked, I didn't feel like I was an expert in EPP. I sent an e-mail to JoJo who taught me EPP to ask her what she thought. She said to go for it. I told my youngest daughter about the request and my conflict. She replied that I wouldn't have been asked if I didn't have the qualifications.

My daughter raised a good point which I hadn't considered. I said yes! While I've given workshops for one of my guilds as a volunteer, this is the first time to be paid for teaching. 

I thought that I would have until January to determine what direction to take my class. Actually, I had about five working days to make a plan. I decided to teach a technique class. Sometimes, people want to play with a technique to determine if they want to add it to their toolbox. Project based classes can result in unfinished projects.

I titled the class, "Beyond the Flower Garden." My reasoning for the class title was to encourage participants to look at different ways to incorporate a rosette into a project.

Removing papers
When people think of Grandmother's Flower Garden, they likely envision thousands of hexagons. While I haven't made a Grandmother's Flower Garden quilt, I have stitched quite a few hexagon shapes together. Sometimes, I interspersed those shapes with triangles or diamonds to create a design.

Because participants will be in class for six hours, I decided to share examples of small projects that incorporated hexagons. Perhaps, participants might decide to turn the rosette they created into something useable. In six hours, participants will be able to stitch a few rosettes!

I looked through my projects to determine the Grandmother's Flower Garden rosette samples I had on hand. People like to view projects.  Not all of the projects will feature EPP.

Threads used in the project
In 2011 I made Grandmother's Flowers. In 2016, I finished a hexagon block of the month project. In 2018, I made a wall hanging and a potholder. When I upgraded to a 790 Bernina machine, I also made a mug rug. Samples sometimes can spark a participant's creativity.

I can also share my temperature quilt. While the project isn't a hexagon, it is an example of EPP.

Free motion quilting detail of rosette
The first new sample that I finished was a hexagon pincushion. I used my 3/4 inch template. It was "fiddly" to turn such a small project. The effort was worth it. I saw the pattern on Pinterest. Benita Skinner posted the tutorial on her blog. I used scraps and wanted to include it because it used eight hexagons. 

The second new sample that I stitched was a placemat. It measures 11 inches by 17 inches. If I were to make another placemat, I'd make the size 11 by 15 or11 by16 inches. My oldest granddaughter chose the main fabric for the placemat. I also used it as the backing. I sure liked her choice. The blue and white print fabric in the first photo was too busy for this project. 

I chose to quilt it with my walking foot using gentle curved lines. Perhaps, class participants seeing this sample will feel quilting is doable on their domestic machine and be encouraged to try it!

Finished placemat
I bound the placemat. Then I hand appliqued the two hexagons to the placemat. I did use a little Elmer's glue to hold the hexagons in place. I placed tiny dots along the edge on the wrong side of the rosettes. I used a warm iron to "fuse" the glue into place. Not having pins to interfere with the applique process was great! Once I completed the applique, I add a little free motion quilting to ensure the rosettes remained in place.

I spent an evening making the placemat. It is a good example of incorporating two rosettes into a project. I am more proficient with the machine binding process.

I used about half a yard of fabric in this project. Last month, I purchased
eight yards of fabric so I'm -7.5 yards towards my goal of reducing my stash! I need to have some more finishes to move that number to positive yards! 

This was goal number three for January. I did finish it in January; but, I didn't get it posted during the month. I'm linking to Cynthia and Oh Scrap/Quilting Is More Fun Than Housework.


Wednesday, February 1, 2023

Planning. . .Do I Dare??--February Goals

Walking foot quilting for the class sample
January was the month to see if I could write a post to publish each Sunday. The first three posts were challenging and the fourth post felt less difficult. In the end, I was successful. In February, I plan to bring back Wednesday posts in addition to my Sunday posts.

During my recovery, I'm practicing a little every day so that I can pass my CPR instructor skills test which happens in the middle of February. My body rebels against compressions; but, I hope that I will build enough strength and muscle memory that my body will perform like it did before being rear ended in a car accident last September.

Fabrics for a sample for my May class

I've had a couple chiropractic sessions. The sessions made me sore in a good way. I'm back to receiving regular massage and acupuncture sessions. Being sick and missing six weeks of appointments means my road to "normal"continues to be a long journey. 

I had a physical therapy appointment; but, the exercises I was assigned were too much for my ability. I gave myself muscle spasms and pain that I haven't had in more than a month. I don't have another physical therapy appointment until the middle of February. I am hopeful to find a better path for me.

Some of Martha's flannel strings
I have Tomme to thank for You Tube chair yoga classes. Every day since January 6, I've completed at least a 30 minute session with Sherry Zak Morris. I modify some exercises; but, find that the stretching helps decrease my back pain. Every other day, I complete a neck and back session. On the alternate days, I sample different classes. There hasn't been a session that I didn't find helpful. I like the pace of the class. I believe that the chair yoga has helped me regain the ability machine piece almost like I did before the car accident.

Fabric post card possible materials
I set three sewing couple goals for the month of January. The goals are listed below.

✔1. Keep up with the temperature quilt.

✔2. Make progress on the Chilhowie mystery.

✔3. Make an example for my "Beyond the Flower Garden" class which I'm teaching in May. I'll be posting about this project on Sunday.

I achieved the goals that I listed. I found I wasn't able to concentrate on a class sample while I was working on the Chilhowie mystery. Previous to the accident, I was a multitasker. Now, I make too many mistakes juggling two activities at a time. My brain fatigues and I can't concentrate on another activity. Maybe later, I'll be able to keep several machine projects going at the same time. For now, I will stick to working on one project! 

Free motion quilt
For the last few years, I've set monthly and quarterly goals. Last year, I even set an annual goal; but, because of the accident, I set no fourth quarter goals. I also didn't write an end of the year post. Maybe, I'll write a summary in the coming months. I set soft goals for January while I thought about what sort of goals I might physically and mentally be able to achieve. Before my accident, I was planning my fourth quarter goals. I even had begun a list. I've made no progress on that list of projects. 

Do I dare to plan goals again? While I want to, I'm not feeling confident about being successful. I do believe it is important to try. I decided to set a few more monthly goals. I'll reevaluate the process after two months which will be at the end of March. Perhaps, I'll be able to bring back my quarterly goal list.

In the meantime, I'll continue with my rehab process. I miss machine quilting. Last November, I set my progress back trying to free motion machine quilt. I think I should try again in February. Let's see what happens.

Book club quilt project materials
My February goals are:

1. Keep up with the temperature quilt.

2. Take Chilhowie to the quilter.

3. Make a sample for my "Beyond the Flower Garden" class which is scheduled for May.

4. String piece some of Martha's flannel scraps.

5. Make some Valentine post
cards.

6. Try machine quilting on Lone Star project.

7. Write a Wednesday post in addition to my Sunday. post for my blog.

8. Work on the project for the book, "Where the Forest Meets the Stars" by Glendy Vanderah

Progress no matter how small is good. Let's see what happens!