Sunday, September 30, 2018

Swimsuits----12th Finish of 3rd Quarter Finish-A-Long 2018

Stitching the lining
It's the end of the month and the end of the quarter. It's time to check in to review my progress with my Finish-A-Long list!  Last spring, I had planned to take the summer off from teaching afternoon swim lessons and to pick up teaching again in the fall. The uniform for teaching is a black swimsuit. The two that I had made last year, barely made it to the finish. I was in dire need of replacements. I often make two suits at a time. First, it seems I can make two suits in about 1 1/2 the time it takes me to make one! Second, I have a back up suit so I have a little time to determine when I'll be stitching the next set!

Originally, my plan was to stitch these BEFORE the spring class session ended. Then, I decided June would be a great time to finish them. Next, I thought that I would stitch these in August; but, I didn't get to it. I put it on my monthly goal list to complete it this month because I didn't want to carry this project into another quarter!

The days seem to go by faster each month; but, a few days ago, I started stitching these suits. Unfortunately, the time that I had planned to teach beginning in October will not happen as the pool will be closed this year for lack of participation. It makes me sad because this particular program has been ongoing for about 20 years. Change happens and what I know about the cycle of change is that it is a circle. At some future point, the new will become the old. In other words, the afternoon time slot will open again.
Trimming some of the lining seam allowance

In the meantime, I had a choice of teaching from 4-6pm or from 6:50-7:45pm. Unfortunately, for at least the next two months, I have some commitments during those time frames so I'm not able to teach. It is best if the participants have the same teacher for each lesson and missing more than one lesson is not acceptable to me. Instead, I'll be available to sub. That will be a fun activity too.

I started with the pieces. I stitched the suits, the linings and then stitched the lining to the suit. The last step was to apply the elastic. I think with all the suits that I've made in the last year, I've finally figured out the stitch length and width of the zig zag that works well and how much stretch to apply to get the legs just right. I used two different patterns and I did do a little ripping because I had stitched a back to the wrong front of one suit! (My preferred suit style is the one of the left; but, I had some parts already cut for the one of the right so that was why I stitched two different suits. Usually, I make the same style or use a different fabric for a second style which makes the error I made more challenging to make!

Two finished swimsuits ready for duty
These are finished and ready for duty. This was goal number 18 on my 3rd Quarter Finish-A-Long list. I used 3 3/4 yards of fabric from my stash. This year, I have used 36 yards of fabric from my stash and have 14 yards to go to meet my goal of using 50 yards of fabrics from my stash!

Of the 24 projects I put on my list at the beginning of the quarter, I have finished 12 of them. This is the most finishes I have had in a quarter since participating in the Finish-A-Long group!

I am thankful for the Finish Along group because without participating in it, I know I would have many more projects still languishing about the studio! It feels so GREAT to see a finish and to have the space available that the projects once occupied.

Additionally, I enjoy checking others' posts about their finishes. It is inspiring to see the variety of projects, materials and colors people do and use!

Since this is the end of the month, I'll share the number of participants that I trained. I trained 19 in Basic Life Support (259 YTD); Lifeguard Instructor Review 11 (16 YTD). This is a total of 30 for September (Total 400 YTD).


Wednesday, September 26, 2018

Pillowcases--Eleventh Finish of 3rd Quarter Finish-A-Long 2018

Stitching the band on pillowcase #2
I'm working out a quilting design for the inner section of my Mystery BOM. I've done some online research and I have been practicing drawing one particular motif on paper. I'm still in the planning stages for the fun part of quilting for that project!

In the meantime, I pulled out the pillowcase project. These were goal number 12 on my 3rd Quarter Finish-A-Long list. I thought that I would get them stitched last spring. This year, one of my goals was to have fewer holdover projects on my Finish-A-Long list. This fewer holdover projects goal, will be on my mind as I figure out what projects will be on my 4th quarter list!

One year, the oldest granddaughter and I made about 20 pillowcases that we gifted to a summer camp for youth. As I look at my pile of fabrics, I may make that a goal for next year. One of these pillow cases will be for donation, the other three will house quilts. I like to make a pillow case to go with the project because if I give the quilt away, it is already wrapped. If I keep the project, I can tell at a glance where it is in the storage closet!
Pillowcase #4
The first pillowcase I stitched was a striped batik with a darker green striped batik as the band. I thought that I had taken a photo of it in process; but, took two of pillowcase number two. Go figure!!! The batik wasn't printed so that the stripes were on grain so I chose for the stripes not to line up on the side of the pillow case; but that the stripe next to the band would look the same all the way around! After I had finished with it, I wasn't all that excited about the contrast between the two fabrics. It is housing Skittles and Sherbet so it will be fine!

Pillowcase #2 is housing "Totally Hexed." I finished that quilt two years ago so this pillow case was long overdue!!! I sure liked working with the Moda grunge fabric.  That orange batik fabric wasn't actually used in the quilt; but, it is close enough to the one that was so I will remember what quilt is inside the pillow case!
Finished pillowcases
Pillowcase #3 will house the Mystery BOM that I'm currently machine quilting. For once, I will have a pillowcase ready when I've finished the project!

Pillowcase #4 will be donated. I saw the partial panel of fabric on the free table and I immediately thought that it would make a great pillowcase. When I measured it I found that it was only 18 1/4" wide by 40" long. Darn, it wasn't wide enough for the project. I could have used it as the band for a pillow case; but, it had a printed edge so the "panel" ran the wrong direction. I decided that I could piece the pillowcase by adding some fabric from my stash. Because I was going to need to do some math to  stitch it, it has sat in the "to do" pile for over year!

I like the fabrics that I chose to add to the panel. If I were stitching another one, I would make a better effort to get it centered! Of the four pillowcases that I stitched, number four is my favorite!!!

This is my eleventh finish this quarter! I used four yards of fabric. I have now used 32 1/4 yards of fabric from my stash and have 17 3/4 yards left to meet my goal of using 50 yards of fabric from my stash this year.

Sunday, September 23, 2018

Fly Home--Tenth Finish of 3rd Quarter Finish-A-Long 2018

Auditioning threads
After I had the ditch quilting completed, I needed inspiration as to where to quilt what next. I thought about my dad who was a private pilot and how he mapped his routes using his various flight charts. I remember looking at the different airport maps and their runways wondering how one could keep them straight! I can see him sitting at the kitchen table, plotting his route using a slide rule, compass and a protractor. These were the days before hand held calculators.

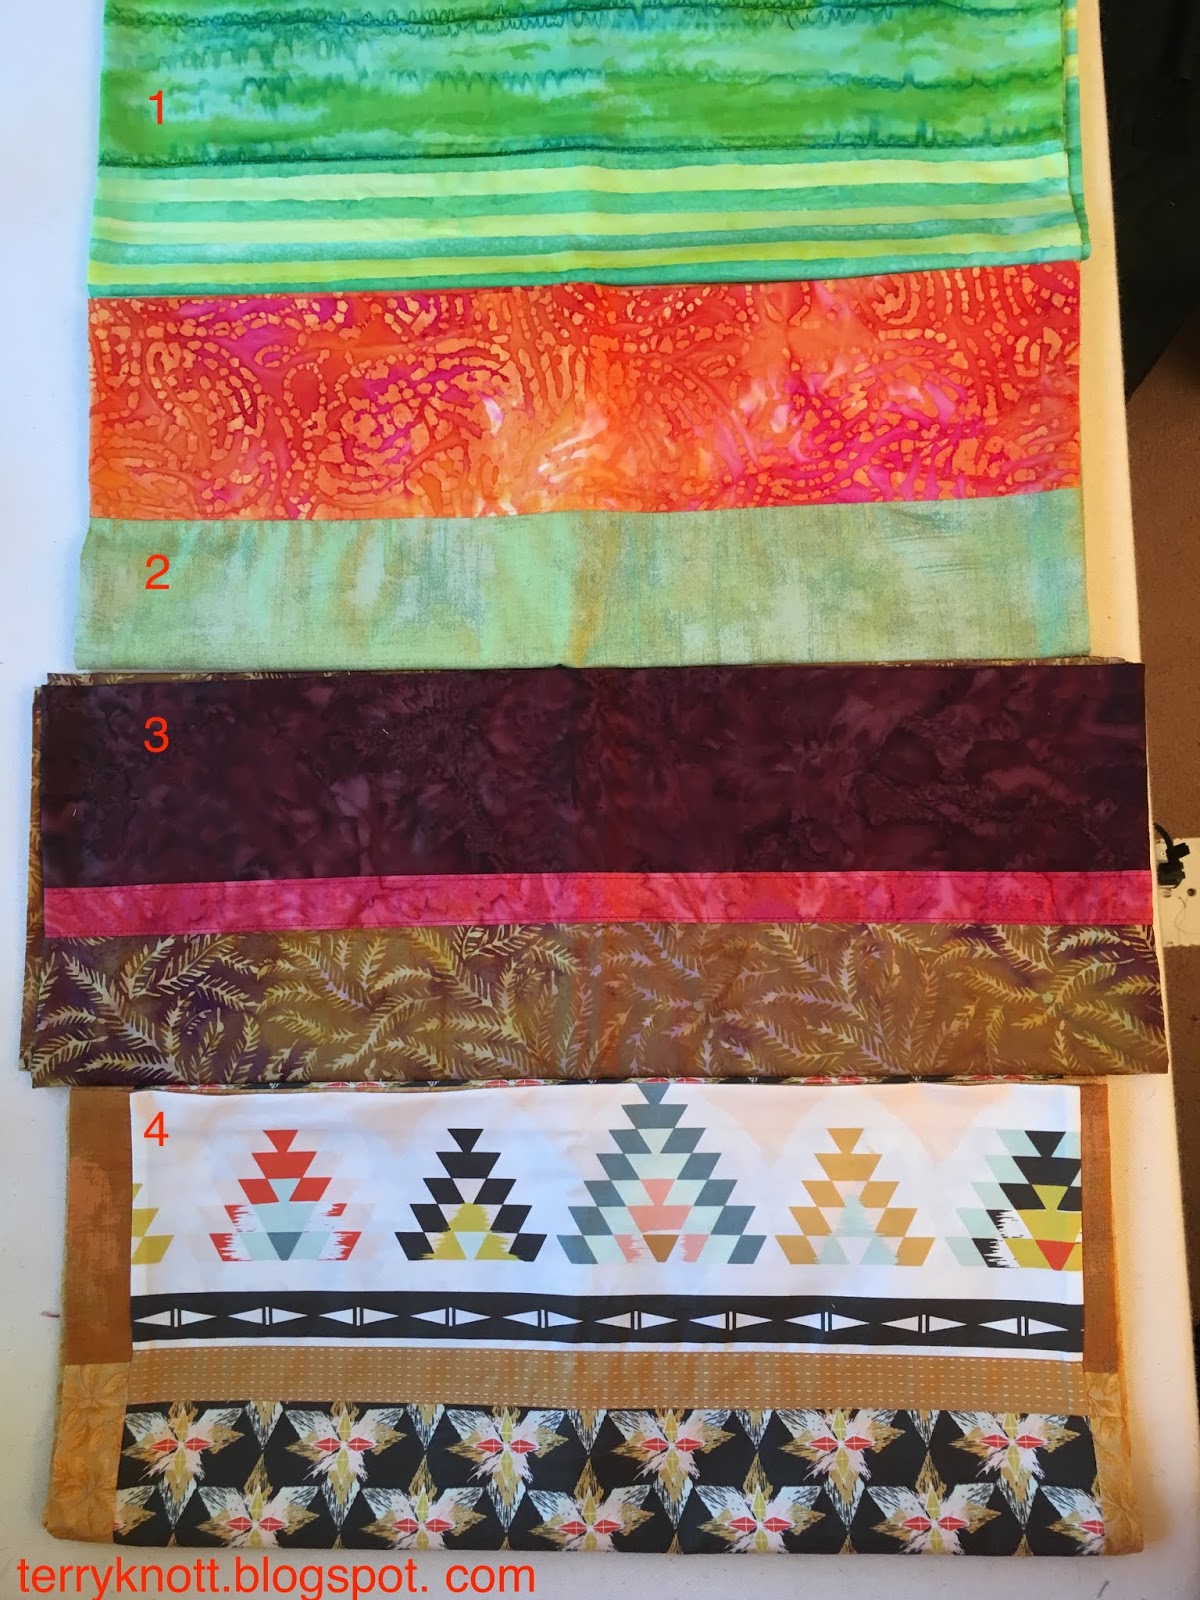
I decided to use rulers for much of the quilting. My friend, JoJo, gave me some thread that she purchased from Martha's stash. While I liked the thread, I decided I would need to do bobbin work to use it, so I dug through my thread and came up with a sulky metallic thread that quilted nicely.

Straight line quilting design in right corner
I began stitching the red lines in the propeller. I free motioned quilted these lines with red cotton thread. Using the rulers, I started with a straight line design in one of the triangles.

Next, I divided the space around the propeller. First, I placed a box about half an inch outside of the propeller and then I extended the space using the prairie points as the edges of the section. I thought of my dad's compass as I quilted circles. Sometimes, the circles were on top of the one next to it and sometimes, the circles were behind the one next to it. I liked both quilting designs.
Circles around the propeller 


To decide what to do in the bottom two sections, I decided that I would continue the circle motif in the lower section. It is good to have repetition in the quilting. Then, I thought about longitude and latitude lines on a map and decided to put a few in the second triangle space. It was a little tricky quilting the arcs when the space to quilt was larger than my ruler; but, I managed.

That left just the top corners to quilt. I decided that I would go with a repetition of straight lines as that would be a good contrast to the circles.

Texture before adding shadow
As I looked at the quilting, I decided that it was even and that I liked the motifs that I had chosen. The quilting, however, seemed too heavy on the sunshine and too light on the shadow. I spent some time adding some shadow to the open spaces in the lower right triangle and the lines at the top of the propeller. I found it was easier to free motion the shadow lines than to use the ruler. I liked the results.

This is the sort of piece that I hope the viewer will be attracted to visit because it is so graphic with the striped fabric. I hope that the quilting will draw the viewer closer to the piece. It makes me smile when I see people nose close to one of my projects!!!

Sunshine and shadow are terms that Cindy Needham uses. She describes sunshine as the more open areas of the quilting and the shadow as the denser areas of the quilting. She says to have a balance of both so that your eye is drawn more into the project. She is so wise!

With a little shadow added


Detail of the shadow quilting 


Piece with the added shadow quilting

As for thread, I thought that I would use the silver polyester thread to create some shadow. However, It was too light and would draw too much attention away from the stripe design. I also thought I might use the black thread; but, it proved too dark! I even tried red cotton and red silk threads but those didn't show enough. I'm glad that I had that multi color metallic black thread as that worked great!

After I had quilted the piece, I squared the piece, added the edge finish for the facing and pressed the facing into position. Three of the corners turned perfectly. The fourth. . .well, it didn't work. I didn't realize that I hadn't aligned the edges of the corner correctly until I was turning the corner. Of course, I had trimmed the corner so there was no going back!!!

Additional design element--back
After several hours of thinking how to fix my goof, I added some trim fabric in that area. Now, I have an additional design element and love what happened as a result of that problem!

In fact, after the fix, it would have looked even better had I made the slash bigger. As it is, that little peak of red in the corner makes me want to lift the corner to see what is behind. I wonder if others will want to do the same, or, if, they will even notice?

A few years ago, I might have cut the quilt and bound that edge or I might have left it in the unfinished state! I sure liked my "easier" solution! Live and learn!
Additional design element--front

Project label


I attached a photo of my label. It was fun to challenge myself to use a large leftover HST! (Half Square Triangle)
Had I had more writing room, I would have included that the strips represent runways/taxi ways and the center applique represent the moving propeller. I would have mentioned the quilting designs were inspired by watching my dad plot his trips when he was a private pilot. BUT . . .there I didn't have enough space to share that much of the story!

It took me about 42 hours of actual work on this piece. Miss J helped me with the final press. She LOVES working with tools and pressing the button for a burst of steam was so much fun for her! (I try to involve the grands as much as possible in my projects. When I look back at the finished piece, I have so many special memories!) I spent many more hours thinking about possibilities though! I envisioned those prairie points with a bead, a button or something fun. I like them as they are so I'm calling this project finished!

The striped fabric was left from a previous project, the black background and backing fabric came to 2 and 1/8 yards. I have now used 28 1/4 yards of fabric from my stash and have 21 3/4 yards left to meet my goal of using 50 yards of fabric from my stash this year. This was goal number one on my 3rd Quarter Finish A Long list.

Finished back with added interest corner
A photo of the back shows the fabric I used to trim the striped strips. I didn't know how much I would like the texture that print provided!

Last a photo of the front. I see the speck of red on the lower left corner. We know the story behind it! Who knew that such a small project would take so long or stretch my design capabilities? It was fun and that is how quilting should be!
Finished front


Wednesday, September 19, 2018

Designing for Fly Home--1 of 2

Sketches of possibilities
Years ago, I made two table runners and four microwave bowls for the guild's silent auction so the comfort quilts committee chair could buy batting to make more quilts. I used a striped fabric for the binding and for some of the blocks in the runner. I loved the striped fabric so much that I saved the leftover bits in a zip lock type bag.

Later, I got out the bits and stitched some together. At the time, our book club was reading, "The All Girl Filling Station's Last Reunion," by Fannie Flagg. I put some of the striped fabrics together. After playing a bit with the placement of them, I was surprised to "see" a spinning propeller. So I decided to applique that design to a black background.

My inspiration was that a female pilot was flying at night returning to base/home. I purchased a couple fabrics that I thought might work to build my "story" for the project. I also thought what to do next would come to me. Nope. . .no extra thought came to me. I left it on the design wall for months. Then I took it off the design wall.
Fabric palette 

I'd also been inspired by an art work display when we were in Australia of lines. . .a whole room of them. The bits stitched together was reminiscent of the line work. The lines also inspired me to develop a series of quilts with "line" as the theme. I have four pieces in the series. Hmmm,  perhaps, this will be a topic of a future post!
Jim Lambie, artist, used tape for this work

This project has been on my Finish A Long list for a long time--at least two years. I decided to try again to come up with "the rest of the story!" When I took it off the wall, I was thinking I could add some strips like Jean Wells. I got out my sketch pad and drew some thumb nails of different layouts. Not one of those sketches said to "pick  me" though! I was stuck.

Next, I looked through my stash and selected all the reds that I thought were in the right color way. I also had a couple silver shot cottons that I thought could represent runways. I spent some time pre-washing and checking each fabric for bleeding.
Testing fabrics next to the applique

Pondering design options for a finish
I placed the various fabrics around the applique. Right away, I was pleased with how they did go together and gave myself a pat on the back because choosing fabrics is an agonizing process for me.

Then, I looked at how the fabrics went with the applique. I realized the fabrics and the Jean Wells intuitive piecing that I wanted to do wasn't the approach that would mesh well with the applique. One or two of the fabrics might work into the design; but, the pieced lines idea was a no go because that technique felt like I was introducing another quilt into the design.

The silver that I thought would represent a runway, was too light and the darker silver was too close in value against the dark background. Some of the other fabrics had too much print or the shade of the fabric was too bright or too dull! I decided that although I might use a couple of the the fabrics, my palette was ready for another project!

I again pulled the few scraps left from the original project. I played with arranging the pieces. I liked the addition of the triangle; I liked the interest the other striped strips provided.

I tried a combination of layouts using the strip leftovers. I brought back some of the fabrics from my palette and played some more. My friend, JoJo, made some suggestions which gave me even more options to consider.

I asked myself many "what if" questions. For example, "What if I cut the stripe in half and added some trim on the edge of the stripe? "What if I used the trim fabric in another area of the project?" "What if I added some prairie points?"

Then I played some more! I trimmed the strips. I made some prairie points. I auditioned more layouts. I chuckled at myself. Getting this project to the finish was a battle! I liked what the trim added to the strips. I liked the design elements that the prairie points added. Of course, adding the prairie points created another challenge for me. . .how to finish the raw edge!!!
Prairie point possibility

I could leave it raw--too unfinished; I could cut the background and piece the prairie points--would make the piece smaller; I could add trim to cover the edge--too whimsical; I could use a piece of the background to cover the edge--might be too bulky. In the end, I cut the background and pieced the prairie points into the piece. The piecing didn't make too much of a difference in the overall size.

I auditioned a number of other designs; but decided one in particular told a good story. The trimmed strips represent runways and taxi ways; the upper left triangle represents another plane in the squadron. The other elements compliment the propeller design well.

The chosen layout
I appliquéd the strips and the triangle. Yes, I'm leaving that piece of the strip because I want that piece to be part of the back! I have chosen the back fabric and I have pieced the label.

I placed a piece of polyester batting under the "runway" and "taxi" strips so this part of the design would come forward to the eye. I've  layered it with a piece of wool batting and I've pin basted it. I have stitched all around the elements and in all the ditches. I'm having conversations about the "fun" quilting and threads that are the next step. This project has evolved so differently from my initial plan!

Stay tuned!


Sunday, September 16, 2018

Thread Tales Is Having A Hanging

Label and back for "Reflections"
Font of "Reflections"
Our Thread Tales group will be showing some of our work at the Vancouver Community Public Library in Vancouver, Washington from October 9 through October 31. The quilts will represent the following eleven books: "The Book Thief" by Marcus Zusak; "The Desert Queen" by Janet Wallach; "The Glassblower of Murano" by Marina Fiorato; "The Help" by Katheryn Stockett; "Short Nights of the Shadow Catcher" by Timothy Egan; "Circling the Sun" by Paula McLain; "The Little Paris Bookshop" by Nina George; "Vinegar Girl" by Anne Tyler; "The Art Forger" by B.A. Shapiro; "Sweetness at the Bottom of the Pie" by Alan Bradley and "Girl Waits With Gun" by Amy Stewart.
"Alice's Roses" label


Of the 11 books chosen, I have quilts finished for six of them. For the other five, I have an idea; but haven't progressed past that point! One of the reasons that I like belonging to this group is that there are few rules. You can complete a project anytime or you can choose to not make one ever! I like to try new techniques and I often get hung up with the design and fabric choices. Sometimes, inspiration takes a long time to come to me.

In this post, I'll share my six quilts that will be hung for this exhibit. When I read the "The Glassblower of Murano", I was inspired by a passage in the book where the character is looking at his reflection in the water. I had a small piece of marbled fabric that reminded me of molten glass so I quilted the piece. "Reflections" is small; but it was the perfect size for playing with Vikki Pignatelli's method of applying a facing. I have to admit, cutting a free form shape on the back for the facing was freeing!
Back of Alice's Roses

A passage in the "Desert Queen" about the main character working in her rose garden inspired me to make, "Alice's Roses." I used a gifted linen tea towel that had a small cross stitched figure on it. The lady, Alice, had used the tea towel so that made it special to me. She grew the most beautiful roses I have ever seen. I enjoyed making this quilt to always remember her.

Reading the "Desert Queen" was not for the faint of heart. There was a lot of historical information in the text which was dry; but, it did give me incite on to the strife in the Middle East. I was impressed with how Gertrude Bell become a respected authority on that area of the world at a time when women rarely ventured outside of their homes.

I started the piece in a Cindy Needham workshop where I enjoyed the opportunity to learn some of Cindy's insight when using linen. It was the first time that I had kept pace with a workshop. I finished marking the top when the class ended.
Front of "Alice's Roses"
I used Hoffman's silk radiance for the back and the binding. I liked the look of the silk radiance
and it was a nice fabric to stitch. I am sorry Hoffman stopped producing it.

I liked Cindy's term of sunshine and shadow meaning it was important to have a balance of some heavily quilted areas (shadow) and some lightly quilted areas (sunshine). I also liked learning how to make a stencil fit an area when the stencil was smaller than the area needed.
I also appreciated how supportive she was to each participant and how she celebrated each person's project. When I quilted shadow areas of the project, I learned how hard it is to see where you have been when you use a thread that closely matches the background!

Label for "More Than Black & White"
When we read "The Help," I was inspired by the two colors--black and white. At the time, I was participating in an online group to improve my free motion quilting skills. Cindy Needham was the guest for one month and shared a doodle. I played with the doodle on a scrap of batting and muslin. After I had quilted the doodle, I decided to play a little bit more with the quilting. I added the "mini" quilt and then decided to make it a two sided quilt so split the batting and put the hanging sleeve in the middle.


Back of "More than Black & White"

Figuring out how to bind the quilt with the sleeve in the middle was a challenge and there must be an easier method than the one that I chose!

I also was following Tom Russell via his blog and he was embellishing his projects with buttons and beads. I had quite a few black buttons from my grandmother's button box so I added them to the project. Tom passed away in January of 2015. I miss his wit and creativity.

For a little quilt, I incorporated a lot of firsts. It was a fun way to practice free motion quilting filler stitches. I liked seeing the texture the various stitches provided. I also found it interesting to see some of the areas looked gray even though I only used the same black thread in all the quilting.

Front of "More than Black & White"
By the time I had finished, I wished that my fabric sample had been larger as it was a fun project to stitch and the finish came too quickly! The buttons and beads were so fun to add. I thought then that I would add more embellishments to my quilts; but, I haven't. I guess, I'd better revisit embellishing as I finish future quilts!
In terms of the book,  it doesn't matter if a person is black, white or some shade in between. It does matter on how a person contributes to society, hence the title "More Than Black and White."
Label of "Forest of Friends"

When we read "The Book Thief," I was struck how much the length of the war impacted the people not fighting regarding food and fuel shortages. Being cold and hungry, told when to leave your home and what you could do when you were outside your door would have made surviving difficult. Yet, people  persevered in spite of the conditions.

I used half square triangles (HSTs) that were part of an online exchange through "The Quilt Show." Of course, I "got to" sew more HSTs because I didn't have enough!!! I didn't have to stitch many. I also used Edyta Sitar's pattern for the trees.

Front of "Forest of Friends"
I wanted the trees to represent the seasons of the years during the war. I thought of the leaves representing the people that the war affected.

I quilted the piece as if there were more trees in the background because there were so many friends and family members that didn't survive. The print in the green triangles are trees so it was easy to extend the trunks and branches into the cream background.

I thought the yellow batik leaf fabric went well with the theme and represented the sunshine of life before the war. I quilted around the leaf print in the border to give that portion of the quilt some texture.


Wednesday, September 12, 2018

Quilting Mystery BOM--first step: The Ditch

Big BOM Mystery quilt
I've had this project pin basted and ready to quilt since last fall. As we are approaching yet another fall, I decided that I needed to put this project under the needle and get quilting! It is huge and the thought of pushing, pulling and shoving the mass thorough the harp of the machine was not pleasant.
I did start.

The first step, for me, is to stitch in the ditch to anchor all the pieces. Because I used a variety of colors in this quilt, there wasn't a way to do the ditch quilting without a lot of thread changes. (I could have used monofilament thread; but, chose not to use it. I chuckled because if there is a way to make more work for myself, I will find it!)

The beginning of stitching in the ditch
I used silk thread on the top and cotton thread in the bobbin. I matched colors so almost every fabric change meant that I also changed threads!

I decided to stitch the ditch of the pink centers of the blocks first. I started with the pink because I would be stitching in all of the areas of the quilt. This is important so that the quilting is evenly spaced across the piece.  I choose to do the ditch quilting with my number 24 free motion quilting foot. Being able to stitch in all directions without turning the project was important to me.

Once I had finished the pink squares, I started quilting the section of fabric next to the pink. Sometimes, this was a log and sometimes, it was the parts to square in a square. Body wise, I needed to do a little stretch after each section and every 30 to 45 minutes I took a 15 to 20 minute break. For a break, I worked on the design and fabric selection of another project I wanted to complete this quarter. I also walked around the house, folded laundry or started a side dish for dinner.

Some of the threads used to stitch in the ditch
As a result ditch quilting took most of the month of August. I stitched in the ditch at least an hour and often three or more hours many days. The reason to quilt in the ditch is because the "decorative quilting" that I like to add looks more balanced and it is easier to do. I figure that I have about 100 hours of ditch quilting which is a lot!!!

My plan is that by the end of October, I will have quilted the center of the quilt. I want to use rulers and I've picked out some threads that might work. I don't have a plan yet. I am happy with the progress I've made so far!

Sunday, September 9, 2018

Drawing with Miss J--a start to a couple projects!

Miss J sampling her smoothie with foam
School is back in session which means our oldest daughter has returned to teaching special education students. I'm thinking it is her 13th year of creating learning environments where kindergarteners through fifth graders excel. Our oldest granddaughter, started first grade! Our youngest granddaughter looks forward to kindergarten next year!

Mondays and Wednesdays, we get to host Miss J while her mama and her dad are at work. We read books. We cook together. She bakes delicious biscuits and can blend a mean smoothie. One of her favorite entrees is chicken soup with noodles so she will "preorder" soup as often as possible. Although, if she had a choice between soup and bacon, bacon would win every time! At the end of the day with us, we will ask what she wants for a meal the next time that she comes. Sometimes, she comes in the door with her "order" so we know she likes the opportunity to choose!

Top: J's work Bottom: Our work
We've also been drawing and coloring. I hope to hook her into embroidery. Her sister, Miss K likes handwork. This year, I'll get to see Miss K more often in the afternoons so I'm planning a stitching project that she can do too. (It is all about being fair!) With Miss J, I thought she might have fun making some art and then stitching it as an embroidery project.

I asked her to draw a picture which she did in a couple minutes. I liked her picture. I showed her how to trace and explained that we needed to make her drawing darker so it would be easier for her to trace. She agreed.

Then she added more circles. Some circles were good enough to add eyes and others weren't. Soon she was getting another piece of paper and sighed negatively as she drew her circle because it wasn't what she wanted.

I thought to myself how often I feel just like her when I try to draw! While I liked her work, I could tell the drawing session would be over soon if we didn't change up the activity. I asked if we could draw together. She thought that was a good idea.

She drew the circle with sleeping eyes, nose and a one line mouth which didn't suit her. I added pupils, eye brows and another line for the mouth. She added hair, an ear with earrings which she didn't like. I added more hair and a collar.

Our trio
She decided we needed to make another figure. By the time we had started on the third figure, she was ready for another activity. I doubt that we spent more than 20 minutes on this exercise. Note that the trio drawing is backlit with some words. This was my attempt at auditioning text as a background to the piece.

I loved what we had created together. Our most recent book that our book club, Thread Tales, read was "Girl Waits With Gun," written by Amy Stewart. There are three women in the story. You can watch a librarian review the book here. You can listen to Amy talk a bit about her approach to the book here.

While I wished we could have fleshed out that third figure a bit more, I decided I could draw a third figure on my own. Let me tell you, it was a lot more challenging to draw it without my helper!!!
My own work
I've wanted to sketch to develop my drawing skills. I don't have talent in the drawing area.  Last spring, I participated in an online activity where different sketchbook artists shared their talents. We were able to sketch along with them! Sadly, I didn't carve out the time to sketch all the lessons; but, I could see that practice would improve my skills and my confidence. Since the workshop though, I have spent almost no time practicing! (I need to make the time to practice!)

Drawing the figure on my own was tough as I struggled with the eye, nose and mouth shapes. Miss J had those placed as quickly as you or I would write the word "and!" I spent about half an hour on my pencil drawing, which is 10 minutes more than Miss J and I spent creating one figure!!!!

I'm considering using these drawings somehow as my next book club quilt. I had planned to stitch an entirely different design; but, since Miss J and I had this serendipitous experience, I'm feeling I'm ready to take on a new experience!

The review for this book will be a special one because Amy Stewart, the author, is planning to come to our reveal and have dinner with us before her speaking engagement later in the evening!

As for progress on the embroidery project, maybe on Miss J's next visit, we will put her initial design to fabric!


Wednesday, September 5, 2018

Miss K's Jean Skirt--Ninth Finish 3rd Quarter 2018 Finish-A-Long

Dirt stain
I couldn't stitch a jean like skirt for Miss J and not stitch one for Miss K! Originally, I planned to only stitch Miss K a gingham skirt with lots of ruffles or lots of swing. Miss K and I did stitch one of those. I had enough leftover fabric to stitch a gingham skirt for Miss J. That gingham fabric is a project for another day! Hey, a girl can't have too many skirts, can she?
Laundering the fabric

I saw this remnant of cotton duck on the opening day of the Hobby Lobby store in Clackamas, Oregon. I haven't seen printed cotton duck so that caught my eye. I originally thought this fabric was destined for a back pack; but, the half yard wasn't enough. I decided it would make a good skirt.

I unwrapped the fabric and was immediately disappointed because there were stains all over it. To be fair, the fabric package was marked "dirt stains" which I had read as "duck stain pattern." Of course, duck stain pattern doesn't make any sense!

Remaining scraps
At any rate, I sprayed a product on the dirt spots to loosen them. Then, I used Dawn dish detergent. Both products seemed to lift the stain. Then I laundered the piece. It all came out! Whew! Then again had the stains not come out, I wasn't out a load of cash--the fabric cost $3.47!

I did miss the sizing that was in the fabric originally; but, I sprayed the fabric with some of Mary Ellen's Best Press before ironing it. The Best Press worked great!

After cutting the pieces of the skirt out of the fabric, I had a small amount of scraps left. One piece is about 10 inches by four inches and one piece is about 16 inches by three inches. I'd say I got the most out of that half yard!

As I worked through the steps of the pattern, I had one of those times where I stitched almost every step incorrectly! After plenty of practice with the seam ripper, I did complete the front and the back of the skirt.

I inserted a piece of elastic and after I stretched it into place, the elastic lost its ability to snap back. So I ripped that piece and replaced it with a better quality elastic.

Finished back of skirt
The following session, I stitched the side seams, and the hem. I added the belt loops, a button and a buttonhole. The button came from my grandmother's button box! I like being able to add a touch of her to project any time I can. She taught me to sewing, cooking, gardening, preserving over the years. I had a finish!!! I used half a yard of fabric. I have now used 26 1/8 yards of fabric from my stash and have 22 7/8 yards left to meet my goal of using 50 yards of fabric from my stash this year. This was goal number three on my third quarter Finish-A-Long list. It is my ninth finish for the quarter!

The question is whether I can keep this skirt undercover until Miss K's birthday next May. Honestly, I rather doubt it!!!!
Finished front of skirt

Sunday, September 2, 2018

Martha's Sewing Room

Martha sharing a project at a small group gathering
My friend, Martha, enjoyed most aspects of quilting. In 1992, I met her at a "Quilt Til You Wilt" event--meaning quilt from 6pm to midnight. It seemed the later into the evening it became, the more animated and fun she became. At that time, she was hearing, although she wore a hearing aid. Over time, she lost her ability to hear in both ears and had cochlear implants. She learned to read lips and worked hard to pick up progressing sounds from her processors. Verbal communication was always a struggle for her and for me too. We got around the hearing challenge by communicating in the language of "Quilt!"

Through the last thirty years of her life, she spent many hours creating in her studio.  She had a job at Jantzen (a Portland based swimwear company) sewing on a production line. I mention this because she liked to sew fast. I think she was the one the phrase "pedal to the metal" was written! Her ability to sew fast, to stitch for long stretches of time helped her create many quilts/projects over the years.

Her answer to the "What's in My Cupboard" challenge
She made baby quilts for the expectant couple. She made quilts for the couple getting married. She made quilts for raffles and she made quilts because you needed one. She and her dad made hundreds of quilts for "CARES NW," an organization that responds to the needs of abused children. He would cut the squares and she would stitch them into quilts.

She sold some of her projects and sometimes, she was commissioned to make a special quilt. This money would fund the expenses of thread, fabric and pattern for her next project. She stretched those dollars shopping the sales and using discount coupons. She was passionate about making and donating quilts for kids because she felt this population especially needed to be wrapped in warmth and love.
Her answer to another challenge

Martha liked working with string and crumb blocks because she could stitch without having to be careful about seam allowances of cutting off points. Remember, I said that she liked her machine in pedal to the medal mode! She also said if you had a fabric that you ended up not loving, it was the perfect one to throw in the string or crumb mix to allow the fabrics you loved to shine.

She loved the rich colors of batiks and paper piecing. Over the many Fridays we stitched together, I watched her pull fabrics from her stash to put into wonderful color combinations. I wouldn't think the fabrics would go together and she would tell me to squint my eye! She loved starting new projects!!!! She especially loved to participate in challenges.

At the end of June, we were talking about our projects and our stashes. She said her stuff would be put into an estate sale.  BUT, she had a particular destination in mind for her stash of tools, fabrics, supplies and works in progress. She wanted her fabrics to benefit kids. She said the chair of the stitching comforts committee of one guild she belonged to needed batting and backing. She appreciated how the committee chair used and valued donations to comfort stitching. Martha was impressed too with this chair's connections--I'm not meaning dark or back alley type connections--but how the chair would know an organization that would get the supplies on the street and in use fast.
Her sewing space without her supplies and fabrics

Little did I know that would be the last voice to voice conversation we would have. She didn't recover from a fall in her home on July 6. (I missed her graveside service because I was on vacation in Hawaii.) I'm glad we had that conversation. I shared our conversation with Martha's brother who is in charge of her estate. With his support, I did follow through as much as possible on her final wish.

I'm thankful to four guild ladies for spending the time to sort, box and clear Martha's sewing space. In nine hours, we filled seven cars so full of fabrics and supplies that not one more package of needles would fit! I marveled at how Martha packed so many treasures into a room that was about ten feet by eight feet!

Through the sale of some of Martha's tools, the comfort stitching chair has money to purchase batting. The day after the move,  guild members cut 100 quilt kits for other members to stitch a comfort quilt for charity.
Her supplies that came to my studio
Her buttons and trims went to a children's art program. Many of her fat quarters went to the Quilts without Borders organization. Her bold trims and sparkle fabrics as well as stabilizer went to the drama department at one of the local high schools. She would be tickled that her supplies are stretching beyond the community where she had lived for the last 35 years. I'm thankful that a little bit of Martha will continue to spread joy and comfort for many years to come.

I miss our stitching times. I spent many Fridays stitching on the blue table in her studio while she stitched at the desk. It felt so odd to be emptying her space and to be in her space without her! Although working in her space and following through with her plan for her supplies has provided me with closure.

Her brother gifted me a couple quilts that none of the family members wanted. These will be part of a display at the September Clark County Quilters (CCQ) guild meeting. They are quilts she made as part of the annual CCQ challenge. She was proud of her design in the "I Love Vicky" quilt that she created as her answer to the 2010 challenge. I also have the supplies that wouldn't fit into the seven car loads. I'll be posting about what happens to those items in the future.