Showing posts with label drawing. Show all posts

Sunday, May 31, 2026

Read--post 1

First pencil sketch; hands too low; poor fingers
Goal number six on my May list was to figure out what to do for the current book club book which is "The Last Bookshop in London" by Madeline Martin. With each project I make, I try to challenge myself in some way. For the last several projects, I've used scraps and blocks from the "parts department."

Second sketch: hands okay; too much like a newspaper
As I read this book, I had several thoughts about projects I could make. Those projects would take more time than I had to spend on the project. I thought some more. 

When I was in London earlier this year, I was re-listening to the book. In the story, the main character takes a position working in a London Bookshop just before WWII began. When the bombs fell on London, she would read to those that were using the tube as a place to shelter. Reading in the tube became a way for her to connect further to her community. 

It's been a while since I played with line.  I pondered that I could make a line drawing of hands reading a book. I could call the project "Read." I could use some of my grandmother's narrow bias tape to define the line. I looked at people holding a book, holding a paper, holding a newspaper. I asked my husband to hold a book. I reviewed examples on Pinterest. I drew a sketch. 

The hands were too low and the fingers weren't visual enough. I couldn't draw the right perspective with the arms. The book curve was okay, I wasn't successful making the drawing one line as I had picked up my pencil and redrawn or back tracked in some areas.

I tried a second time. This time, I did achieve a single line. The hand and fingers were much more believable; but, the book now looked like a newspaper.

Third sketch: more book like
For the third try, I erased a few lines and added a curve. A few lines overlap; but, the design is doable. I enlarged my sketch on my home printer. I used a black Sharpie marker to darken the lines. I chose a medium gray solid fabric from my stash for the background and a blue grey bias tape. The price on this package was 85 cents.

Auditioning a few strings to represent stairs
As I reviewed the layout, I thought that I needed to add some interest to the top and bottom of the piece. I auditioned a few grey string blocks and decided to place those across the top and bottom of the piece. The strings could represent the stairs where the people sat. 

Bias tape
While I was piecing the orange blocks for the Rainbow Scrap Challenge, I pieced the remaining three string blocks I needed for the borders. I added the blocks to the background. Using a light box and pencil, I transferred the pattern to the background. Using Elmer's School Glue, I glued the bias tape to the background. 

Offray ribbon
The plan to use bias tape while a good plan, didn't work. The tape wasn't narrow enough as I lost the definition of the little finger. Gertie, my inner squirrel, and I thought some more. We could couch a ribbon, yarn or maybe stitch heavy lines of thread or maybe a combination of thread and couching? We decided to try gluing black offray ribbon to the lines. That idea worked.

Read and auditioning the lower string border
As I stepped back to view the hands reading the book, Gertie and I both exclaimed it needs the word, "Read!" I like the add as does Gertie! We then auditioned the string border for the bottom of the quilt. Neither of us liked it. I tried auditioning only the lower border. I tried auditioning string blocks around the entire perimeter. I didn't like that either. So in the end, we both decided the upper string border was enough. The strings can either represent the steps the people sat on in the tube or the rubble that they found when they emerged from the tube.

Ready for a backing and layering
I selected a backing and a sleeve fabric from the stash. These fabrics have been around a long time. They were "gifted" to me. They must have been waiting for this project!  
The backing and sleeve fabric
I layered and glue basted it. Because this is a wall hanging, I used Warm and Natural batting. The letter R looked lonely so I added a bit of ribbon. I'll attach the ribbon as I quilt. 

Ready for quilting
Now to determine the quilting! Linking to Oh Scrap and Sew & Tell.


Wednesday, June 29, 2022

The Personal Librarian--Post 3

Piece after stitching all the facial details

In my second post about this project, I wrote that I wasn't happy with how puffy the face was after I had added all of the details. (If you want to read the first post, click the link.) 

I only brought the black Aurifil thread with me for this project. I really needed some neutral thread. I've walked through many parts of Central London. I've seen several tailor shops and dry cleaning shops. I've not seen a fabric store although my on line search showed me some that were a 40 minute bus ride from where I was staying. 

Face after adding a few quilted lines
What to do? I decided to ask my daughter's friend, Fritha, if she had any neutral thread I could have. She brought me a bag of "embroidery silks." There was a little bit of white sewing thread on a spool. She said that she didn't sew and that she hadn't done any cross stitch since before the pandemic. She said she would be happy if I used a bunch of the thread.

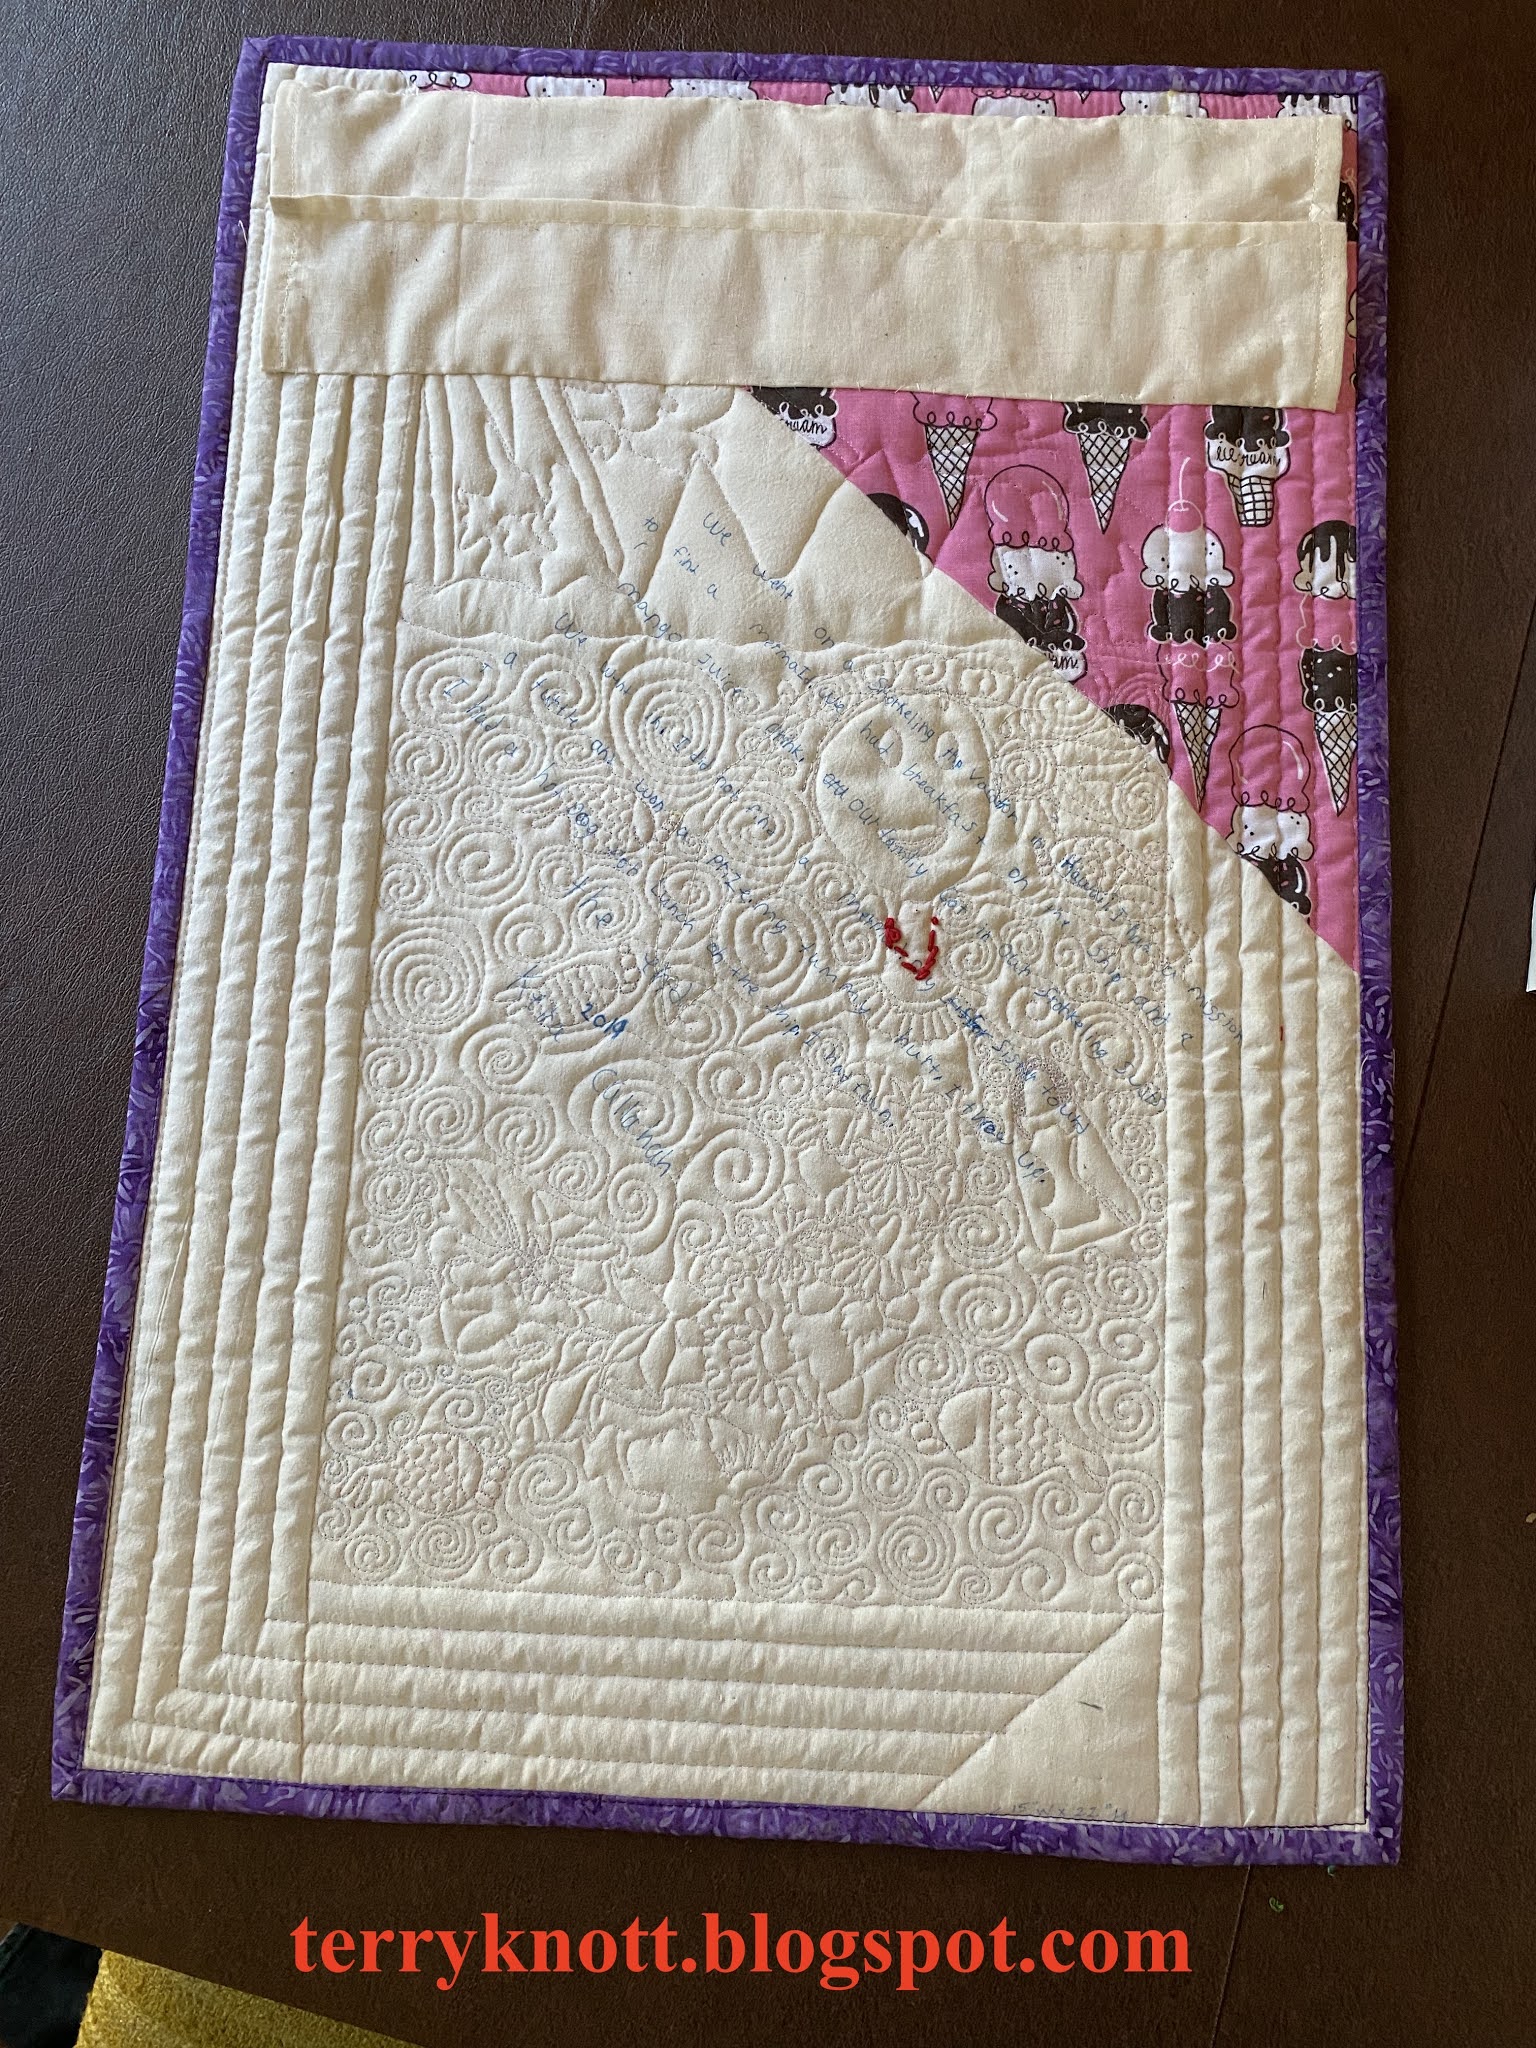
Label
I used a couple strands of Fritha's embroidery floss to solve the issue of the puffy face. I added a little definition to the eye area. In the book, the author reveals the character being close to tears that she would be discovered. If discovered, she would lose everything. I added some straight lines to represent the internal tears she allowed herself. I added some lines around the mouth to
represent the times she refrained from making a comment for fear of standing out rather than blending in.

Back
The quilting lines helped disperse the puffiness that was in the face. I pulled the backing to the front to finish the edge. I used tiny stitches to stitch the binding in place. I had envisioned adding some black embroidery stitches to edge; but decided I would leave the area plain so that the emphasis remained on the face and the facial features. I liked how life like her eyes are. I also liked the open space between the background text and the edge finish. The overall design reminds me of a page in a magazine or a book.

I did try to block the piece a bit with steam from my daughter's iron. My daughter said this was the second time an iron had been used in her flat and the first experience for this iron. She said she ironed some napkins for a Thanksgiving dinner that she hosted pre-pandemic. I didn't have a measuring tape nor an ironing board. I used a folded towel to press the project. I used a piece of computer paper to give me a rough estimate of square.

Front
For the sleeve, I used a piece of the leftover fabric from the project. I hand stitched the seam and hand stitched the hem at each end. I attached the label with my usual hand stitching. I mulled over what to call this project. I had a suggestion from my Mavens group. Unfortunately, I wrote the title in a book that I didn't bring with me. One of Nicole's friends, Victoria, who saw the piece used the term "Held" to describe what she saw in the figure's face. I decided that would be a great title for this project.

I learned that it is possible to create a project without a sewing machine and a few materials as long as there is a little help from friends. Thanks Fritha and Victoria, I could not have finished without you!

This was my one monthly goal for June. I'm linking to Patty at Elm Street Quilts. Please click on the link and see all the other great projects this month. Elm Street Quilts One Monthly Goal - June Finish Link-up


Sunday, June 19, 2022

The Personal Librarian book project--post 2

Completed pattern
At the end of my first post, I wrote that I combined the lines of text with the face drawing. I didn't redraw the face, I traced it in this manner: 

I taped the original drawing on the sliding glass door.          I taped the text lines on top of the drawing and I traced the face with a pencil line. Then I darkened areas and reshaped other areas until I felt that I had captured the expression of the face.

From there, I transferred the design to my fabric using a pencil with a number two lead. In my neck of the woods, this is an ordinary school pencil. I drew lightly. Again, I used the window as my light box to transfer the design to my fabric.

Basted project
The fabric that I used for this project was on the guild free table years ago. I made a small wall hanging from a lot of it. I speculate that the fabric was once a tablecloth. I had enough to keep the front and the back the same.

Stitching the background
Next I layered and basted the backing, wool batting and top. I pinned the layers together and then I basted the layers together with thread. The reason I basted with thread is that I didn't want my thread to catch on the pins. I stitched a grid with red basting thread.

Eye detail
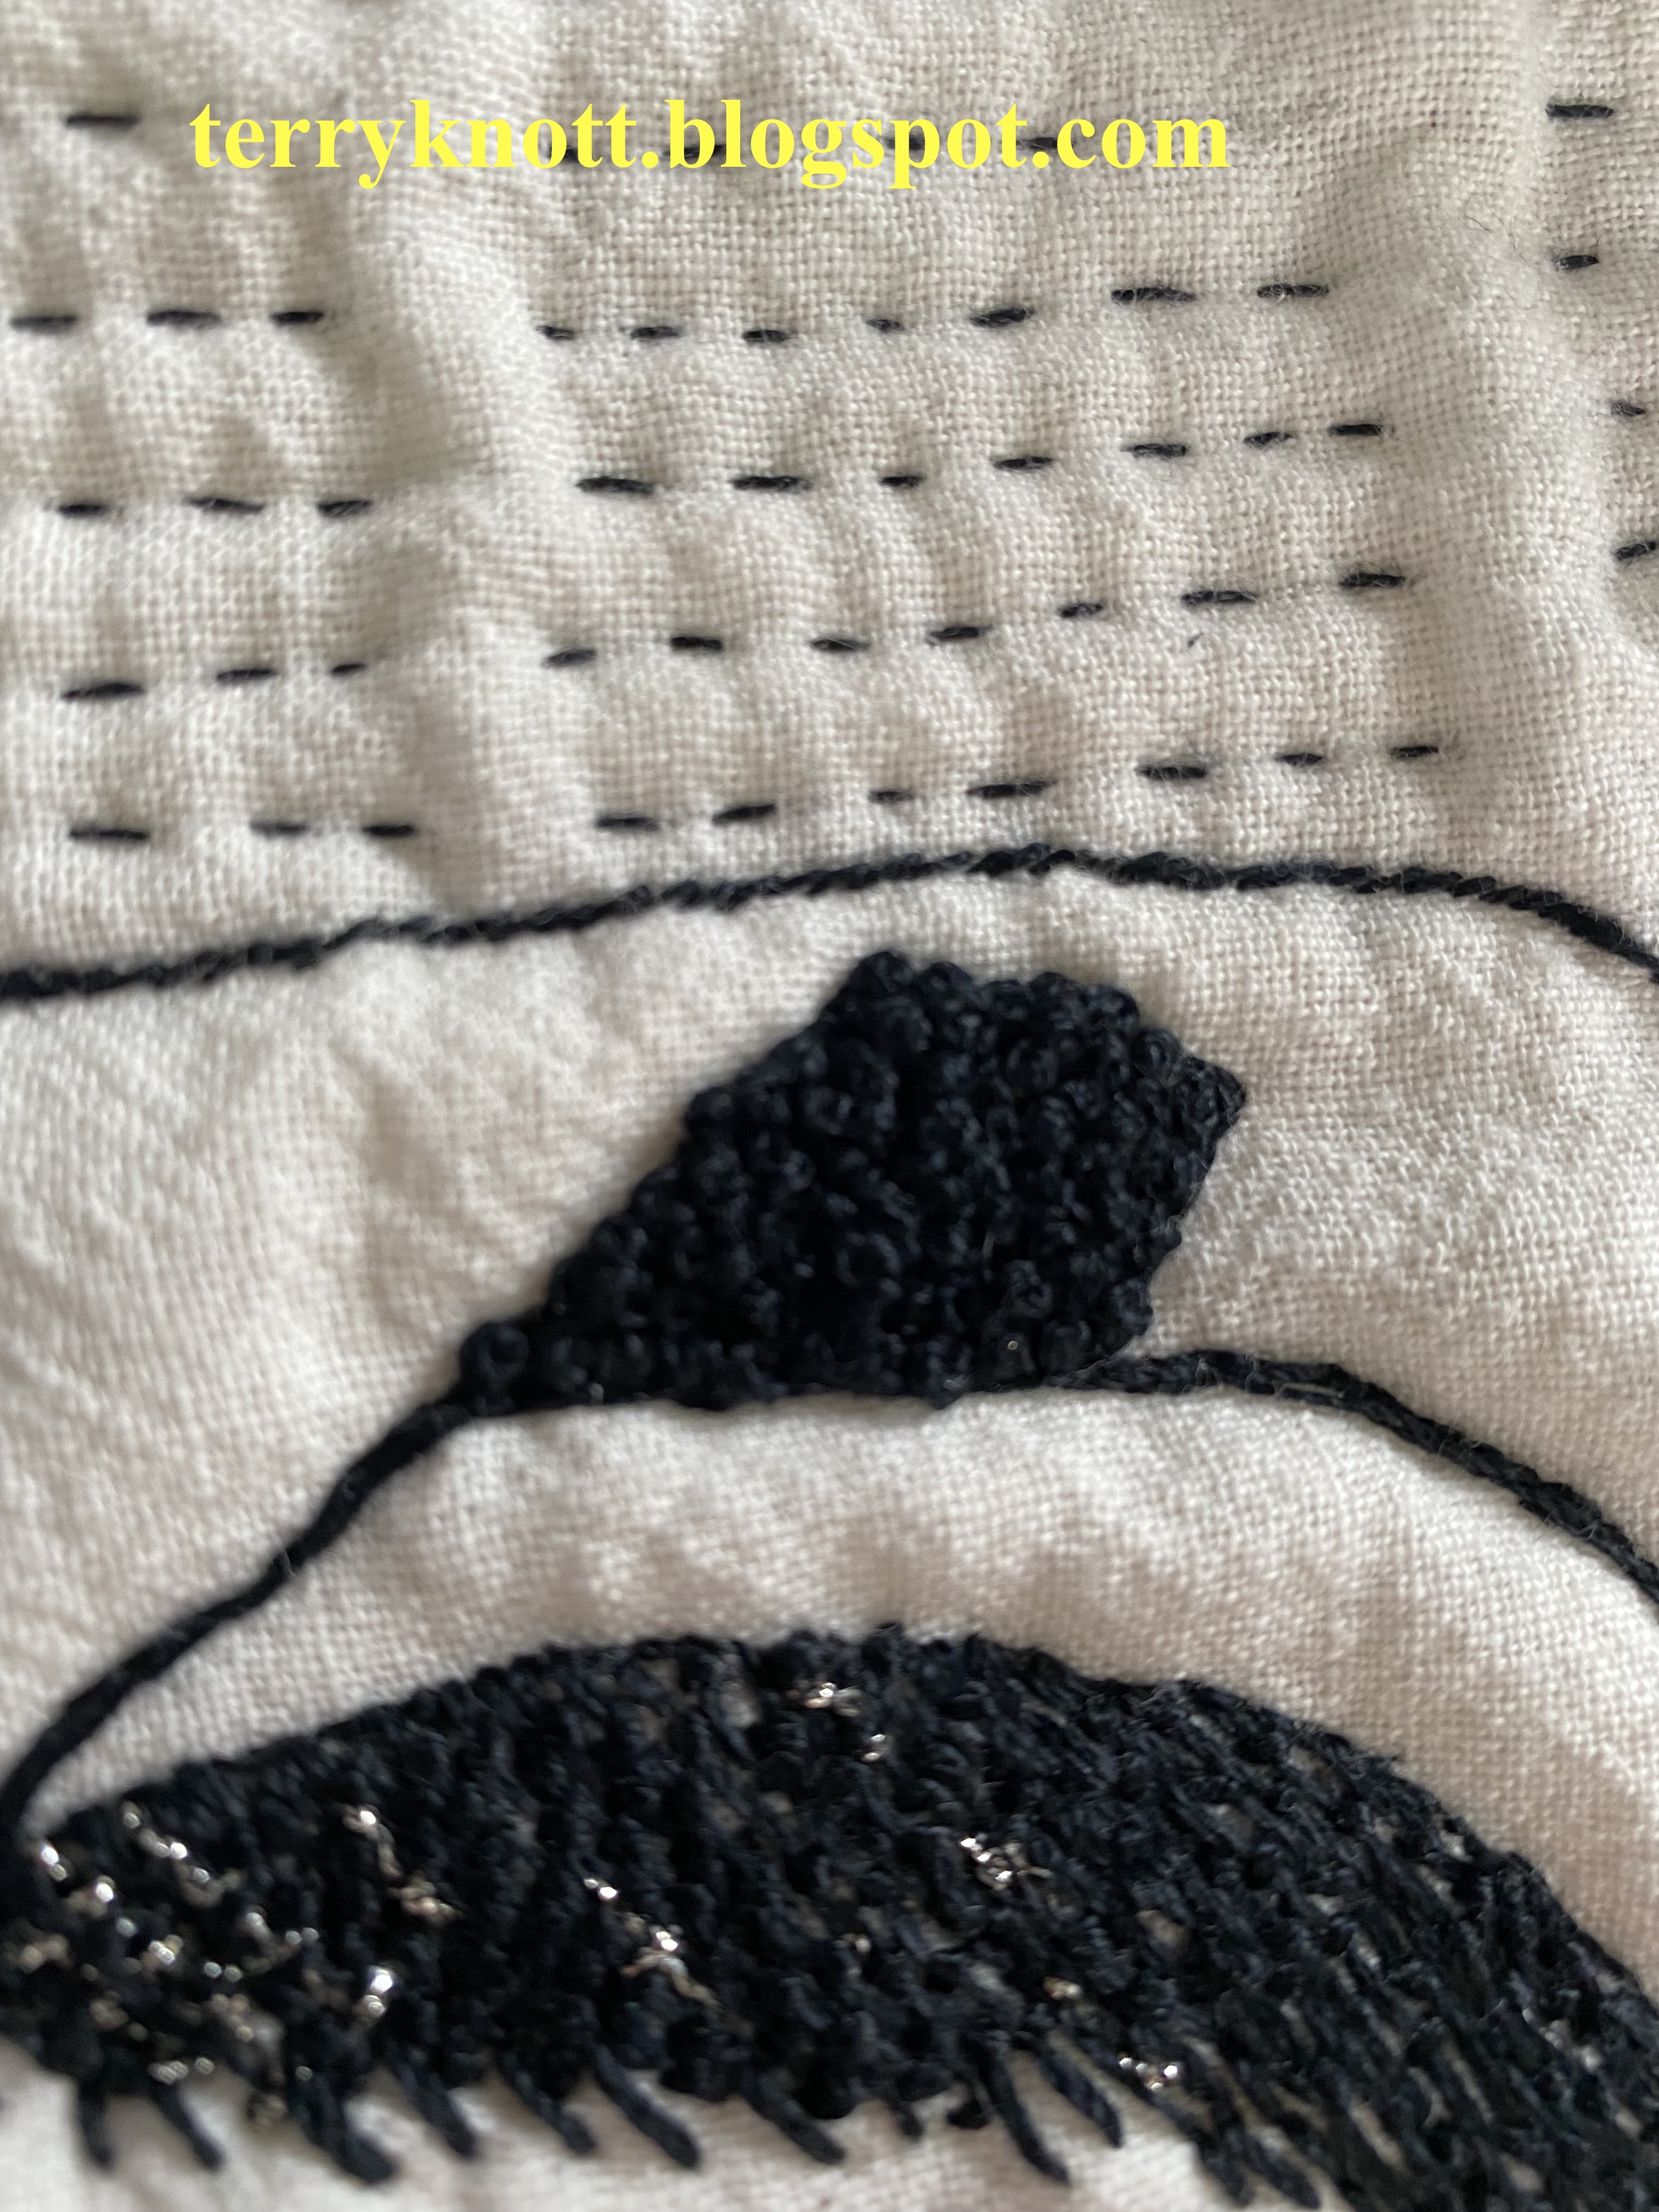
From that point, I selected my black 12 weight Aurifil thread and began filling the background with embroidery stitches. I made an effort to make my stitches even most of the time. 

Although, on purpose, I made the stitches a bit uneven to represent that the character in the book was wary of being found out that she was a black woman working in a white world. Every day she walked a precarious path of fear!

When I left for London, my plan was to fill the fabric with a variety of hand embroider stitches in a design to reflect text. I decided not to stitch anything but a running stitch to represent text. 

It was helpful to have basted the lines for the columns. I attempted to make my stitches similar looking on the back. I traveled my thread from one row to the next. I buried my knots. It was relaxing to complete this part of the project. Working on the background first, allowed me time to consider different stitches to use to develop the facial features.
Colonial knots and bang detail


I did a stem stitch for the eye brows. I used a back stitch to outline the eyes and a satin stitch for the pupils. I used an outline stitch to mark the areas of the hat and hair. I stitched  Colonial knots in the hat buckle. I stitched coral stitches to give texture to the hair. 

I found it interesting how several stitches made the thread look like it was a richer black I did add a few stitches combining the black thread with a metallic thread in the bang area of the hair. In my work, I like to add a little
something different for the eye to find.

At this point, I was stuck. I was finished embroidering the piece. I could have left it at that point and moved on to the edge finish. . . but, I wasn't happy with how puffy the unstitched areas of the face had become. In my next post regarding this project, I'll share my solution. 

Yesterday, I received notification that my audio hold for this book was now available. Perhaps, I will be able to listen to the book before the reveal of projects in two weeks after all!

I've listened to two hours of the book. I smiled when I heard that she was attempting to smooth her curly hair in one passage. Choosing the coral stitch to represent hair was a great choice!


Sunday, June 12, 2022

The Personal Librarian book project--Post 1

First version
I knew before I left in March, that our next Thread Tales book club was "The Personal Librarian" by Marie Benedict and Victoria Christopher Murray. I had "reserved" an audio copy through my library at the end of February. Because the queue was so long. . . more than 24 weeks, I realized that I likely wouldn't have the opportunity to read the book much before the reveal.

Fortunately, to participate in our group, one doesn't have to read the book! I did go on line and review summaries of the book and I read book reviews. This lead me to look for information about the woman, Belle da Costa Greene. Reviewing the information, gave me some ideas.

Thumbnails
Had I been home, I likely would have made something inspired by Illuminated manuscripts since Greene had a love of those. Knowing that I would be without access to a machine and my stash, I decided to keep my design and palette simple. I want to work more in a modern design to play with that concept. 

I also decided that my palette would be black and white and that the project would be about the size of a sheet of paper. I thought about what her life might have looked like had it been a schematic line drawing. I put my pen to paper and made a drawing of straight lines and curves. I added a little shading.

Inspiration art work
When I want to make quick sketches, I use ink. When I can't erase, I find that watching the ink flow puts me into a rhythm. Sometimes nothing comes from the exercise and sometimes I like what happens. From what I learned on line about the character I could imagine that these line could represent her life path which needed to alter at times. 

While I liked the drawing and while I figured that I could use black bias tape on a neutral background to complete the project, it didn't move me. Gertie, my inner squirrel, couldn't believe that I did more research. She was even more shocked when I selected the fabrics and thread to take with me before I had settled on a design. I knew that I had created a challenge for myself when I limited the scope of the materials!

Lines of text
As I contemplated that first drawing, I thought about stitching lines. Then I considered using different stitches for a line or a series of lines. I got out my sketchbook and drew a series of thumbnails. As I drew, I considered lines of type. I thought that the "type" could be stitched in different hand embroidery stitches.These are about two inches square and done in about ten minutes. 

Full figure drawing attempt
While it was a fun exercise, none was "the one." A variety of embroidery stitches no longer felt like the pattern that I wanted to create. 

By this time, I was in London and planning places to visit. One of the places on my list was the Fashion and Textile Museum. We waited until the exhibit "150 Years of the Royal School of Needlework Design" was open to visit. It was a good exhibit of a variety of needlework types through time. 

One of the exhibits was from a group that made banners using blue thread on a neutral background. Unfortunately, there was no signage about the maker of this work. This work inspired me to draw some more. It prompted me to view online photos of Greene. 

Drawing of Greene's face inspired  
by a Wikipedia photo
Greene had a secret that she kept for decades. I wondered how keeping a secret for so long would affect someone's personal appearance. I looked a photos of her younger self and photos of her older self. I first thought that I'd draw a woman in a full length dress. I could silhouette that drawing against the background of columns of type.  I wasn't excited about that drawing.

Because I wanted the opportunity to change angles, I did the drawing in pencil. I happened upon an older photo of Greene. I was surprised at how thin her lips had become and the pinched look that they had. Her eyes seemed to be looking into the shadows for threats to expose her secret.

I decided to replicate the photo in a drawing. It probably took me about half an hour to complete the drawing. I'm not an artist. I haven't taken a formal drawing class. I was pleased with my effort. My daughter was surprised that I was able to capture Greene's resemblance. Honestly, I was likely more surprised than she was with my results!

From this point, I combined this drawing with the lines of text. I felt like I had a good "pattern" for my project. In my next post on this topic, I'll share my next steps.


Sunday, June 27, 2021

Miss K's Mermaid Is Finished--Post 6

Applying the glue to the binding
On our next sew day which was early March 2020, Miss K finished her binding. She liked cutting the 45 degree angle on the binding tails. 

I showed her how to glue her binding in place instead of using pins. She was skeptical about the glue; but, she gave the process a try. It worked well for her. She liked using the iron to make "the glue melt." I liked her description of the process. We spent about an hour finishing the binding.

Finally, we were at the stage to add beads for the fish eyes and to add the hair to the mermaid. I've wanted to see the mermaid have hair since Miss K first described her vision of the mermaid's hair. As we have worked on the project, the conversation about the mermaid's hair has evolved. Miss K has auditioned "hair" so that I would understand what the hair should resemble!

We had planned to spend Spring vacation working on her project. COVID restrictions sure curtailed progress on that plan! We didn't get together to discuss the project until the beginning of April 2021. Miss K auditioned beads for the fish eyes. She decided that she would rather stitch the eyes with thread--she was concerned with how the back would look. She did pick some beads to put in
Painting the fish
the hair.

When we finally got together to work on her project last week, she decided that she wanted to do something to make the fish more visible. She practiced making marks of various colors on a scrap of the background fabric. She used tsukineko inks and a brush applicator to apply the ink to the quilt surface. I purchased the inks and applicator brushes when I attended a class at the International Quilt Festival in Houston, Texas a lot of years ago. I haven't used the paints since.

Detail of fish
Miss K liked the effect of the paint. She was surprised how the color changed depending on the part of the fabric she was painting. She marveled that she could see the fish from a distance after painting them. She used a micron pen to make the dot for the eye. She also used the pen for line work to add a little detail to the tails. She liked that the inks left the hand of the fabric intact and that there was no stitching or knots on the back of her piece. 

Mermaid with yarn hair
Next, she added the hair to her mermaid. Originally, we had cut thin strips of fabric to make dreadlocks. From the free table at guild in 2019, I picked up a package of doll hair. It was curly yellow yarn. Miss K laid out pieces of the yarn in a pleasing layout to her eye. She liked the yarn better than the fabric strips. She wanted the yarn or hair to be "pouffy." 
Sewing the sleeve

With my help, she free motioned stitched/tacked the hair in place. To achieve the pouffy look, she left sections of the yarn unstitched. She also stitched the yarn with a metallic thread so that it would look like there was a net of sparkle in the hair. She had to stop and readjust the yarn as she adhered it to the quilt top. She loved the effect the hair added to her piece!

 She made an effort to not entirely cover up the fish on the top left. As she worked, she developed a story about the fish and the mermaid! It was fun to listen to her process. Throughout this process, it was challenging for me to figure out how she could achieve the look that was in her head!! 

I showed her how to position and hand stitch the hanging sleeve. She was NOT a fan of hand stitching. I didn't have a thimble that was small enough to fit her finger nor did I have any finger savers. She poked herself which hurt! She was NOT a fan of stitching the corners of the binding closed either. 
Using pliers to pull the thread

I thought that she would be excited because I thought she was finished. Nope, she wasn't finished. She said the mermaid needed a necklace, a nose and there was too much of a white space in the middle of the mermaid's face. Then she decided that the eyes needed paint to be more "real." She let me know her thoughts had "matured" since she drew her picture when she was seven. She had her ninth birthday last month!

She auditioned ribbon, beads and paint for the necklace. She wasn't excited about the options available. I suggested she audition a piece of red pearl cotton. She liked the color; but, she explained to me that it wasn't thick enough to be a necklace for a mermaid. We made a sample of a strand with colonial knots couched on the strand. She liked the texture. 
Necklace and nose

She laid the thread and pinned the center in
place so that it would remain in the position that she wanted it. She found it challenging to hold the wraps on her needle and impossible to hold it all in place to pull the thread to the back of her quilt. 

She found she was almost strong enough to pull the needle through all the layers with needle nosed pliers. She had me hold the threads on the top side of the project while she pulled. She wasn't happy that the embroidery covered a word of her story. BUT, she loved the effect. I loved the effect too!

She used color pencils to blend the color of the face better and she used a micron pencil to add a nose. We got out the acrylic paints and she gave the eyes more dimension. Now she was truly finished. (She decided her mermaid didn't need a crown after all!) She was excited! It measurers 15 inches wide by 25 inches high. It is constructed of scraps. Many of the scraps came from my friend Martha's string bin.
Finished back

Miss K began her journey with this project September 2019. Throughout the entire project, she built her quilt in her own vision. She chose the colors, fabrics and threads that worked the best for her design. She is letting me keep her quilt to enter in a quilt show or two should the shows be held.

You can read the previous posts of her journey by clicking the links below:
Miss K is Stitching--post 1
Miss K's Mermaid--post 2
Miss K's Mermaid--post 3
Miss K's Mermaid--post 4
Miss K's Mermaid--post 5

This was goal number five on my June list. We used about a yard of scraps so 5 3/4 yard of stash/scraps has been used this year. We have already decided what our next project will be.  Now, if we can find the time to get together! I'm also linking to Oh Scrap--Quilting Is More Fun Than Housework.
Finished front

Regarding COVID:
Worldwide: 181M cases; 3.92M deaths
United States: 33.6M cases; 604K deaths
Oregon: 208K cases; 2,704 deaths

The Oregon governor has announced that the state will open to "normal" on June 30. While I'm happy about the prospect of wearing a mask much less, I imagine that I still will  wear a mask because the people who aren't are either vaccinated or not. It's the unvaccinated group that concerns me. It seems odd that the magic number to open was 70% vaccinated. The state is 51% totally vaccinated and 57% of the population has received at least one dose of the vaccine.

On another note, we are having a heat wave. Yesterday, it was 104 degrees Fahrenheit as the high and 67 degrees as the low. Today, the forecast is for it to be 111 as the high and 72 as the low. I can't remember a time that the upper temperature was that high. It will be an indoor day for me. I'm thankful for air conditioning! Restrictions on the number of people in a swimming pool have been reduced as have the restrictions for number of people in a cooling center.


Wednesday, November 4, 2020

Door Block

My drawing of the block
The block challenge at the Clark County Quilters guild for 2019-2020 was to make a door of a place someone would live that finished to seven inches wide by 10 inches tall. One inch of fabric was needed on both sides of the block as well as the top. 

Those rules felt doable. I needed a design. I thought about wooden plank doors surrounded by rocks. I thought about the door of a tent. I thought about decorative doors surrounded with stucco. I looked at castle doors and ship doors when I was traveling in London during Christmas last year. I tried drawing a few thumbnail sketches. Nothing really excited me.

I decided I would pass on the contest. After all, I had quilting to do on my daughter's "Leaves" quilt to finish before the April show. I wanted to concentrate on that project. Then I received a request from the block chairperson. She asked if I would please make a block because with a couple weeks before the acceptance deadline, she had received eight blocks. She also said that four of the eight were made by the same person!
Selvage panel

Again, I thought about the challenge. I looked at my front door. I drew it and then I modified it. I still wasn't excited about making the block until, I thought about what I would put on each side of the door. I have siding around my front door.

In thinking about the siding, I thought about all the selvages that I had on hand and decided that those could represent "siding."

I sorted strips that were red because that is my favorite color and yellow because that is my friend JoJo's favorite color. I thought a yellow door with red accents might make a happy looking block.

Close up of incoming mail
A small scrap of a grey print fabric became the window. I tried to use this same print to act like a step; but, I didn't like the way it looked so I didn't use it.

I used red ribbon from my stash to divide the door into "panels." Some ribbon pieces I couched into place and some pieces I straight stitched into place. For dimension around the door, I decided to use two different blacks for the door moulding. I even mitered the corners of the inner moulding; but, the mitered corners aren't noticeable on the finished block.

After I had stitched the moulding to the door, I stitched the selvage section or "paneling" to the moulding. I added a wide section of paneling for the top of the door.

Close up of house number
Then I looked through my scraps searching for a fabric that would serve as the walkway. After I had stitched the walkway in place, I started adding some details to the block.

I appliquéd a mat to lie on the walkway. I used red embroidery thread to embroider "Welcome" to the mat. I also embroidered the house number in red and chose to mark it as the year, 2020. I cut small pieces of black ultrasuede to serve as the door handle, key hole and mail box. I appliquéd these in place with black thread.

I embroidered the word "Mail" to the mailbox. Then I cut three equal lengths of selvages that I appliquéd into place to serve as "letters." I used a fabric pen to ink a stamp and I drew a few lines on the "letters" for realism and then I said it was good enough!

Finished block
I mailed it to the block contest chair person the second Thursday of March. Because COVID-19 canceled our in person April 2019 show and the rescheduled in person November 2020 show, I get to wait for the November 12 virtual guild meeting to see what it looks like with other people's blocks! The block committee chair will stitch these blocks into the guild's next opportunity quilt. I will be sharing the link to the virtual show in an upcoming post. Stay tuned!

Sunday, June 30, 2019

End of the Month ReCap

It's the end of June. . .I'm not sure how that happened so quickly!!!

This month, I trained:
8 lifeguards, 11 lay First Aid/CPR/AED responders and 33 participants in HealthCare Provider CPR for a total of 52 people!

Salmon fishing
Last Sunday, we went salmon fishing out of Astoria, Oregon in the ocean. It was the second day of the season. Previously, we had fished in the Columbia River and usually we fished in August. Salmon runs are down again this year. The Fish and Game Commission lowered the number of fish you could keep fishing in the river. If you caught the fish in the ocean, you could keep more. Therefore, we made the decision to book a trip to fish in the ocean. I had several bites; but, I landed none.

Bob, my husband, landed three and we were able to keep two of them! (One was a native fish which was released.) Of the five fish our party kept, his was the largest. I often get seasick and I did this time too. . .for the entire trip. I don't know what the issue was. The water wasn't rough. I could see land too! I took dramamine; but, it wasn't helpful. Or perhaps, had I not taken it, I would have had even more nausea! In spite of the nausea, it was a great day. We ate some of the fish the following day. It was delicious. I'm glad that Bob was able to bring home some meat!!
Apple shading exercise with color pencils
Of the seven goals I listed for the month, I completed two. On goal was to come up with a plan of stitching a wall hanging with a river as inspiration. I was stuck on how to start. JoJo and I had a brainstorming session regarding this quilt project which has been on my mind for more than a year. I now have a plan of what I think I want to do.

Pencil drawing of my hand
I also have a plan for the next step in my Kopp Sister's quilt project. I figured out a backing fabric for "New Beginnings" so I can layer and pin baste that project for quilting. Being able to bounce ideas with JoJo has always been helpful! We decided we needed to make a bigger effort to get together more regularly. Before our session ended, we scheduled our next date!

I also finished two workout tops. The plan was to stitch one; but, there was enough fabric for two so each grand received one!

This month, I stitched with a group of new friends. The outing gave me a chance make a little progress on my Bonnie Hunter Good Fortune mystery that I started last fall. This project will be the one that I take with me to future sew days.

Although, I had completed the software part of the embroidery lesson for May and because Joie balked at stitching the samples, I didn't stitch out the samples. There is a lot of raising and lowering the presser foot during embroidery and she just wouldn't cooperate. I decided she needed a spa treatment!
Embellishing the habit tracker page in my bullet journal
I learned that I actually wore out the part that raises the pressure foot up and down! She was away from the studio for a couple weeks. By the time she was back in the studio, my window for embroidery had passed so I'll do the stitch outs next month.

I appreciate that Aaron at Quilting Delights was able to repair her as quickly as he did and that the part was under warranty. Robin, who checked Joie out to me, reported that this was the first time that they had seen that part wear to the point the presser foot wouldn't function!

As for the other goals, I'll roll them over to next month. I had about a week away from doodling, drawing and sketching. I missed it! I'll share a couple photos of what is in my sketchbook and bullet journal. I find sketching for 10-30 minutes is helpful. After working with the bullet journal for the past 11 months,  I can report that I like it so much better than the systems I had used previously.  I haven't switched to a new journal yet. I estimate it will be next Spring, when I finish the pages in this first journal!
The grands sporting an enthusiastic pose 

On one of the days that the grands visited, they slipped on their outfits that I had sewn for them earlier this quarter so I could snap a photo of them.

They obliged  my request with such enthusiasm. I feel fortunate that I was able to capture that memory! I posted about Miss K's dress here and Miss J's skirt and jacket here.

Miss K and I did make some progress on her quilt. She hasn't made arrangements yet for additional working in the studio days. Miss K also lost her first tooth. Neither have asked about setting a sleepover date. They are leaving soon for a trip to Disneyland so I'm not surprised that setting some dates are not a priority at this time!
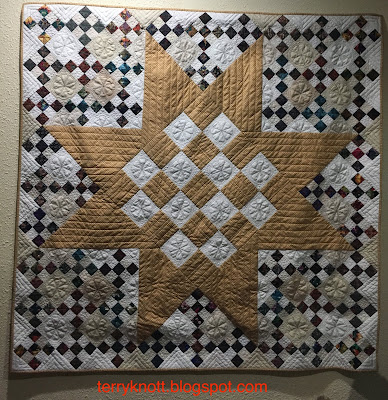
Stash Buster challenge sample
I did unveil the sample and rules for the challenge at the last Clark County Quilters guild meeting for the year. I'm chairing that committee for the 2019-2020 guild year. The group won't meet again until September. Some members wanted to know about the challenge so that they could have more time to work on it.

The contest will end in April and the quilts will hang in the guild show. If you would like to play along, let me know. I'll post the rules here too! (We can post your quilts here!) I hope to encourage people who might not have participated in a challenge to give it a try.

Beginning in September, I will write one post a month regarding some aspect of completing a quilt for the challenge. I hope people will comment as interaction will help solve problems as well as make the experience more fun.

All in all, it was a productive month!


Sunday, June 23, 2019

Miss K's Mermaid post 2

Carrot peeling
After Miss K completed her cross stitch project, we made lunch. She peeled carrots for the relish tray and cooked the sausage for the pasta dish. She even toasted the bread and buttered it. She impresses me with her abilities as a seven year old!

Once she had eaten, she was ready to work on her mermaid project. Miss K has definite ideas about the fabric she wanted to use. You can read about how she created her design here.

I showed her how to use Susan Carlson's technique with fabric applique. It is a raw edge process. She liked using the glue and marveled at how easy it was to place the pieces.
Auditioning fabrics

Miss K LOVES working on the design wall. She auditioned her fabrics for the project and organized possible fabrics in groups. She was excited about using a particular scrap for her bucket. I asked if she could see it. . .she said yes. . .I looked at her project and I couldn't see it. . .until. . . .she pointed it out to me. Then, she understood what I meant about auditioning the fabrics.

We worked on her girl's face. She picked a skin type fabric and decided she wanted dark eyes with white spots. For the white spots, we might find a fabric that has the right size circle or she might paint the dots later.
Tail and shell bucket complete!

Our day was ending when she pulled out yellow fabric for hair. Originally, she had drawn a solid piece; but, after we talked about options she decided she wanted her mermaid to have Rapunzel hair. I cut a few strips for her and she arranged each one. She wants the hair to extend below her quilt. I like her idea. We will figure out how to make that happen!

Our next sew day came when she was home from school recovering from a fever that she had the previous day. While she was in slow mode, it didn't stop her from wanting to work on her mermaid! I was tickled that she wanted to work on her project!
Hawaiian mountains-A Miss K photo

She again veered from her original design because there was a particular piece of fabric that spoke "tail" to her. It wasn't enough to curve like in her drawing. I was planning to show her Susan's technique of cutting shapes to fit the space. Before I could demonstrate it, K had trimmed the fabrics and pinned them in place. There will be plenty of opportunities to share more of Susan's technique. K is confident with working on her project at her own pace. I LOVED that she was making templates and cutting fabrics on her own.

On our next sew day, she wanted to make the mountains. In some of Martha's scraps, there was a chunk of purple that had fusible on the back of it. Miss K liked the color. She was adamant that there be three mountains because if there weren't three mountains, it wouldn't be Hawaii!
Flower collage of tail progress

I suggested she consider adding a few little strips of waves to the background in a couple places to add more dimension to her work. She liked the idea and we cut a couple strips to apply later.

We spent the majority of the day working on her mermaid's tail. I showed her how she could create the curve in her mermaid's tail, if she wanted. Miss K didn't hesitate with her "YES" answer! She and her five year old sister chose fabrics with flowers that contrasted to the blue. They then cut out out the flowers and placed them in the shape of the tail. I was amazed at how well they were able to cut out the flowers. The Karen Kay Buckley scissors were the key to the cutting success.

It is FUN watching her project develop. She has decided on our next sew day, she will work on the sun and the mermaid's hair!