Wednesday, February 28, 2018

Teaching Free Motion Fillers

Front of sample
Each year the Clark County Quilters (CCQ) guild hosts a day called Saturday Workshops. Members volunteer their time to teach the classes. Some classes are all day (six hours); some are held in the morning and some are held in the afternoon (three hours). I offered to teach a free motion filler class. The workshop chair asked me to teach an afternoon or three hour class. Three years ago, I taught a full day class that was more of a design class. The front and back of the sample was the example I sent to the chair to promote the Free Motion Filler class.

This year six brave souls brought themselves and their machines to my free motion class. This was the sample that the workshop chair used to promote the class. I spent time selecting my samples, preparing my class handout and selecting a special gifts so each participant walked away with something to add to their tool box.

Back of sample
My class handout was 11 pages with an additional page as a class evaluation. I covered information like thread, needles, batting, quilting resources as well as the filler designs. Most of the information in the handout was what I have learned over the years; but, some information I researched through the Internet.

Google is a wonderful tool! The reason that I included the background information is that those choices can affect the stitch tension. If you don't understand the relationship, you will be frustrated!

My goal was to share information in-between practice sessions. I had planned to stitch all of the designs in front of the participants; but, I found that drawing the design and letting them try it on their own was more efficient and more effective for them.
Top Layer:
Practice sample, finished sample, sit upon
I also brought a few of my favorite threads and needles that we drew for during the class. I would do this drawing again, because it gave me the opportunity to talk about that particular product when it was drawn.

The mini breaks, gave their bodies a break too. The set up for quilting practice wasn't ergonomic so I didn't want people to feel pain and frustration. Instead, I wanted them to have fun and to understand that their motif quilting was just as personal as their own handwriting. My "leaf" shape would look a bit different from their "leaf" shape. If they liked what they were doing, they should keep doing it!
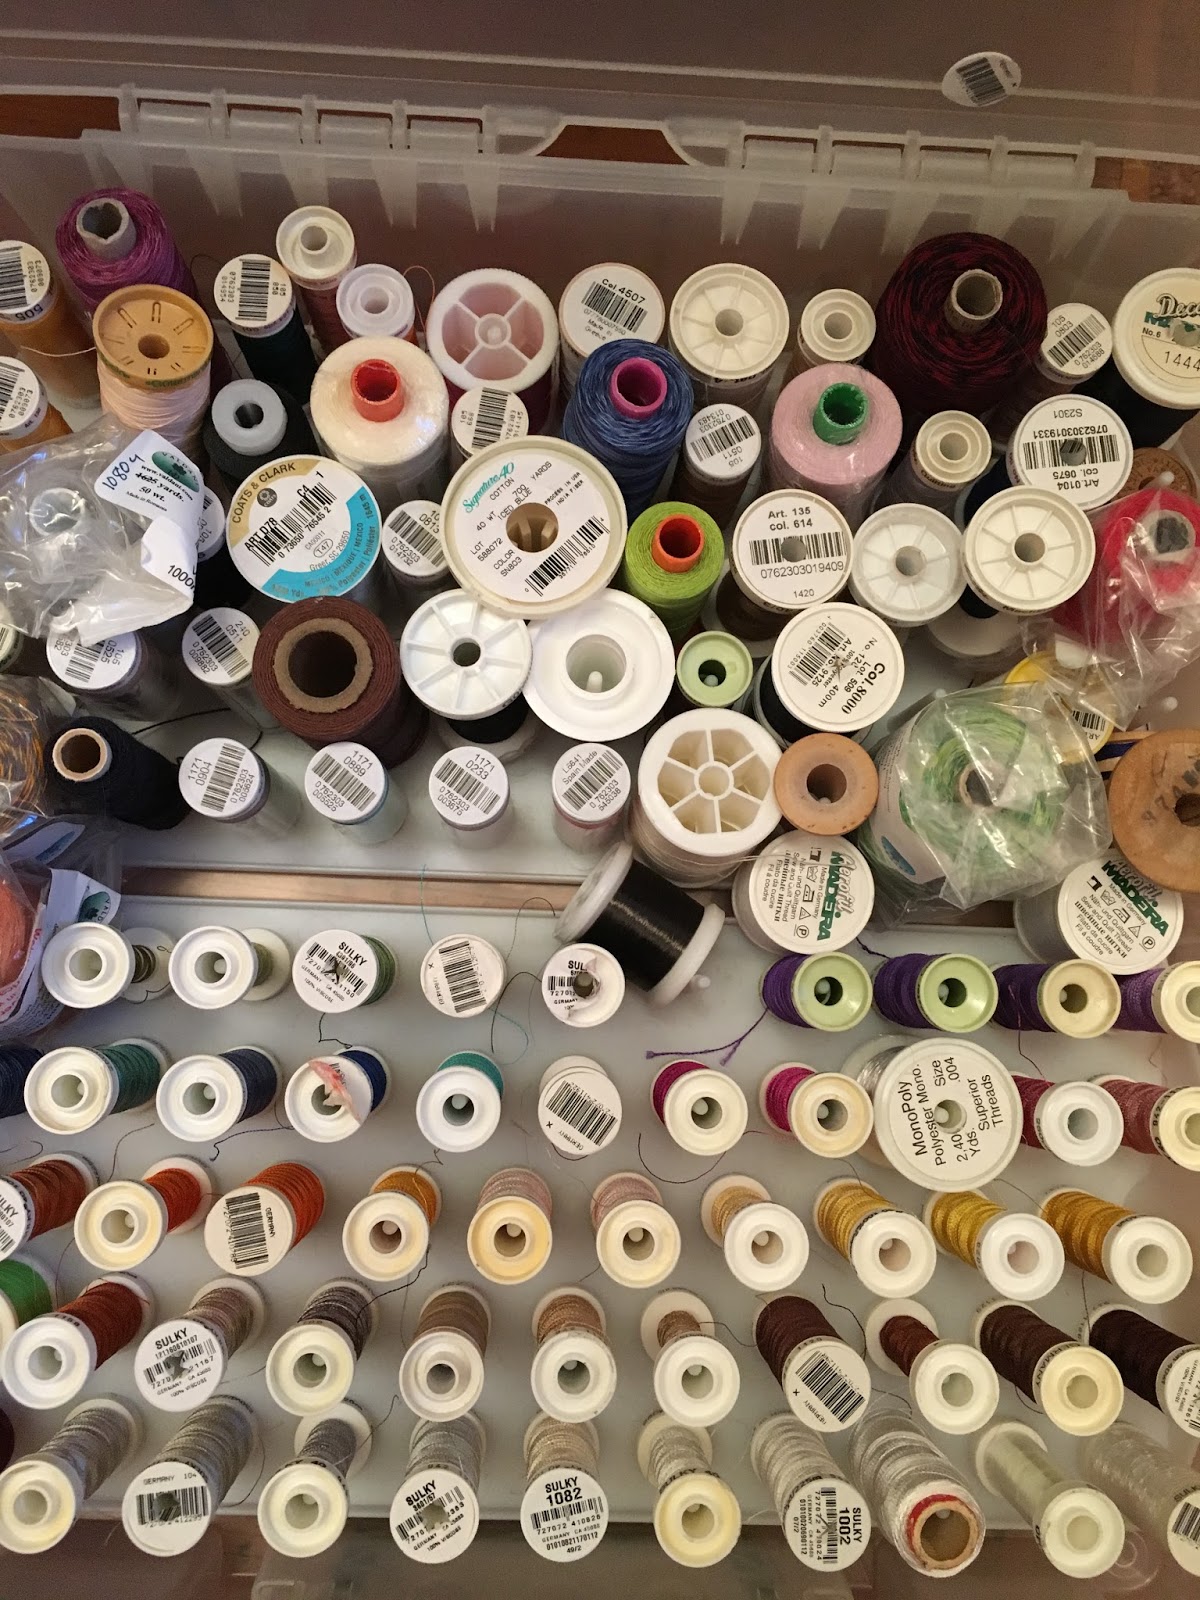
Lower Layer:
Threads, batting, marking tools, needles
 & more

My plan was to take lots of photos of the participants and to post their progress. I started teaching, the class started rolling and then it was over! These photos are what I took as I was unpacking! I'm posting about the class and my experience because I want to document it. It is the second time that I have taught a quilting class. It is the first time, that participants brought their machines. Unfortunately, one machine wouldn't stitch and it had just returned from its tune up. That participant drew the designs. I offered my machine for use; but, she wasn't comfortable to accept my offer.

Improving machine quilting takes time and practice. I hope that these participants will stick with the practice and that they too will enjoy the quilting process. The one constructive comment that I received was that the participant would have liked the three hour class more had she stitched more and I talked less about thread. All the participants commented that they liked the class format, that they had fun, that they plan to continue practicing and that my samples gave them inspiration. That feedback is a win in my book!
One sample of filler stitches

I was asked where I taught so that they could enroll in a class and they were surprised to learn that this was my second class! I figured I had done well enough as a newbie teacher! I have asked them to bring their practice sandwiches to the guild general meeting in a few weeks so other members can see what happened in the class. I also invited them to get together in about three months to check in and to share what they are stitching. I've had one response so far and it would be nice if we could form a group that met a few times a year as a way to keep inspired!

On an entirely different topic, it is the end of the month so I'm posting my teaching numbers:
20 in Basic Life Support CPR (50YTD); 6 in preschool swimming lessons; 6 in quilting class for a Toal of 32 people (104YTD)!


Sunday, February 25, 2018

Printing on Fabric Class

Debby sharing how to achieve the prints in her samples
Explaining about a glue resist
Yesterday, I had so much pure fun painting on three pieces of 12 inches by 12 inches of white on white fabric! The class was part of Saturday Workshops which the Clark County Quilters guild puts on each year. The classes are reasonable--$10 for a half day/$20 for a full day. The teachers volunteer their time so the class cost goes to the rental of the facility. The teachers may have a supply kit fee for materials that they provide. My kit fee for the painting class was $8. Besides learning new techniques and improving your skills, you get to meet new friends and catch up with friends you haven't seen in a while. The Linus group puts on a lunch for $8 so you don't even have to pack that!

Paint pallet, some tools for texture
The example
My sample
Debby taught the painting class. She spent 35 years teaching art to high school students. She has taught at Saturday Workshop for a number of years. In past years when I popped in to see what was going on, people were having fun and they were creating wonderful artful pieces. This was the first year that I was able to take her class as I was involved in the organization of the workshops which precluded me from participating. Debby made it easy to follow along and provided the perfect amount of encouragement. I strive to make my classes as organized, welcoming, thoughtful and fun as she makes hers.

Sponging paint
I LOVED every moment of class. This is about my fourth experience with fabric painting. I see lots more paint playing in my future! I like that she showed samples and talked about how to achieve the results. I LOVED that we used simple inexpensive tools--like a sponge, parts of a cereal box, a paint brush, a meat tray, a paint brush handle end, an unsharpened pencil to create texture.  We also used PVC pipe, masking tape, crayons, rubber stamps, rubber bands, unvalidated credit cards, plastic forks and Dollar Tree store hair gel!

Some of the techniques went quickly. Some took more time. To dry our fabric, we used a hair dryer and once the fabric was damp, we finished the drying process with the iron.

My second sample
We mixed the acrylic paint with the hair gel and then brushed it on the fabric. While the paint was still wet, we pulled the fork and/or the cardboard scraper though the paint. We achieved the skinny lines by pulling the edge of a credit card through the paint, then stamping it on the fabric.

The unsharpened end of a pencil become the round dots and the end of a paintbrush handle became the tiny dots in my sample. I must try this technique with the grands as they would have fun creating the swoosh of color and following up with the scraping and dotting!

To set the color, we ironed the fabric between a couple sheets of parchment paper. The fabric has a nice hand to it and isn't stiff. I LOVED seeing everybody's work. Each piece was totally unique and absolutely wonderful.

We added water to the paint so that it was fluid and painted that on the fabric. We used a hair dryer and then an iron to dry the fabric. Next, we tore strips of masking tape and placed that on the background. This took some time to place and then ensure  that all the edges were securely on the fabric. The next step was to sponge paint around the tape.

Shibori piece drying
I liked how Debby encouraged us to use a variety of colors. My background was red, orange and yellow as I used the same paint palette. I sponged with teal, medium green and dark green. We dried it with the hair dryer. We stamped images on the piece. We removed the tape and stamped more images on the piece using metallic paints. We placed the fabric over a textured and used a crayon to rub on the stamp which added texture.  Finally, we used puff metallic paints and added a little more dimension. My piece looked batik-like!

Block printing example
Stamp made from a meat tray
For our third sample, we created faux shibori using a piece of PVC pipe and rubber bands. I wanted to try to make a primarily orange fabric with brown spots. I used that same red, yellow, orange palette; but added in some purple because when you use colors across the color wheel from each other you will get brown. I had a hard time getting the paint into the folds of the fabric so I won't be at all surprised that when this is dry, there will be large spots of white. Debby says with this technique, you get what you get! I also think the grands would have fun drenching the fabric with color for this technique.

For our final sample, we created a printing block from a meat tray. We etched textures into the styrofoam with a ball point pen or pencil. Using double stick tape, we placed several of these on a piece of cardboard and used that as our stamp. I created the stamp; but, I didn't stamp with it. We did all these techniques in three hours and it was totally FUN! Thanks Debby for the great day!

If you happen to be in the Vancouver, Washington area April 7, 2018, Debby is teaching a class "3-D Whimsical Cottages.  Class fee is $60; supply fee is $7. Class supply list is here. Contact Wilma Scott here to register.


Wednesday, February 21, 2018

Snow Day

Five and half inches of snow fell overnight
Imagine our surprise when we woke up to snow on the ground on Monday. There was a lot of snow--like almost six inches!  From the news reports, our little area was hit harder than other areas. Our daughter, A, reported that they had a couple inches.

The snow was wet and beautiful. Hubby took these photos. I noticed right away that Bailey, our dog, was enjoying the winter wonderland!

Snow topped branches
Bailey checking out the conditions as well as the "neighbors"
It was nice to be able to enjoy the beauty of the day at home. In my full time working days, I would have been out on the roads.

I spent the day working on my block for the guild challenge. The rules are that it has to be an 8 inch finished circle using a Moda Grunge fabric and only Kaffe fabrics. Appliqué should be minimal but only turned edge. No embellishments are allowed.

I thought that I had a great idea. I couldn't execute it. I played with my embroidery software as a drawing program is included.

I managed to draw the correct size circle; but, I was unable to place lines where I wanted so I resorted to using a compass and a pencil! (I will need to take a class to be able to use the drawing program.)

Another failed try
I next tried to stitch a wedge which was based on one of my designs. After piecing one wedge, I could tell that design wasn't going to work.  On my second practice, I constructed half square triangles. Then I cut out the circle.
A couple tries that didn't float my boat

Daffodil embroidery made from my photo
For a different approach, I purposely did not make a mirror image of the first half of the circle. This effort was okay; but, the design didn't seem interesting to me.

I remembered a Gail Garber episode on "The Quilt Show" where she shared how she makes her trademark flying geese. I reviewed the episode and drafted a pattern. (If you are a member, you too can watch the episode!) I picked some scraps and started paper piecing. Piecing the outer ring went okay. Machine stitching the center circle did not go well.

So I scraped that try and tried another approach. I managed to make a circle block. I'll share it after the quilt show as we aren't supposed to know who made what block. I feel comfortable now drafting flying geese to fit in odd shaped spaces. Working on the block challenge was a good way to spend a snow day!

This morning, we again are having a snow day. We have about four inches of snow on the ground. It is unusual to have snow days in February! In our neck of the woods, a winter storm might last a day or two. In any given year, there might be two or three weeks when this happens. Consequently, snow conditions don't last long enough for most of the population to build or maintain their winter driving skills. There also isn't enough equipment to clear/maintain more than the major streets which makes driving on the hilly side streets treacherous. I plan to enjoy the beauty of this day next to a warm wood stove! Perhaps, I'll work on a tote bag to use the embroidery I made of a daffodil from a photo I took of them blooming in our yard. This project is on my finish a long list which you can read here!

Sunday, February 18, 2018

Thread

Bits of this and that--some Sulky, Maderia, Valdani, Aurifil
Quilt Shop Gal has a personal blog called Creative Latitude. In a post, she shared a project she had quilted using rulers. She also shared the type of thread she used.

I started following her when she was SewCalGal and she hosted her initial 12 month free motion (FM) challenge. I learned new techniques participating in the challenge. Since then, I've continued to expand my FM quilting skills. I too have started using rulers. 

It was the photo of the Aurifil thread in her post that got me to thinking about my thread stash. I decided a post about thread was in order!

Although I would LOVE a longarm, I do all my quilting on a domestic machine. (Space in the studio is the biggest factor.) I have FM quilted a table runner on "Inky" my 1947 Featherweight. I've FM so many miles that I actually wore grooves in the throat plate and thread guides of "Bernie" my 1630 Bernina. For the past few years, I've been quilting on a machine with a larger harp. First, I quilted on "Maxine", a 780 Bernina and most recently, "Joie", my 790 Bernina. 
Some of the Masterpiece collection 

With Bernie, I took a machine embroidery class to make cut work and used Maderia cotton thread. I like their monofilament thread. I dabbled with Sulky rayon and metallic threads. I used YLI's monofilament thread in both neutral and smoke. I began a small collection of their silk spools which I enjoy using. I purchased a couple spools of Isacord and a spool of Yenmet thread. At that point, I stitched mostly with Gutterman and Metrosene which was a change from the Coats and Clark and Dual Duty brands that were part of my sewing when I was a beginner.
Some cones of the Kimono

I will confess that my affair with thread began with Superior Threads. I purchased every spool of the original Masterpiece--a two ply 50 wt. thread. I have a few cones of Magnifico--40 wt. polyester, a spool of Monopoly--invisible type thread, two cones of Bottomline--light weight thread for use in the bobbin for quilting and for embroidery, a cone of King Tut--40 wt. cotton, three spools of Razzle Dazzle--specility thread for use in the bobbin, one spool of their micro quilter--a fine weight polyester thread and numerous cones of Kimono silk--100 wt. and my favorite for quilting lots of thread in a small area.


Mostly Floriani; but, a little Superior and Isacord too
I like the ease of ordering from Superior and they stand behind their product. I once ordered four cones of thread. Three of the cones stitched beautifully. One did not. I changed needles, I checked the thread path, I checked the tension, I stitched on different fabrics. . .all with the same results. . .shredding and breaking. I called the company and explained what was happening. Superior replaced the cone and I had no more problems. Yes, I think their products are "superior" and I know for a fact that their customer service is "superior." I will always be a customer.

I love Aurifil thread. It comes in a variety of colors and weights. It is strong, yet fine, 3 ply 50 wt. thread. It also has low lint. I keep on hand three to five mini cones of 50 wt. neutral threads for piecing and quilting. I've a few spools of 12 wt. thread that I've used for embroidery. 

Mostly I store thread by color
For me it is easier to purchase Aurifil locally than Superior. Along the way--meaning at quilt shows, I happened upon some
Valdani variegated thread, some Wonderfil 100 wt. polyester and some of their 40 wt. variegate polyester thread. I've had success with cotton, polyester and metallic threads from Fil-tec. When I purchased a Berninia with an embroidery unit, I became acquainted with Floriani polyester thread. I like it for its sheen in embroidery and quilting. Since it is available locally, I am slowly purchasing more colors. 


Finally, I have a container of some old threads that were part of my grandmother's and great grandmother's notion stash. Most spools are too old to use; but, use them I do! I often use them to stitch around the quilt sandwich edge or to apply the narrow non stretch tape to stabilize the edge. If the thread were to disintegrate in those areas, it won't matter. I smile as I sew, thinking that a little of their stitching magic is in each of my quilts.

I thought perhaps I was becoming a thread snob; but, I've decided that I am a thread connoisseur! Why have so many different threads in the stash?

When I'm quilting, I want to quilt. I don't want to stop and go to the store or online to pick up what I think I need. I have different weights of thread because sometimes the thread should sing--so I'll use a thicker thread like a 40 wt. polyester or a 40 wt. cotton. Sometimes, the thread should be in the background, so I'll use a 50 wt. cotton thread or 100 wt. silk. Of course, sometimes, I'll use a subtle thread color or I'll use a thread that is vibrant. To cover all those possible options, I "need" a variety of threads!  

When I'm playing with machine embroidery, it is good to have a range of shades in a particular color as well as a variety of colors that will play well with each other. Nothing is worse is to want to stitch a motif; but, can't because the design needs a color or a shade I don't have!

Rarely have I purchased thread at regular price. I watch for sales from online companies such as Superior. I take advantage of coupons at local shops that carry the threads I collect. 

When you look at your fabric stash, you probably have a variety of fabric lines, manufacturers, colors, prints, batiks. . .well, it is a collection. The wider range in your fabric stash, the wider range your thread stash "needs" to be! 

To store my thread, I use clear plastic containers. I store threads by color and often by type. I like to be able to see my options. Most importantly though. . .I want to play and use my thread stash.

What is your thread of choice and how do you like to use it?


Wednesday, February 14, 2018

Miss K's Stuffy--Seventh Finish for 1st Quarter Finish-A-Long (FAL) 2018

Checking out the new wood stove with Papa
Miss K's and my schedule finally synched so she could come and stitch the panel that Santa brought her at Christmas. I sure have missed spending time with her.

Santa brought her a mermaid panel. Before we did any part of the project, she had to check out the new wood stove that we had installed on Friday. Her papa built a fire in it and she was interested in how Papa could get the wood to burn.

Showing me she could cut on the line
She did a little cutting. At 5 1/2 years old, her cutting was terrific! She said she could cut on the line and she was right.

I had learned from stitching with Miss J on her stuffies, that prepping ahead to keep the project progressing was important to keep the "fun" level as high as possible. I cut and pinned pieces together so she could see progress right away.

We started stitching.  She wanted to make the mermaid's tail first so that was what we did! She liked setting up the machine for the foot we had chosen.  She liked checking out all the different stitch options while she waited.

Stitching with Gran
She asked a lot of good questions. For example she asked, why doesn't that stitch look like the picture? It was a zig zag stitch. We had a single hole throat plate in the machine and we were stitching with a 1/4 inch foot. When I showed her that the needle would hit the foot and break if it did stitch like the picture, she decided that the machine was "smart!" She thought some of the squished together stitches were funny looking!

Miss K also did a little pressing. She wanted to know if the Best Press that we were using was the same as what her mama uses to iron her daddy's shirts. Then she wanted to know how it worked for sewing.

Next we stitched the doll, her pillow, her blanket and her stuffy. Miss K could guide the fabric with a light touch.

Stuffing takes some time; but it is fun to do
At that point, it was time to stop for lunch.  It was a nice day, Miss K and Bailey (our four legged licker) played outside for a bit. Then it was on to stuffing the seahorse animal, the pillow and the doll.

Miss K's free motion quilting design
Miss K stuffed the seahorse, the pillow as well the head and the body of the doll. She stuffed the pillow until it was like her pillow at home. I thought her reference point of her own pillow was terrific! She had me stuff the arms and legs of the doll. This took a long time. She was surprised how much stuffing fit into the doll!

While she stuffed, I turned and pressed the blanket. As she finished her part of the stuffing, I stitched the openings closed.

Then we stitched the mermaid's skirt. She remarked that the steps were a lot like stitching the tail. She was correct!

The last part of the project was to secure the three layers in the blanket together. We could have placed six ties on the blanket; but, she asked if we could "decorate it" with thread like I do instead. She was concerned because she noted that the machine didn't have any water stitches. I asked her to draw on a piece of paper what she wanted her water to look like. I said we would try to stitch it. She also said she wanted to make circles. . .like what covers up the holes in jeans!

I drew some lines incorporating the shape of her lines and asked if I understood what she had in mind. She said yes. When we free motioned quilted, she put her hands on top of mine and guided me in the direction she wanted to go. She giggled when we stitched circles. Once, she said, I'm making a big circle. Another time she said, I like that shape when she was making a squiggle!
Finished mermaid

She was so excited when we were finished. She showed each piece of her project to her papa. He ooooed and awed over each piece which made her proud! (His ooooes and awes were over the top great!) She had me send in progress photos to her mama, daddy and auntie. I asked her how she wanted to photograph her finished project and she staged her pieces in a doll cradle.

I understand that the mermaid will sleep with Miss K at night and maybe hang out with the bunnies during the day while Miss K is at school.

This was goal number 9 on my 1st quarter Finish-A-Long list. It is the seventh finish of the quarter! No fabrics were used from my stash for this project. I'm still looking at having stitched 4 3/4 yards from my stash and adding 3 1/2 yards to my stash for a net "loss" of 3/4 of a yard! (Only 49 1/4 yards to go to meet my goal!)

For Wendy who can't get her head round how big my stash must be. . . .I would call it medium sized. . .when I've sewn and posted about how much I had used from stash in the past, I didn't share that I replaced it with new pieces so I wasn't doing well at reducing my stash!!! Most of the time, I added to my "collection!" This year, I'm making an attempt to actually reduce its size!


Sunday, February 11, 2018

Miss J's Stuffies--Sixth Finish 1st Quarter FAL (Finish-A-Long) 2018

Stitching progress at the end of the first session
Last month on a day that would have been spent at her house because it was an early release day for Miss K, Miss J asked her papa if she could visit with her gran. Papa said yes!

Much to my ABSOLUTE delight, she asked to stitch her "stuffies" that Santa had brought her for Christmas. I had been telling her that this was a project that would take a lot of time and that there were a lot of parts. We wouldn't be playing with it until it was finished!

She decided that she wanted to stitch the Mrs. Bunnikins stuffed toy first. On our first day, we were able to cut out and stitch the body of the doll. We started to stitch her skirt; but, it was time to go. Miss J decided that she wanted to stitch the daddy bunny next and then all the babies. I told her that was a good plan.

Using her pointer finger to guide the fabric
She did an excellent job of guiding the fabric with her pointer finger and her favorite part of running the sewing machine was when she got to raise and lower the foot around the tight curves! Using a turning tool to poke out the corners was a close second though!

I was impressed with her patience because the directions on the panel are not clear. Sometimes reviewing the printed examples didn't clear up my confusion. Sometimes I made mistakes and sometimes ripping happened!

Finished skirt with pockets for the baby bunnies
Miss J decided that we could get more done if I cut out the rest of the "parts" so we could spend more time sewing next time. At four years old, she shows signs of being a good project manager! As per her instructions, I cut out most of the remaining pieces.

On our second sewing day, J decided that we needed to stitch the mama bunny's dress and the babies. It is okay to alter THE plan!

We got to rip out the beautiful stitching she had done on the flower hem as I had misunderstood the directions. J didn't mind ripping!  She was tickled when the skirt was ready for the mama bunny to wear!

What made this day fun was that J selected the thread to use when we stitched on the pink and when we stitched on the orange fabrics. She doesn't spend a lot of time deciding and truth be told, she would probably just use the same color throughout the project if that was an option. In her world, changing the color is interesting because she is learning how to thread the machine; but, it is too time consuming!

Turning the baby bunny right side out
When we were stitching the pockets, J looked at me like I had lost some brain cells because she couldn't see how a line of stitching was a pocket! After we had stitched three lines, she could  put her hand in the space. Then, she understood how we made a pocket. It was fun to see the delight on her face when she figured out that we really did make pockets!
Total progress by the end of the second day.

Stitching and turning the baby bunnies was a chore. J did a great job around the tight corners of the ears. She made a stitch, lifted the foot, turned the fabric and repeated until we had the bunny stitched. She was able to use the "purple thang" and turn the bottom edges of babies; but, left it to me to turn the ears.

She was sad that the baby bunnies didn't have legs like the mama and daddy. She did notice that the babies all have tails and that they are different colors.

Using her index finger to guide the fabric
We next stitched the daddy bunny ears and prepared them to be stitched to the daddy bunny. J liked how much faster sewing bigger pieces went! We pinned the daddy bunny together.  She, however, wanted to make his shorts next. We did. His suspenders are pinned because we need to put them on the bunny to figure out the length we need. This is where we ended our second day. It was a great day!

Stuffing a baby bunny
On our third day, we stitched the daddy bunny and stuffed one baby bunny. J decided that pushing the stuffing into the ears of the babies, the legs and the arms of the mama and daddy was definitely a job for Gran!

She liked pulling the stuffing and fluffing it a bit before inserting it into the baby. We hand stitched the opening closed. She thought that the needle was too sharp when she stuck herself as she positioned the needle for a stitch.

Finished baby bunny
She can hardly wait for these projects to be finished. She plans to take them home so that they can have "adventures" at her house!

On our fourth day, we stuffed the bunnies and we dressed the bunnies. J is good at putting small pieces of stuffing into the bodies. She is also good at sensing if the body parts are stuffed evenly. Although towards the end of the process, she kept telling me the stuffing was "perfect." I think she was through with that process and ready to start playing with the bunny family! We did finish. Now her bunny family is complete!

This was goal number 8 on my 1st quarter Finish-A-Long list. It is the sixth finish of the quarter! No fabrics were used from my stash for this project. I'm still looking at stitching 4 3/4 yards from my stash and adding 3 1/2 yards to my stash for a net "loss" of 3/4 of a yard! (Only 49 1/4 yards to go to meet my goal!)

Since the bunnies have been "living" at J's house, she has kept me up on their adventures. For a time, they inhabited a drawer as their home. (I imagine her mama wasn't too pleased to find the drawer contents on J's bedroom floor and bunnies inside the drawer!) Recently, J reported, the bunnies have been vacationing in Canada where it is really cold; but, they are all fine and happy!

Finished bunny family


Wednesday, February 7, 2018

I Was a Q4 Winner in the 2017 Finish-A-Long!

I was a Q4 winner in the 2017 Finish-A-Long! Pretty cool! I won a $20 gift certificate from "Sew Me A Song."

In 2016, I joined FAL. Although I haven't finished as much as I thought that I would, I have made progress. More importantly though, there is a lot of inspiration to be found with this challenge. When I've been stuck, I've looked at others' posts and entries and I've been inspired to continue. Or, if I'm looking to be inspired, inspiration is just a few clicks from the link up page!

How FAL works is that you have a time frame to post and to link your intentions at the beginning of the quarter. At the end of the quarter, you have a time frame to post and to link your finishes. Information in your finish link needs to contain a reference to your intention list link. You can join at any quarter of the year. You aren't penalized if you don't finish so you can't lose! If joining in the fun interests you, click here to learn more.

I appreciate all the sponsors who have donated prizes and the moderators who keep the Finish-A-Long organized.

Fabrics
During the fourth quarter of 2017, I finished LOTS! I employed a little different technique. I kept my 4th quarter goal list near and reviewed it at the beginning of the day and at the end of the day. Each time that I reviewed it, I would think, I've completed that one or I could work on that part of that project today. As a result, I made the most progress I've made in the two years of participating in the FAL! Keeping a project in my mind helped, me work through some of the stuck spots while I made physical progress on another project.

The other technique I employed was to intersperse small projects with larger projects. I found that the variety kept me on task for stitching which meant I was making progress. The progress resulted in finishes which resulted in a reduction of piles about the studio space. Truly, last quarter was a total win/win!

Since reviewing the list on a regular basis worked so well for me, I'll be employing that same technique for 2018! Even if there wasn't a formal Finish-A-Long, I'll continue because it helps me make progress on projects that I have put away over the years. For my first quarter list of 2018, I chose projects that I could finish at the end of the third month. My plan is to reduce the number of projects that stay on the list! Although, I don't consider having a project stay on the list a negative!

So how does it work when you're a winner? I received a notification e-mail from one of the moderators one morning. The next morning, I received an e-mail from the sponsor, Becca at Sew Me A Song, with a coupon code and a link to her website. I placed my order and three days later, my artfully packaged order arrived in a priority mail envelope!

Becca has so many fun fabrics on her site that it was hard to choose!!! I drooled over her bundle offerings; but settled on increasing my black and white stash. Although, there were a few fabrics that just "jumped" into my shopping cart. One FQ features a bird and feather in the print. I was about a chapter into our latest book club read and thought that this print might provide inspiration. The orange half yard piece might coordinate with a gifted FQ which might end up in a bag and the other half yard piece is a fabric that eventually will be a back for an extra special project!

I spent about what I saved and of course, if I'm going to get to a net loss of 50 yards of fabric used from my stash, I'm going to need to get finishing!!! I am going to have fun stitching these fabrics into wall hangings and bags though! (With these 3 1/2 yards of fabric coming into the stash, I'm 1 1/4 yard into having a net loss of 50 yards of fabric for the year!)

Thanks Becca and thanks Finish-A-Long 2017!!


Sunday, February 4, 2018

ID Badge #3--Fifth Finish 1st Quarter FAL (Finish-A-Long) 2018

Parts for the 3rd ID Badge holder
I purchased the ID badge pattern from Craftsy. This time, I thought that I'd post a couple photos of the badge while in process.

Inside of bag


View of back pocket
Pressing and stitching on the black fabric was a challenge. My aging eyes were challenged finding the correct line to press. I must remember to use a navy or brown thread on black fabric because that makes pressing on a stitched line much easier! I sure did like this black fabric with the ginkgo print.  It is nice to have the fabric stitched in a wearable for me!

Finished ID Badge #3


I inserted my name into the vinyl section. I used 1/4 yard of fabric for this project bringing my total to 4 3/4 yards of fabric used from my stash. I'm slowly chipping away at that 50 yard goal! This was goal number 3 on my 1st Quarter FAL list. 
Fabrics for the inJeanious Up-cyling challenge

Making these three name tags wasn't that had...so why did it take me six months to actually get it done??? Thanks FAL for helping me get it completed!

I also started a new project. The guild challenge this year is called inJEANious Up-cycling. The basic rules are to use recycled denim fabric only for the top and preferably blue denim. It has to be three layers, quilted and have a hanging sleeve. You can use buttons, beads, lace, thread, etc. as embellishments.

Last summer, I had ideas and even sketched a thumbnail design; but, that design wouldn't work because I had planned to use some corduroy fabric as part of the design! I wished we could have been given the rules for the challenge in June rather than September so I could have thought about designs using the parameters. It takes me months to come up with ideas!! Perhaps if I keep doodling with design, eventually, designing will come easier for me.

At Christmas time, I came up with an idea. I've been sketching. February 1 was the deadline to submit photo and entry form for the Clark County Quilters April Quilt show. This is the first time that I've submitted a photo of the fabrics with the words "Imagine a figure on a pieced background!" I sure hope I finish it in time to hang at the guild quilt show!!!!

I won't be able to share the project with you until after the April guild meeting because we are supposed to keep it under wraps. I'll be sure to keep notes to share with you later! By the way, if you are in the Vancouver area April 4-7, please come to the show. Click the link above for more information.