Showing posts with label TIPS. Show all posts

Wednesday, November 8, 2023

Gathering and Prepping Fabric for Indigo Way--post 1

Fabrics to prewash
Bonnie Hunter's mystery this year is Indigo Way. She released the introduction to the mystery on Halloween. Bonnie will release the first sewing clue the day after Thanksgiving. I have quite a few blue (light and dark) strips in my precuts and leftover from my Rhododendron Trail project. I didn't have the full yardage amount in my stash.

While I have some red fabric, I didn't have a piece that was two and half yards. While I would enjoy going to a variety of local quilt shops to purchase fabrics, my knee pain keeps me from much in person shopping. 

Thank goodness for online shopping! Cotton to Quilts had some cotton rolls and a chunk of red available for sale. I ordered it and it arrived about three days later!

Prewashed, starched and ironed
I spent some time prewashing the fabrics. I expected to have bleeding from the red and dark blue fabrics. I had little! What a great surprise that was!!

Next, I used a ratio of two parts water to one part liquid starch in a spray bottle to saturate the fabrics. I use Stay-Flo liquid starch. I've also put my starch solution in a tub and dunked the dry fabrics. 

Personally, I prefer the spray bottle method. I place the fabrics in the bottom of the shower and spray. The shower is an easy environment to clean up after I've completed starching the fabrics!

I hung the fabrics to dry and ironed them. I use a dry iron and spritz the fabric with water to remove any wrinkles. If I have a stubborn wrinkle, I use a little Best Press which is an alternative spray starch.

After starching, the fabrics are stiff and are more like paper. The stiffness makes it easier for me to cut and sew accurately. I found a video tutorial that shares how to use the dunk method of starching. After I've finished the project, I'll wash it to remove the starch. 

For now, I'm ready for the first clue! Are you following along or joining Bonnie's mystery? Please, let me know your intentions in the comments. Gathering and prepping the fabrics was clue number three on my November list.


Wednesday, October 4, 2023

Squaring a Back

For the longest time when I pieced a back, I thought that I stitched a "square" back. I had trimmed the cut edge and trimmed the selvages away before I pieced the back.

In reality, I didn't know the back wasn't square. My friend, Alvera showed me how to square the back when I had my early longarm lessons. I had heard longarmers talk about how square backs made rolling the back onto the longarm so much easier. The first couple quilts that I quilted on the longarm, Alvera mentioned how nice the back was; but, I didn't notice. There were so much to be aware of doing that a square back didn't meant much to me until I tried to roll a back that was out of square on the longarm. Then, I had that aha moment!!!

Step one
Step one of squaring the back. Fold in half. Smooth the fabric. 

Step two: fold fabric in half again
Step two:
Fold in half again. Take care to align the folds and smooth the layers.

Step three: align the bottom fold with a line on the mat
Step three:
Slide a cutting mat under the fabric and align the bottom fold with a line on the cutting mat.

Step four: Aligning bottom edge of ruler
Step four:
Look at the edges. Align the bottom edge of the ruler with the bottom edge of the fold on the loose edges side of the fabric. 
Check to ensure you will trim all four layers
Ensure that when you cut, you ONLY trim all the outer edges. You may need additional rulers to reach to the other end of the fabric. Trim.

Use the cutting mat to move the fabric
Step five:
Repeat the process for the other edge. If the fabric is longer than my cutting surface, I'll gently fold the fabric on the cutting mat and turn the mat so I can access a long edge. I'll again smooth the layers before I position the ruler and trim.

Checking the edges
Before you trim, check the layers to ensure you will trim all the edges. In the photo above, the shortest layer is on the bottom. Sometimes, the shortest layer will be in the middle. Sometimes, it will be on the top!

Trimming the layers
Notice in the photo above, that the bottom edge of the ruler lines up perfectly with the folded edge of the fabric.

The trimmed waste
It doesn't take long to square a back. It is worth the effort. There was little waste. 

Writing and publishing this post was goal number six on my October list.


Wednesday, December 9, 2020

Grassy Creek Clues 1 & 2--post 2

Pressed and cooling pieces
For clue number one of Grassy Creek, we stitched a lot of gold and gray half square triangles (HSTs) together. I cut a pair of strips from the gold and gray fabrics. From there, I cut enough pieces to sew a set of HSTs. After I pieced the set, I pressed them. For this mystery, I'm pressing the pieces differently. I'm using Sally Collins' tip of weighting the pieces until they cool. (Check the video at about the 35 minute mark for a demo of her pressing technique.)

Sally says that the seams will stay flat through the whole sewing process. I've started pressing that way on a project, but, abandoned it later. This time, I'm attempting to stay true to the process to see how well I like it. I covered the pressed pieces with a large square ruler. I weighted it with my spray bottle. 

Next, I trimmed the HSTs. I sew with a scant quarter inch seam so that I can trim to perfection. I'm not a perfect piecer; so trimming helps me look like I am perfect piecer! 

Cooled HSTs
For the first time, I used the Folding Corners ruler to trim the pieces after they had cooled. This is my new go to trimming tool. I liked how easy it was to orient the block accurately under the ruler. Those lines are helpful to ensure I've centered the block correctly!

In my younger days, I would have completed the steps as if it were a production line. I would have cut and kitted all of the pieces. Then, I would have sewn, pressed and trimmed all of the pieces. These days, my body needs more breaks. Sewing a few pieces and moving to another task helps me to not become so sore. This "mature" process also gives time for the pressed pieces to cool. I like working in smaller batches. I don't feel as overwhelmed with the scope of the project when I work on a few pieces at a time.

Finished HSTs
I finished clue one in plenty of time to start clue two! Clue two was to make a lot of hour class blocks with the neutral, gold and green fabrics. I had two Zoom sewing sessions this week. The concentrated sewing time helped me complete most of hour  glass blocks in-between checking out other people's projects. I even located a few strips in my "pre cuts" that I was able to incorporate into the blocks. 

Monday was our Mystery Mavens sew day. We have 24 members in our group. Twenty people spent a part of their day with us. Some people had to work or had other assignments. It was a great turnout and what I appreciate about the members is their helpfulness to others. 

Lining up my bonus HSTs for trimming
If someone is having trouble, there is a lot of support and trouble shooting to solve the issue. I have noticed that we are improving our descriptive techniques so we can explain options. I've also noticed that we are improving our listening skills too. Even though in person stitching is preferable to "demonstrate" what you are saying, Zoom is working for us!

I also appreciate that members post photos of their progress in our private FaceBook group. I love seeing all the different fabrics and different color ways people have chosen! It is a nice way to stay connected! We meet once a month. Although, we may choose to meet in a couple weeks if we find a clue is difficult to understand or if we are getting behind in the process. Before the pandemic, we met in a community room in a member's neighborhood.

One of the gals in our group pieces small scraps together and makes the most wonderful charity quilts. I had a bunch of small leftover scraps that I cut into HSTs. I sewed the HSTs into pinwheels as leaders and enders. The pinwheels are small. I did spin the seams. How cute is that little HST in the seam allowance? These blocks will finish to two inches. 

Completed Step 2--HSTs
Sewing the leftover bits is a goal of mine. I don't want a bunch of scraps leftover at the end of a project. When I reach the end of strip, I cut it into what ever useable sized piece in my scrap saving system that I can. I know that I'm more likely to use from my scrap saving system than I am to pull out those scraps and cut useable pieces later.

I don't know if these pinwheels will end up
in the quilt or if they will become "parts" to be used in another project. They are cute!

Pressed pinwheel from the back
Friday, Bonnie releases clue number three! I'm ready! In the meantime, I've put in a few stitches on the Unity binding. I've made a couple more Folic blocks with the leftover parts as my starting base. I'm finding cutting the pieces to fill in the leftovers tedious. Looking through the scraps to find a little more of the block fabrics and cutting a specific number of pieces takes time! I also needed to use a completed block as a guide so I could remember how I pressed the block! Truthfully, I'm happy to be using a few more scraps so in the end, more blocks will mean more stash reduction! 

Bonus pinwheels
Even though I've sewn mainly from my stash during this pandemic, I haven't seen much change in the stash stacks. I'm thankful I've stash to keep me plenty busy in a variety of projects.  

Last night, our Mt. Hood Quilters guild had a live meeting. There were about 65 members who attended the virtual meeting. It was fun to see people dressed up in their holiday tops, necklaces, earrings and hats! One of the members gave a demonstration of a Swedish weaving which we made out of a piece of felt. We had breakout rooms and I got to meet new to me members. 

I appreciated how members helped other members who were new to the zooming process. It was a fun meeting!


Wednesday, December 2, 2020

Fabric Preparation and Why I Do It

Soaking in the sink
Since my Grassy Creek--Preparing For The Start post, I've fielded questions from one of my small groups about my fabric preparation. Some people purchase good quality cotton fabrics and sew the fabrics right from the bolt. Sometimes, I am that person; but, more often, I am not! There are generally at least two sides to an issue. In this case, one's answer is a matter of preference and not a matter of right or wrong.   

Why prewash? I tend to prewash my fabrics for two reasons. First: I want to know if that fabric is going to bleed when washed. If it is, I'm going to treat the fabric so that when the recipient washes the fabric, they don't get a surprise. Our city water has chlorine in it. I once pre washed a bunch of batik fabrics for a project. It took me several years to finish the project. When I washed the finished quilt, I was surprised that some of the batiks ran. The likely reason was that our water changed. When we first moved here, the water was untreated. Later, chlorine was added. The additional chlorine affected the colorfastness of the fabric. This made me think about water in other places where the gifted quilts would live. With quilts I give away, I tell the recipient washing instructions as well as include six Shout Color Catchers in the package. 

Second: I've learned over the years, some fabrics shrink more or less than others. For example, the gray fat eighths, that I purchased for Grassy Creek, shrank from one quarter to one half inch in width. Once I've washed the fabric, I dry it in a hot dryer. I do like the crinkly look of a quilt. I achieve that look using a batting that has some cotton in it. I like an 80 percent polyester and 20 percent cotton batting. The fabric doesn't shrink; the batting shrinks about three percent. For me, I'd rather not see some of the fabrics in the quilt more crinkly than others. Please note, some people preshrink their batting so the quilt won't have that crinkle look. Again, there is no right or wrong, rather preshrinking fabrics is a matter of preference!

Fabric liberally spritzed with starch
How do I prewash? I start the prewash in a white sink with hot tap water. I unfold the fabric and push it under the water. After 10 minutes, I check it. If there is color in the water, I drain the water, refill the hot water and add either Retayne or Synthrapol. Retayne fixes the dye to the fabric. I use that product on commercially printed fabric. Synthrapol is a special detergent that suspends the dye particles so they don't reattach to the fabric. I use Synthrapol on hand dyes and batiks. I follow the directions on the container. Once I've rinsed the fabrics, I refill the sink with hot water and let the fabric sit in the water for another 10 minutes. I continue to test and wash until the water is clear. If I still get bleeding after three "washings," I toss the fabric. Sometimes, the dye in the fabric isn't stable and I wouldn't want someone else having an unhappy experience! I dry the fabric in a hot dryer. This process removes the sizing from the fabric which makes the fabric soft or limp.

Why do I starch? Fabric from the bolt contains sizing. The manufacture adds the sizing to the fabric to aid in the weaving process. The coating helps the weft yarns withstand the tension of the weaving process and to reduce breakage of the yarns. That sizing or coating also gives the fabric body which makes it resist wrinkling as well as helps keep creases sharp when wearing a garment. Sizing is a resinous product made from polyester or vegetable sources or a combination of the two.

Starch is applied to collars and cuffs to stiffen them. Too much starch will result in the garment wrinkling during wear. Starch is made from a vegetable source. It is cheap and simple to use. I use starch to add back that "crispness" that was in the fabric originally. My cutting and stitching accuracy is better when I work with crisp fabrics.

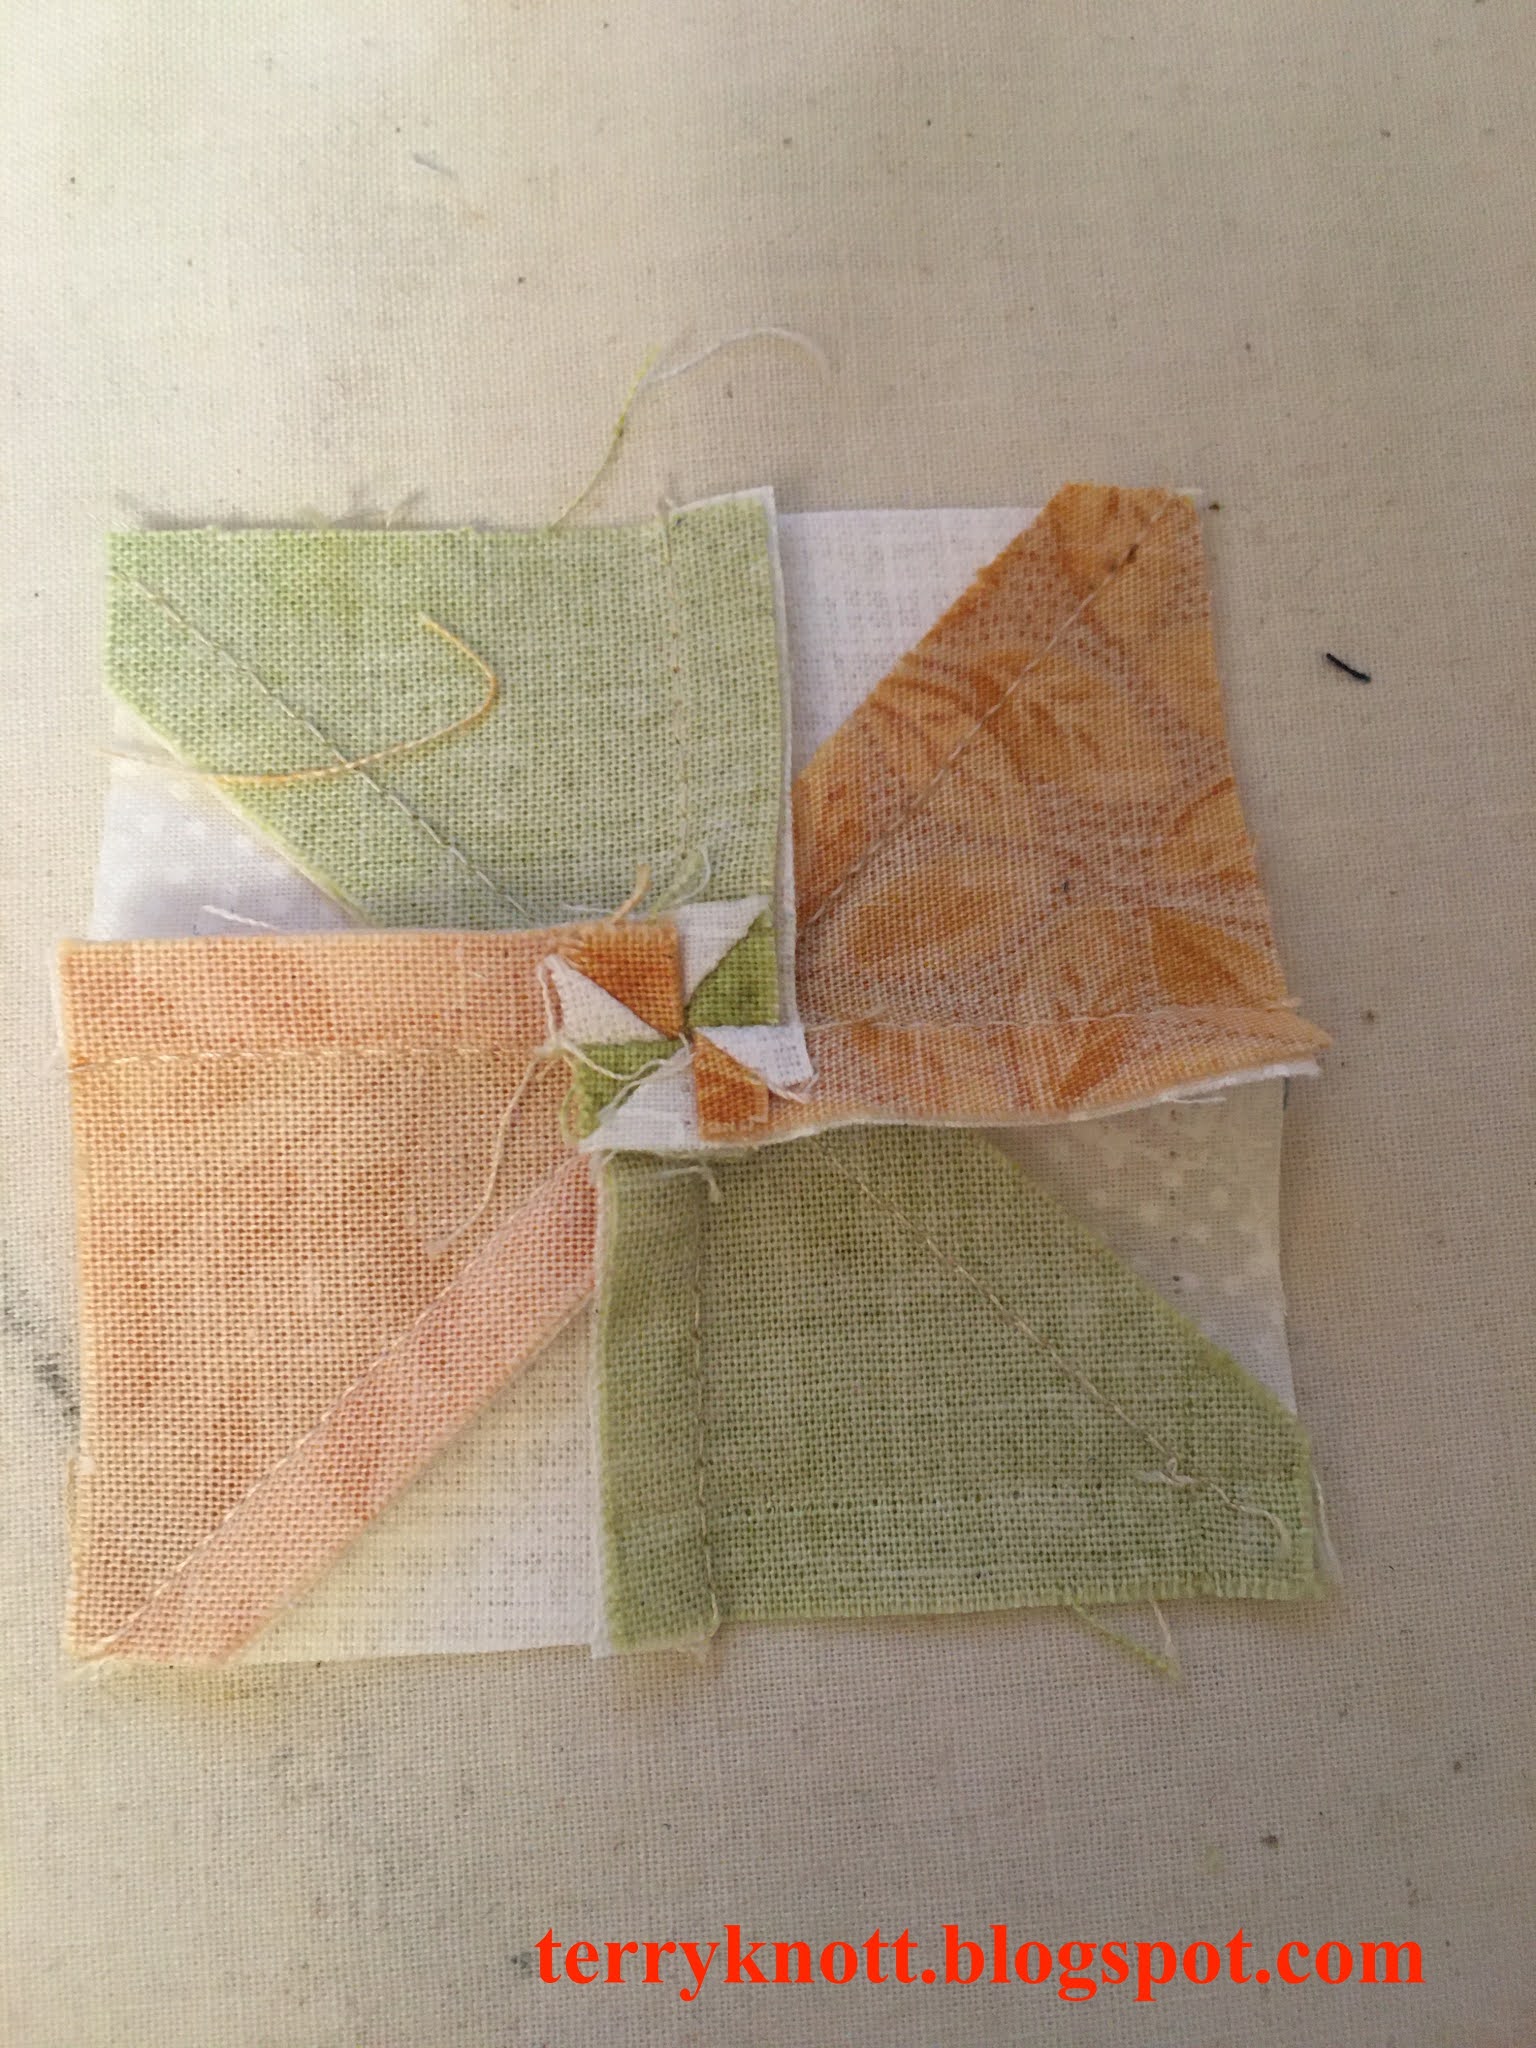
Crisp uniform components
Why do I use liquid starch? It is cheap when compared to the spray sizing in the cans. I can easily adjust the amount of crispness I want in my fabric. It is easy to mix. I find a ratio of one part starch to two parts water provides the right amount of stiffening to the fabric. Sta-Flo is the brand that is most available to me. It is stocked at the local grocery store. 

I mix the starch in a spray bottle. I place the fabric in my shower and I spray the fabric until the starch has soaked all the fibers. I have found that a half yard of fabric fits perfectly in the shower. I will add layers of fabrics. Perhaps, I will process the red fabrics one day and orange fabrics the next. Once the fabrics are starched. I leave them for several hours or overnight to allow the fibers to soak up all the starch. Then, I hang the fabric to dry. Once dry, I iron the fabric. Now, the fabric is ready to be used in the project.

Does all of that effort help? Absolutely! I know when I wash the finished quilt, I have less chances of color bleeding in the quilt. I know that my quilt with crinkle equally as the batting shrinks. I have better cutting and sewing accuracy using the stiffened fabrics. My blocks tend to be right on the pattern size especially when a block has a lot of pieces in it.

Are there cons to this process other than time involved? This is the one question that I haven't received! Yes--because starch is a vegetable product, it is important to wash it out when the project is finished because bugs tend to be attracted to the starch. When bugs consume the starch, they will create holes in the fabric. I live in the northwest part of the United States. Bugs aren't such an issue here as they are in other parts of the U.S. or the world for that matter. 

In the end, do what works for you. If the process I've described here will zap the joy out of creating, don't do it. There are products and methods that do a pretty good job of removing the wayward dyes. Vicki Welsh has a wonderful post about what worked for her.

Sunday, January 12, 2020

Basting and Quilting Tips-Bust Your Stash post 4

Sample of a pieced back
I hope you are making great progress on your projects. This month our topic is basting and quilting tips.

Backing:
You’ve finished your top and selected your back. Personally, I like to piece my backs because often I’m able to use the leftovers from the front! I also LOVE using chunks from my stash because it is like a walk down memory lane as I remember making the quilt that used those fabrics.  I like creating an interesting backs. Rarely will I use just one piece of fabric!  At first, it took me a long time to piece a back. As with any process, the more you do it, the better you become at it. Angela Walters has a video of one way she pieced a back. The link is here

Batting:
Choose your batting. There are lots of choices. In fact, there are so many choices that you might be overwhelmed with what to choose! Carolina over at Craft Test Dummies posted a video and talked about some questions you should ask yourself before you buy. The link is here. In her video, she referenced a test that she had done on the Fairfield battings. The link to that test is here. 
A sample of my preferred basting method

I have tried cotton batting (Warm and Natural), wool batting (Hobbs and Dream), polyester (Fairfield), silk (Hobbs), bamboo, (Dream) and a blend of 80%cotton and 20% polyester (Hobbs and Pellon). My favorite battings are 80/20 and wool. Sometimes, I even use them together, although, not often! I like the 80/20 for the crinkle factor and I like the wool for the drape factor. Both battings are great to quilt. 

Basting:
A spray basting video link is here. Pin basting (floor), temporary spray basting, board basting options link is here. You could also take your project to a longarmer and ask them to baste it for you. I’ve done that a couple times and I asked the longarmer to use a wash away thread. I have tried all those methods of basting listed. 
Sample of QAYG

My knees object to kneeling so I use a modified version of Cindy Needham’s basting techniques in which she uses a table. I took a Craftsy class long ago that she instructed. Craftsy has since become Bluprint. The reason I stick with pin basting is that I’m not putting in a product in my quilt that I need to remove with washing later. I once over sprayed my kitchen floor with temporary adhesive spray. That spray was a bugger to remove! I decided it might not wash out as easily as I had envisioned. The smell of the spray bothered me and using it added cost to my quilt project. I can reuse my pins!!! 

Quilting:
Once your quilt is basted, you are ready to quilt it! Our quilting is like our signature, it is a symbol of our identity! This is the part I enjoy the most. It is also the part that sometimes leaves me stymied because I don’t know what to do! For me to start, I stitch in the ditch in every seam. I find the ditch stitching to anchor the quilt well enough that I can “play” in other areas without having to quilt from the center out to the quilt edge. This was a tip I learned from a Barbara Shapel class. Ditch quilting also gives me time to think about how I want to play in other areas of the quilt.

Sample of custom free motion quilting
Angela Walters in a video shares three tips about quilting designs.You can find it here. Laura Ann Coia from “SewVeryEasy” in a video shares how the letter “C” can become an all over design. You can find the video here. Wendy Gratz from “Shiny, Happy World” in a video shares how to quilt a big quilt on a standard machine. You can view the video here. 

If you haven’t stitched your blocks together yet, you could use the Quilt As You Go (QAYG) method. You can view a post from “Instructables Craft” here for more information. I’ve quilted a couple quilts using this method. Planning ahead is the key to making this option a success. 

If free motion quilting has you stymied, you can quilt with your walking foot. Leah Day has a tutorial about walking foot basics. You can find it here. You can even use your walking foot and your built in machine stitches to quilt your project. Carol Ann Waugh of “Stupendous Stitching” shares a video here. Carol also spends some time talking about threads. 

My tips for machine quilting are:
*Make a sample of your quilt sandwich and use this sample to test and to practice your stitches.
Sample of quilting with a walking foot


*Use the same thread top and bottom if you are having tension issues. Superior Threads has a great reference guide available for troubleshooting and tension. You can find the main reference page here. Sometimes you can rethread the machine or change the needle and that solves the challenge!
*Check the back regularly. It is maddening to find out you’ve quilted a tuck or a piece of fabric into the back when you hadn’t planned it!
*Plan that the quilting will take at least as long as the piecing did.
*Take breaks every 15-30 minutes. Your body will love you for it!
*Keep quilting, the more you quilt the better your skills become. You really can quilt!

Next month, our topic will be about finishing touches.  Don’t forget to post a comment at #2020bustyourstashchallenge on instagram or on my blog here. Thank you to those that have posted!


Wednesday, November 6, 2019

Cutting and Sewing Tips--Bust Your Stash post 3

Cutting and Sewing Tips—An Article to Support the Bust Your Stash Challenge

To prewash or not--I prewash
For those of you that are participating in this challenge, I hope that you have a pattern and fabric in mind. The post today contains a few tips designed to make the next steps in your process more efficient and effective.

Fabric Preparation—prewash or not. I prewash because fabrics shrink at different rates. I also don’t want to find out a fabric bled into a background after I’ve finished! If you don’t pre wash, do test the fabric so that you don’t have surprises later. 
Use a sharp blade for rotary cutting

After prewashing the fabrics, I use sizing and sometimes starch with an iron to add back “crispness” to the fabric that the laundry process removed. Click the link to read an article that addresses how to test a fabric for bleeding. Once I’ve ironed out the lumps and bumps, I trim away the selvages for another project. Then I line up the trimmed edges so there are no wrinkles.  

Cutting
Use a sharp blade. I am lax about changing the blade; but, honestly, a sharp blade allows me to cleanly cut the layers in one pass. 

Line your ruler up on the line rather than just shy of the line. Bonnie Hunter shares a tip about cutting here. You will also be looking at a portion of a block that contains a bunch of two inch squares. . .just saying in case you haven’t picked a design yet!

When cutting move your fingers on the ruler as you cut to maintain the ruler position. The Crafty Quilter shares some tips regarding rotary cutting here. I find that periodically cleaning the lint from around the blade and rotating the blade increases the longevity of the blade. Of course, you get to take the rotary cutter apart for those procedures!
Sewing a thread or two less than a quarter of an inch

Sewing
Test your seam allowance. Bonnie Hunter has a ruler specifically for testing for seam allowance. You can read about it here.  I personally stitch a thread or two less than a quarter of an inch because the thread takes up a little room in the seam! Do what works for you.

Use leader/enders as these are a great help to start and end your seam on the quarter inch mark. I started a leader/ender project in September. The cool part of the process is that by stitching block parts together instead of a stopping/starting strip, at some point, you have enough blocks stitched for a quilt! 

Check units for accuracy
Check your tension. Use the same weight of thread in the bobbin and in the needle; but, choose a different color for one of the threads. This way, it is easier to determine which of your threads needs adjustment. Superior Threads has an informative article in the education section of their website regarding tension. You can access it here.  

A slightly shorter stitch length seems to work well for me. When I’m piecing, I set my stitch length on my Bernina at 2.5 and at 12 stitches/inch on my Singer Featherweight. Yes, it takes a bit of effort to unstitch; but, I also have less seam popping or unraveling later in the process.

Check your units for accuracy as you stitch. It is easier to unstitch one unit and correct it than it is to unstitch many units!

Pressing—
Press not iron; use a little sizing; let the pressed seam cool before moving; weight it. . .these were some tips I picked up after attending a precision piecing class that Sally Collins taught. You can listen to her tips here.

Press not iron
Chocolate helps! 

Hang in there. Sew a little every week. It always surprises me that I can make progress on a project even if I stitch on it but a few minutes several days in a week! 


Next month our topic will be basting and quilting tips. Don’t forget to post a comment and/or photo at  #2020bustyourstashchallenge on instagram. Comments on this post are welcomed too!