Showing posts with label HSTs. Show all posts

Wednesday, September 9, 2026

Garden Flowers Is A Flimsy--post two

Progress mid July
Warning: this is one long post with many photos! Grab a cuppa! 
Goal number five on my September list was to share my progress on the Garden Flowers project. The last time that I posted about this project was July 22. I had moved from the plan of orienting the flower blocks like photos on a wall to arranging them around a center medallion.

Adding the sawtooth border and beginning to fill in the background 
I had raided the parts department for the leftovers that became the center star, points in the outer string border, half square triangles that I had incorrectly cut for the last Bonnie Hunter Mystery and an arm/hand I had made for a previous book club project.

Changing the position of the hand/arm
I had about a yard of yellow fabric to use for the background. This was a scrap from a previous project. I knew I couldn't make cutting errors because of the limited quantity! When I was creating the center medallion, I planned ahead so that the sides measure a full finished inch so that I could piece the sawtooth border. 

Adding a tiny spacer
When it came to inserting the flower blocks into the sawtooth border, I decided that I didn't want to cut into a HST to piece in the flower blocks. There would be too many seams and the design would get lost. I pieced a larger white triangle in this area. My goal was to piece as few Y seams as possible. Sometimes I had to add a spacer to make the pieces fit. it was like working on a jigsaw puzzle! If my flower blocks had finished to six inches, I would have caused myself less figuring!

Adding more background
For the most part, once a piece was in place, I left it and worked to piece one section at a time. I did consider eliminating the top flower; but, decided that it added to the overall design.

More background in place
It was scary to watch the remaining background fabric diminish. It was exciting to see the piece take shape with every addition so I was encouraged to keep going.

Flowers in place, hand/arm in place
While I would have liked to have had the top flower closer to the group, I was over Y seams! I pinned the hand/arm in place and began constructing the borders.

Beginning to add the background borders
Truly, the background chunk was down to a few pieces. I decided that I should take another look at perhaps adding a different shade of yellow as the borders because I didn't think I had enough.

Auditioning alternate background border fabrics
One look at the existing yellows with this project and I knew the current background was the only option. I did more math and measured the existing scrap. It was possible that I had enough if I didn't have math errors!

Determining the best use of the remaining background fabric
The reality is I have math errors. I measured twice. I measured twice again and cut once. With each slice of the background fabric, I said a silent prayer that I my math was correct!

Background borders added
In the end, there was enough background fabric. I breathed a sigh of relief! 

Leftover background
There had been enough background fabric after all. Although, the scraps remaining were little!

Auditioning more sawtooth HSTs
I liked what I had created! I began auditioning the string borders. I allowed my brain to think about quilting motifs in the open background spaces. It was then that I felt the design was lacking some spark. It was too plain.

Cutting more HSTs
There were a few remaining HSTs so I placed them around the flower blocks. I considered stopping with adding a few here and there; but, the center didn't feel finished. I made more HSTs. I auditioned them  almost encircling the center.

Piecing HSTs strips into the background
I liked the effect as it felt more finished. Then, I had to psych myself up to piece those HSTs into the top. I had sweaty palms and heart palpitations removing the borders and cutting into the finished top!

Half of the HSTs added
Because of how the flower blocks are inserted into the center medallion, there is no way that the HST strips would line up. I decided I was okay with a little jog!

An HST border added
Inserting the second half of the HSTs was challenging. I spent about two days adding this border. I did use a few of the remaining background scraps to fill the spaces. The repetition of the HST border was a good addition. Now the center felt finished! 

Adding the upper string border
I added the upper string border and smiled! 

Finished flimsy
I added the lower string border and smiled some more! I'm glad I challenged myself to add those HSTs! I did find a pink print for the backing and have layered and glue basted it. It is ready for quilting which will happen after I recover from my knee surgery.

Linking to: Finished or Not Friday and Patchwork and Quilts.


Wednesday, July 22, 2026

Garden Flowers--post one

Fat quarter, parts and scraps
Goal number nine on my July list was to determine what to do for our book club quilt project. We are discussing "By Her Own Design" by Piper Huguley. It is the story of Ann Lowe, a black woman dress designer, who created Jacqueline Kennedy's wedding gown. Lowe was truly an artist when it came to dress design. From the time she was a young girl, she liked to make fabric flowers and attach them to the dresses.

Fussy cutting the flower motifs
In the stash, I had a fat quarter that was printed with large flowers. I decided to use it as well as some green strings, pink half square triangles (HST), a few leftover parts from a previous project and pink strips. I fussy cut the whole printed flowers. I was able to cut out six flowers.

Possible layout
After fussy cutting, I started to work on a layout. Because the flowers were different sizes, I used a variety of pink strips to frame the flowers. Then I trimmed the blocks to one consistent size. I continued to arrange the blocks as if they were photos on a wall.

Flowers framed
After seeing all the pink, the project needed green! I thought the green bits I had were crumbs; but, it turns out they were strings. I started piecing two and a half inch strings strips of fabric to use as sashing. I also pulled the leftover pieces from a previous project to audition into the mix.

Leftover parts to possibly add to the project
I added a few HST to the layout as well as a yellow background fabric. I made an X from four of the leftover parts. I changed the layout so the flowers circled the X.

Adding a background fabric and changing the layout
I decided that I needed one 4 1/2 inch string strip to be placed at the bottom of the project. I pieced that strip. Maybe half of this strip will be on one side of the triangle leftover with the other half on the other side of the pieced part. 

Center block on point, adding HSTs
Looking at that center block, I decided it needed strings. I pieced more strings. These strings are two and half inches wide. After contemplating the layout yet again, I turned the center block on point and auditioned the pink HSTs as a border around the center block. 

Additional flower block added
I needed another flower block. I was able to piece one from the scraps of the fat quarter. In the photo below, you have to zoom in to see the piecing line! The design needed the additional flower block.

Pieced flower
I've created a math challenge for myself. I want to piece the flower blocks around the center. How to make the design work will be a challenge for another day! I hope to be able to inset the flower blocks around the center block with straight forward piecing.

Sunday, April 13, 2025

Strings From A Scrap Bag--post 1

Bag of scraps
Goal number six on my April list was to sort a bag of scraps. Chantal, At the Corner of Scraps and Quilts, often posts about scrap bags that have shown up on her doorstep. Cynthia, Quilting Is More Fun Than Housework, is the queen of turning scraps into amazing quilts. They inspire me with every post. My challenge is that I ALWAYS have way too many projects in process to stop and play. I tell my little inner squirrel, Gertie, to wait until I FINISH a project.

When I wrote the goal, I had envisioned tackling one of my large bags that came from my friend Martha. I thought I could get started on sorting the bits into what were strings, strips and bits as well as by color. This is not what happened.

Laying out the chances
Instead, I came across a bag that was left from a string project that I finished in 2022. The pros to the the bag was that it was a small and came from a project. A small bag wouldn't overwhelm my efforts to empty it. Because it was project leftovers, the pieces would go together.

I opened it. Of course, there were a few pieces that didn't belong so those were put where they can be used in another
project. There were also some string strips of various widths. I thought that these might work as a border and as blocks. There were a lot of HSTs of varying sizes so I started piecing those together.  

Auditioning background fabrics
Once I had a few pieces together, I started laying out the project. I kept going until the only remaining scraps were small triangles from the neutral fabric. My goal is to make a piece about 40 inches by 60 inches. Right away, I realized I needed a filler fabric or fabrics.

I went to my stash of solid fabrics and chose a purple. I liked it; but, knew that the yard of fabric wouldn't be enough. So I selected a blue fabric which is okay; but the value is a little too dark. I did have a little leftover piece of orange that I decided would work great as an accent. I decided that this might be my book project for "The Dressmaker of Khair Khana" by Gayle Tzemach Lemmon instead of the panel that I had identified last month.

In the book, Kamila is about to complete her studies to become a teacher. Unfortunately. she has to abandon that career option because the Taliban take over and women lose their freedom. Kamila ends up helping many other women and families in the process. The strings represent all the people she touched. The various patterns the leftovers became represent the girls she trained. It is interesting how projects present themselves and the journey they take!

It's been quite the week. I took Old Town to the quilter on Tuesday. Friday, I received word it was finished and I picked it up. I have it to bind as well as my 2021 Temperature quilt so I will be working on being able to report on a couple finishes soon! 

Tuesday, I wanted to sew the ruffle to the Santa Tree skirt. My Bernina 790plus acted like it was possessed. I had it on straight stitch; yet it was trying to vary the width of the stitch. The stitch length and width dials stopped working. It is back at the repair shop. I hope it will be repairable and that the repair is affordable.

Linking to Frédérique at Patchwork and Quilts and Cynthia at Oh Scrap.

Sunday, July 18, 2021

Final Pieced Frolic Border in Progress (post 8)

Working out the zig zag design
 Over the last couple of weeks, I've been stitching a few half square triangles together in to a zig zag design. It took me a little bit to figure out the orientation of the HSTs to equate to the zigzag shape. 

It also took some time for me to figure out the pressing so the seams would nest. I repressed some HSTs which helped. I pressed some seams open. Slowly my pile of HSTs became chunks of Zigs and Zags!

My plan is to piece a section of 12 HSTs together into three Zig Zags until I have pieced all the HSTs together that I originally stitched in November of 2019! At that time, I had no idea the journey that this project would take me. It's grown bigger. I've scrounged scrap bags for more variety and to get "enough" pieces to make the various parts. I even colored outside the lines a bit stretching the colonial blue color since I had so little of that color in my stash.
A blue and a red component

When I've stitched the HSTs together, I plan to lay them out next to the quilt edge to determine how many more I need. I'm sure that I'll need more! Adding the additional HSTs between the pieced ZigZags should maintain the scrappy look as well as sprinkle the newly made HSTs more evenly in the mix.

Once I had stitched several sets of four HSTs together, I played with different orientations. In the end, I decided that alternating a blue zig with a red zag was most pleasing to me. I also decided that I preferred the zig zag pattern over points and slashes which are my terms for different layouts of the HSTs!
Sections stitched together

This was goal number four on my July goal list. If I stitch more before the end of the month. . .great! I think that I could leader/ender a few of these while I'm stitching other projects. Then again, I might like to have a stitching day of not having to think much about what I'm piecing!


Regarding COVID:
Worldwide:190M cases; 4.08M deaths
United States: 34M cases; 608K deaths
Oregon: 212K cases; 2,848 deaths

Auditioning a section
The number of people vaccinated in Oregon is slowly increase: 59.7% have had at least one shot and 55.1% are fully vaccinated. Since the number of vaccinations is barely increasing, researchers wanted to find out what was holding people back from becoming vaccinated. Since the state is polarized politically and since the majority of those not vaccinated do not approve of Governor Kate Brown, University of Oregon researchers stated that she should no longer be the primary messenger regarding becoming vaccinated. The nearly 700 people surveyed stated they had more trust in health care providers and doctors. They also stated a $100 incentive might sway them to change their mind.

At work, I had the opportunity to chat with a doctor about the disconnect with the unvaccinated people. He told me that he had retired once. He came back because those infected with COVID had strained medical resources and he said he wanted to help share the load. He contracted COVID early in the pandemic. When the vaccine was available to him, he took the vaccinations.

He said he originally tried to educate those unvaccinated with the science and the studies behind the vaccines. He said the attempts failed miserably which surprised him. He tried telling those people about his COVID experience which he said was "like talking to a tree in the forest." He has had marginal success with the fact that the Delta variant creates much more serious health issues including death in unvaccinated people. He anticipates the infection rate to rise this fall. He hopes that hospitals aren't pushed to capacity levels and that the mask restrictions and meeting restrictions are not reinstated.

He said one of his patients was a COVID long hauler. He said that the patient's lungs were so damaged that he was on oxygen and confined to a wheelchair. Unfortunately, this patient's lungs had showed no improvement in months. The doctor suspects that the patient will not regain his former health. The doctor shook his head and said, the vaccine could have prevented this patient's situation. 


Wednesday, December 16, 2020

String-A-Long--post 2

Using the newsprint to trim the string fabric
After piecing the strips, I trimmed the strings. The newsprint foundation made it easy to determine the parameters of the pieced fabric. I trimmed the string fabric with the newsprint side up. Generally, when I paper piece strings, I don't leave much fabric along the waste edge. Some people will leave an inch to an inch and half. Then they will piece those scraps into projects. I rarely join that camp. Although, I have used trimmed strips that way!

Once I've trimmed the pieced fabric, I removed the paper. The needle perforated the paper when I stitched the fabrics together. The perforations make the paper easy to remove. I gently pulled the paper away from the stitch line with one hand. With a finger or two on the other hand, I placed a little pressure on the adjoining seam. As I pulled the paper away from the piecing, I found that the the pressure helped the seams from becoming pulled too.

Strips untrimmed and trimmed
Paper removing is a great evening activity. My granddaughters liked removing paper although the activity reached boredom quickly when they were four and six year olds! 

Once I've removed the paper, the string fabric is ready to be made into blocks. Every time I trim a chunk, I'm impressed with how interesting all those combined bits make the chunks!

I paper pieced long strings until I had stitched the majority into 11 inch squares. I could cut three 3 1/2 inch strips out of one 11 inch square. I paper pieced a few eight inch squares because I had strings in that length. I also thought the 3 1/2 inch unfinished squares from the eight inch squares might make a good border. I pieced 3 1/2 inch strips with the short strings. Occasionally, I'd slip in a few crumbs to add a little more interest. 

Cclose up of a few crumbs added as a string
It does take time to prepare the string fabric. The piecing is easy to do. The result is worth the effort. The question is, at what point is that string no longer viable for piecing? The answers depends on the piecer! Some people would toss the pieces that were too short for the 3 1/2 strips. Others would add a piece to the strip to make it work. Some people might stitch those bits into pieces to make strings!

Once I've trimmed the strips and removed the paper, I piece strips together until the strip is the length of the background fabric strips. Sometimes, I stitched the strips together before I removed the paper. Either way works!

Cutting triangles

When the string strip is about the same size of the background strip, I placed them right sides together and stitched both long sides of the strip. Next, I used the essential triangle tool to cut triangles. I lined the 3 1/2 inch line slightly above the edge of the fabric. I flipped the ruler and continued cutting triangles. I could cut between nine and ten triangles from a strip.

The apex of the triangle has three to five stitches that need to be removed; but, that takes no time.Next, I pressed the seam toward the background fabric. I also weighted the pieces and let them cool before I squared the blocks. Letting the pieces cool helps the seam allowance stay put. I was able to make 4 1/2 inch squares from this process. 

Remove stitches at the triangle apex
At this point, I'm ready to play with designs although the number of blocks I currently have wouldn't make more than a table runner. The design phase is truly the magic part of the process. I'll share a few designs in my next post on this subject. 

In the meantime, I guess I'd better get back to making more string fabric. Although, I'd better finish clue three of the Grassy Creek mystery first.
Pressed HST cooling

Wednesday, December 9, 2020

Grassy Creek Clues 1 & 2--post 2

Pressed and cooling pieces
For clue number one of Grassy Creek, we stitched a lot of gold and gray half square triangles (HSTs) together. I cut a pair of strips from the gold and gray fabrics. From there, I cut enough pieces to sew a set of HSTs. After I pieced the set, I pressed them. For this mystery, I'm pressing the pieces differently. I'm using Sally Collins' tip of weighting the pieces until they cool. (Check the video at about the 35 minute mark for a demo of her pressing technique.)

Sally says that the seams will stay flat through the whole sewing process. I've started pressing that way on a project, but, abandoned it later. This time, I'm attempting to stay true to the process to see how well I like it. I covered the pressed pieces with a large square ruler. I weighted it with my spray bottle. 

Next, I trimmed the HSTs. I sew with a scant quarter inch seam so that I can trim to perfection. I'm not a perfect piecer; so trimming helps me look like I am perfect piecer! 

Cooled HSTs
For the first time, I used the Folding Corners ruler to trim the pieces after they had cooled. This is my new go to trimming tool. I liked how easy it was to orient the block accurately under the ruler. Those lines are helpful to ensure I've centered the block correctly!

In my younger days, I would have completed the steps as if it were a production line. I would have cut and kitted all of the pieces. Then, I would have sewn, pressed and trimmed all of the pieces. These days, my body needs more breaks. Sewing a few pieces and moving to another task helps me to not become so sore. This "mature" process also gives time for the pressed pieces to cool. I like working in smaller batches. I don't feel as overwhelmed with the scope of the project when I work on a few pieces at a time.

Finished HSTs
I finished clue one in plenty of time to start clue two! Clue two was to make a lot of hour class blocks with the neutral, gold and green fabrics. I had two Zoom sewing sessions this week. The concentrated sewing time helped me complete most of hour  glass blocks in-between checking out other people's projects. I even located a few strips in my "pre cuts" that I was able to incorporate into the blocks. 

Monday was our Mystery Mavens sew day. We have 24 members in our group. Twenty people spent a part of their day with us. Some people had to work or had other assignments. It was a great turnout and what I appreciate about the members is their helpfulness to others. 

Lining up my bonus HSTs for trimming
If someone is having trouble, there is a lot of support and trouble shooting to solve the issue. I have noticed that we are improving our descriptive techniques so we can explain options. I've also noticed that we are improving our listening skills too. Even though in person stitching is preferable to "demonstrate" what you are saying, Zoom is working for us!

I also appreciate that members post photos of their progress in our private FaceBook group. I love seeing all the different fabrics and different color ways people have chosen! It is a nice way to stay connected! We meet once a month. Although, we may choose to meet in a couple weeks if we find a clue is difficult to understand or if we are getting behind in the process. Before the pandemic, we met in a community room in a member's neighborhood.

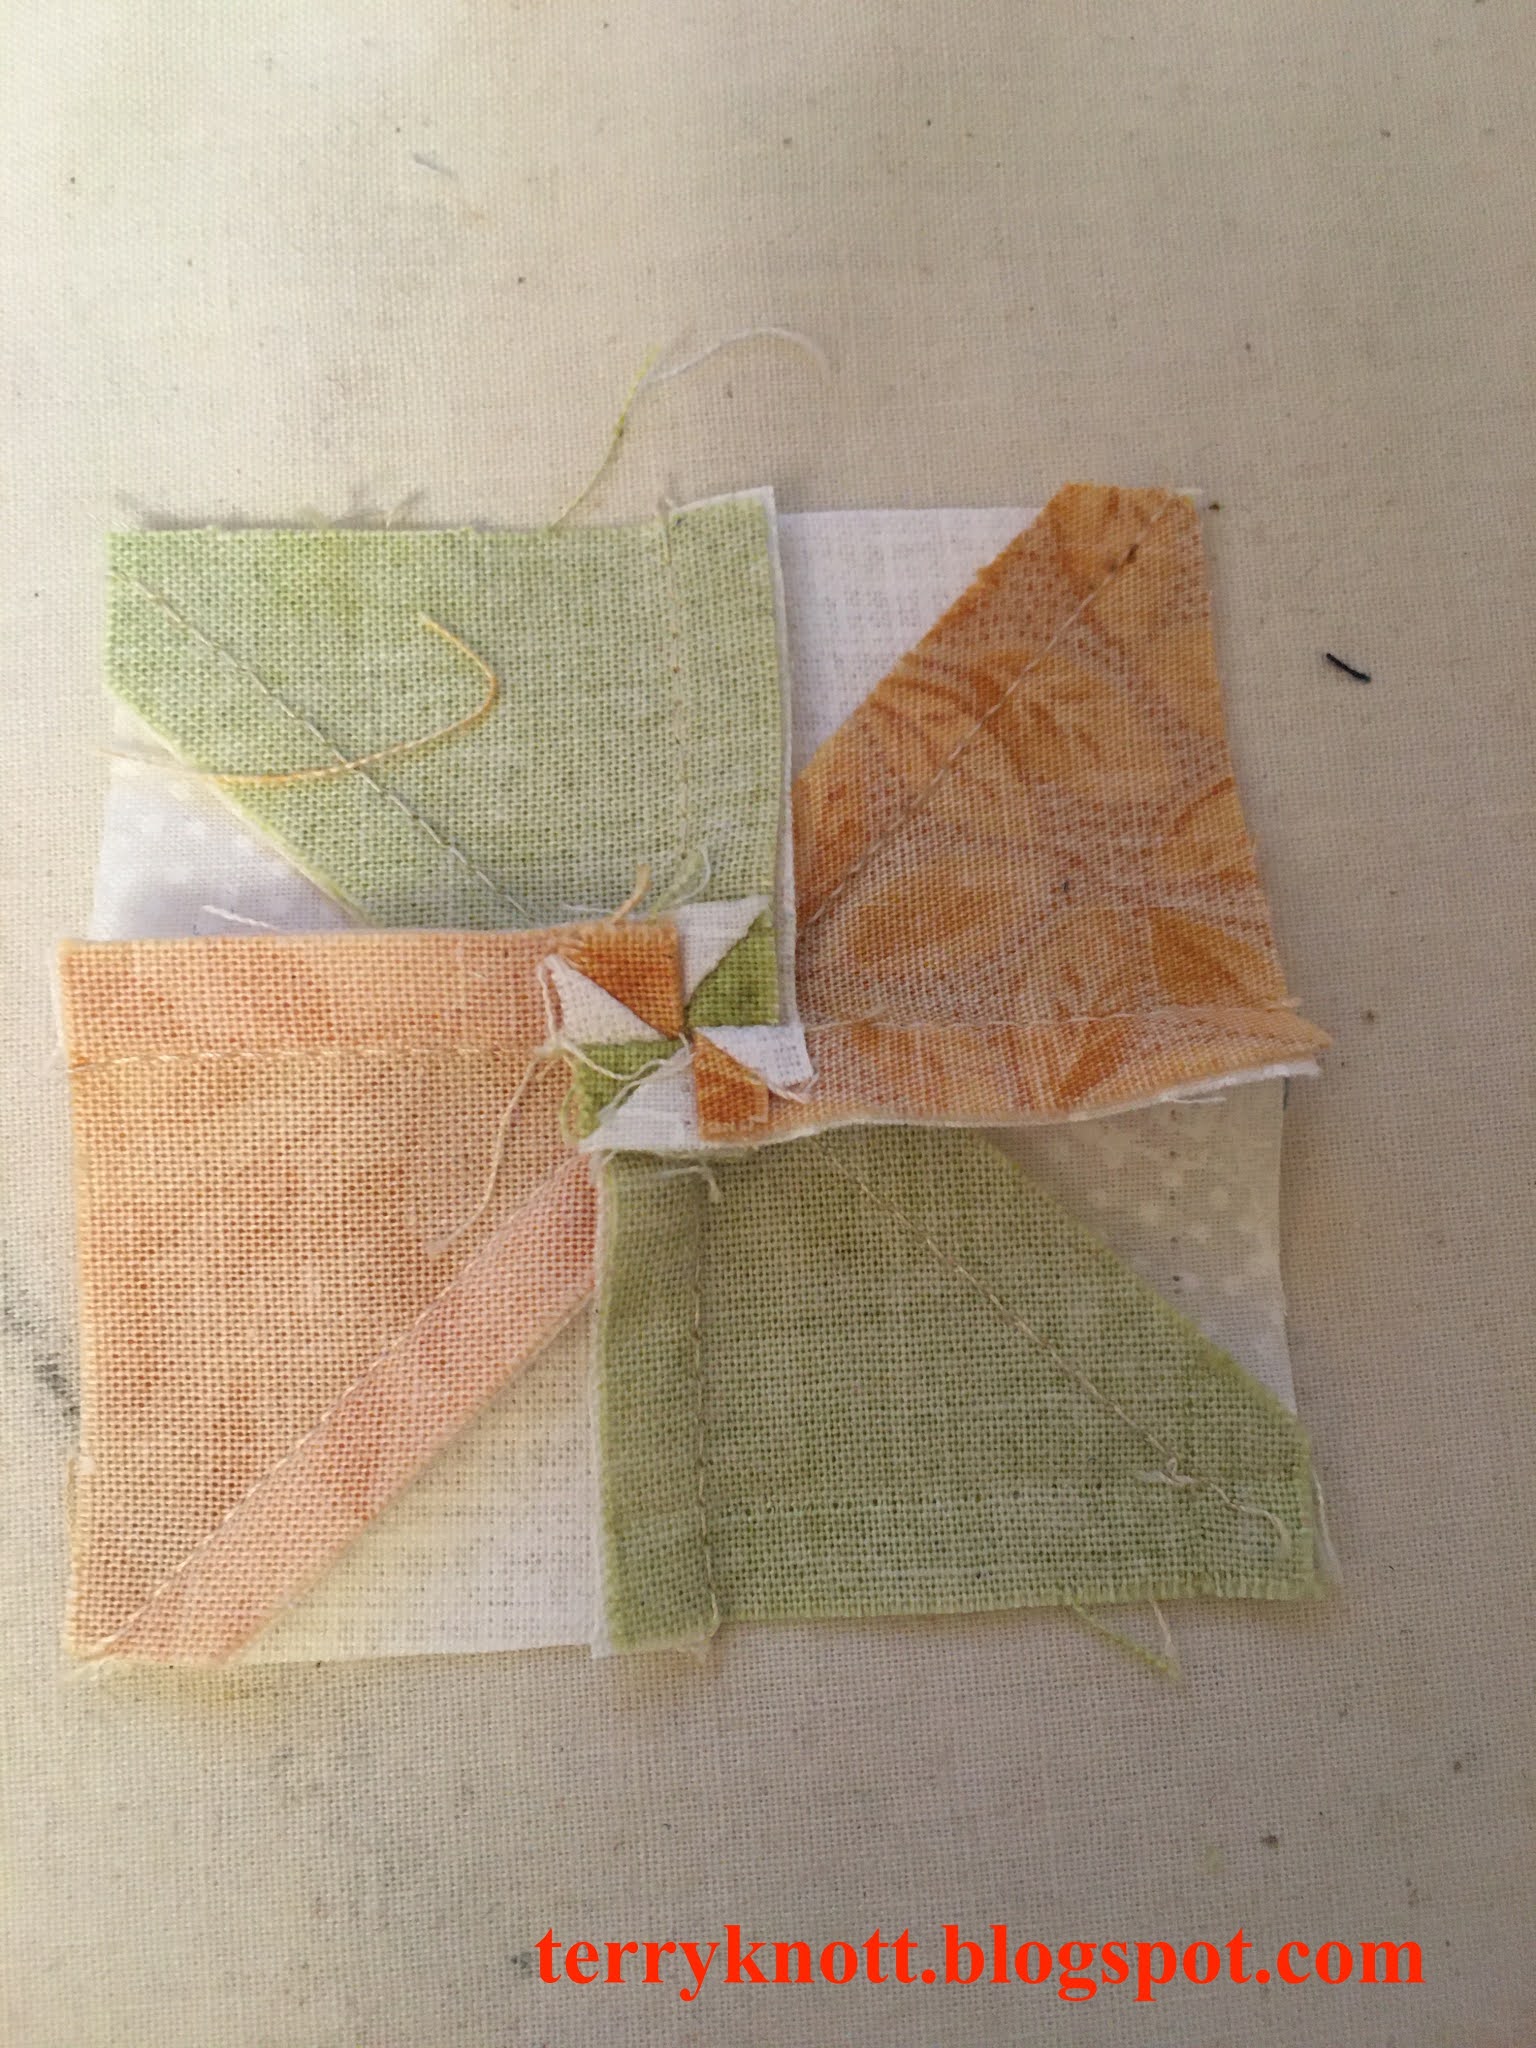
One of the gals in our group pieces small scraps together and makes the most wonderful charity quilts. I had a bunch of small leftover scraps that I cut into HSTs. I sewed the HSTs into pinwheels as leaders and enders. The pinwheels are small. I did spin the seams. How cute is that little HST in the seam allowance? These blocks will finish to two inches. 

Completed Step 2--HSTs
Sewing the leftover bits is a goal of mine. I don't want a bunch of scraps leftover at the end of a project. When I reach the end of strip, I cut it into what ever useable sized piece in my scrap saving system that I can. I know that I'm more likely to use from my scrap saving system than I am to pull out those scraps and cut useable pieces later.

I don't know if these pinwheels will end up
in the quilt or if they will become "parts" to be used in another project. They are cute!

Pressed pinwheel from the back
Friday, Bonnie releases clue number three! I'm ready! In the meantime, I've put in a few stitches on the Unity binding. I've made a couple more Folic blocks with the leftover parts as my starting base. I'm finding cutting the pieces to fill in the leftovers tedious. Looking through the scraps to find a little more of the block fabrics and cutting a specific number of pieces takes time! I also needed to use a completed block as a guide so I could remember how I pressed the block! Truthfully, I'm happy to be using a few more scraps so in the end, more blocks will mean more stash reduction! 

Bonus pinwheels
Even though I've sewn mainly from my stash during this pandemic, I haven't seen much change in the stash stacks. I'm thankful I've stash to keep me plenty busy in a variety of projects.  

Last night, our Mt. Hood Quilters guild had a live meeting. There were about 65 members who attended the virtual meeting. It was fun to see people dressed up in their holiday tops, necklaces, earrings and hats! One of the members gave a demonstration of a Swedish weaving which we made out of a piece of felt. We had breakout rooms and I got to meet new to me members. 

I appreciated how members helped other members who were new to the zooming process. It was a fun meeting!


Sunday, November 29, 2020

Week in Review--A Little Unity, A Little Frolic and a Little Grassy Creek

Unity background swirl quilting

My thumbs are improving. I spent some time in the last week quilting the background on Unity. I am quilting the backgrounds in the pinwheel border. At the time of this post, I have four blocks left to quilt. It takes me about two hours which includes stretch breaks to quilt one background so my goal is to quilt one background a day. When I finish, it will be time to add the binding. I am so close to a finish!!! It will also be the first Bonnie Hunter project that I've finished!

For Frolic, the pieces that I thought I hadn't cut for the sashings, I had. The pieces were part of step one or step two which happened at about this time last year! I've stitched a few sashings. I've added a few sashings to the blocks. I've decided to make more blocks to make the quilt bigger. After all, I've a bunch of parts leftover from stitching the side setting triangles which would be great to use in the project. Oh boy, making more blocks is going to take a bunch more time. . .then again, I'm going to be using more of my scraps which is terrific!

In the meantime, on Friday, Bonnie released her first clue to the Grassy Creek mystery. This is the first time that I've been able to try a different method of making half square triangles (HSTs). This year, I've more yardage to work with than in previous years when I worked with pre cut strips.

All of the Frolic sashing pieces
Bonnie uses a folded corner triangle ruler to cut the triangles to shape. I like the method. It seems to be faster than cutting the HSTs from strips. However, I realized lifting the ruler to trim the blocks irritated my right thumb so I'll be more mindful of how I'm moving the ruler so that I can keep stitching!

With all this scrap piecing, I'm linking this post to "Quilting is More Fun Than Housework" and her Sunday Oh Scrap linkey. 

Thursday, the two of us had a quiet Thanksgiving. Earlier in the day, we Zoomed with our daughters. The granddaughters had fun playing a game that the youngest daughter managed in our first family Zoom call. The granddaughters wanted to play the game again. This time, they managed the game. 

Making more blocks using the leftovers
All we had to do was play. The youngest granddaughter was the judge. She was also the one who came up with the questions. It was a hoot. I even managed a couple wins!

After the call, we went on a three and a half mile "turkey trot" through the neighborhood. It was fun and I hope that we will make it an annual event. It took us 80 minutes. This has been the longest walk I've been on in a long time because walking makes my knees swell. I've slowly been building my walking time and I can consistently walk about 35 minutes without paying for it either later in the day or the next day. My body didn't rebel too much after the 80 minute walk so I know that at some point, I'll be able to consistently walk that amount of time. (I've arthritis in my knees. I am a candidate for knee replacements; but, I'm holding off until my knees hurt more because I don't want to be in my 80s and have the replacement parts need refurbishing!)

Beginnings the Grassy Creek Mystery
Since it has been an unusual year, we decided to have an unusual meal. . .pizza and beer! Bob cooked the pizza on the wood fired grill and it was delicious. Clean up was a snap!  I did miss spending time shopping with the oldest daughter on Black Friday. I, however have completed most of my shopping online. These packages will be delivered directly to the recipients. Call me old-fashioned; but, I like actually physically picking out the items, wrapping the package and giving it to the recipient in person. COVID, however, continues to keep me close to home.

Regarding COVID:                   Worldwide: 62.3M cases; 39.8M deaths.       United States:13.3M cases; 266K deaths.     Oregon: 72,506 cases; 896 deaths.

In Oregon, yesterday there were more than 1,000 positive cases reported. After the two week freeze ends on December 2, restrictions will remain in place. Some restrictions for restaurants will be lessened as owners will be able to serve a maximum of 50 customers until 11pm. Other restrictions for retailers are tightened. They will be operating at 50% capacity instead of 75% capacity. It appears that until vaccines are distributed, the restrictions will remain in place. Additionally, there is a risk level each county will be assigned with restrictions relaxed as the risk level is lowered. 

As I look back at the last ten months, I am amazed that the entire world has been in effect shut down because of this virus. Many of us have heeded government warnings and have followed recommended protocols. Last week, I read "The Tattooist of Auschwitz" by Heather Morris. In some ways, our world parallels the world of that time with all the restrictions.

Because this is my last post of the month, I'll report that I trained 24 people in American Heart Healthcare Provider CPR.