 I'm excited about our fall retreat. I've been organizing, cutting and packing projects. These are the projects so far!!
 I cut the fabrics for the guild's mystery quilt. Two of the fabrics came from my stash!!! I purchased the top two fabrics. That print batik has been marinating in my stash for more than nine years!
I said to myself, "Enough petting!!! Use it!"

I determined how I was going to make the complimentary block to my churn dash. Click the link to read what promoted me to stitch these! I even stitched a sample so I know my idea will work.

I determined how I was going to make the complimentary block to my churn dash. Click the link to read what promoted me to stitch these! I even stitched a sample so I know my idea will work.


I packed "Positively too.
This is what the top looked liked after I had the coins stitched to the sides and started to place the piano key border.

Here is the top with the piano keys. I like it!!!


Then, I pieced the remaining pieces.
I didn't have many left!
I used 38 seven inch squares from the previous fall retreat exchange and I added two more squares of red and another neutral square that is featured in the second scrappy block. This was the fabric that I exchanged!
I used 38 seven inch squares from the previous fall retreat exchange and I added two more squares of red and another neutral square that is featured in the second scrappy block. This was the fabric that I exchanged!

Then it was time to audition bigger fabric pieces for the back. I can't close the green drawer on my stash, so the back had to have some green! :) I sure like the interest a pieced back gives to a quilt.
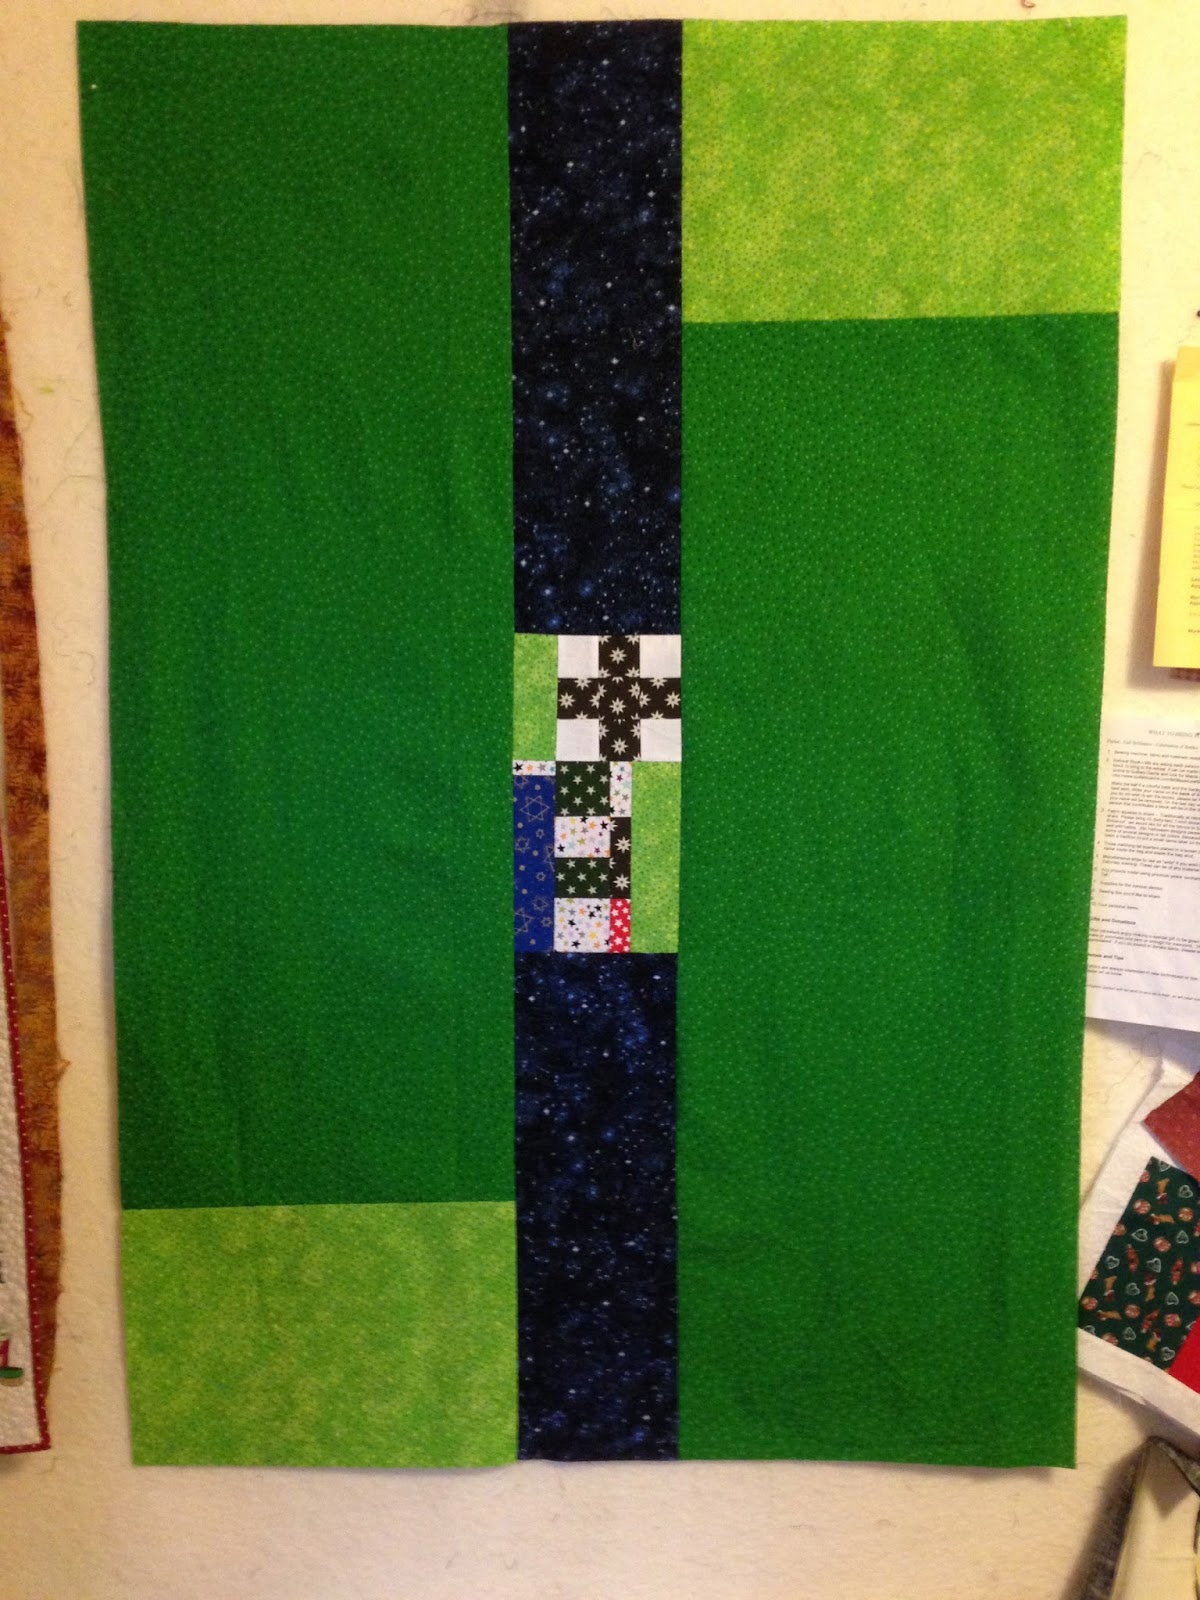
The dark fabric was a fat quarter that we received at retreat. I have a few "strings" left of the dark green; but, the lime green is gone!

Then I packed the project so I can pin baste it for quilting. It measures about 32"w x 49"h.
I also cut the strips and triangles for the sashing for my hexagon BOM. I didn't realize when I decided to use both backgrounds how hard it would make finding sashing/border fabric!!! I've packed more; but, will save that for a later post. Let's see how much progress I can make!!!!


