|
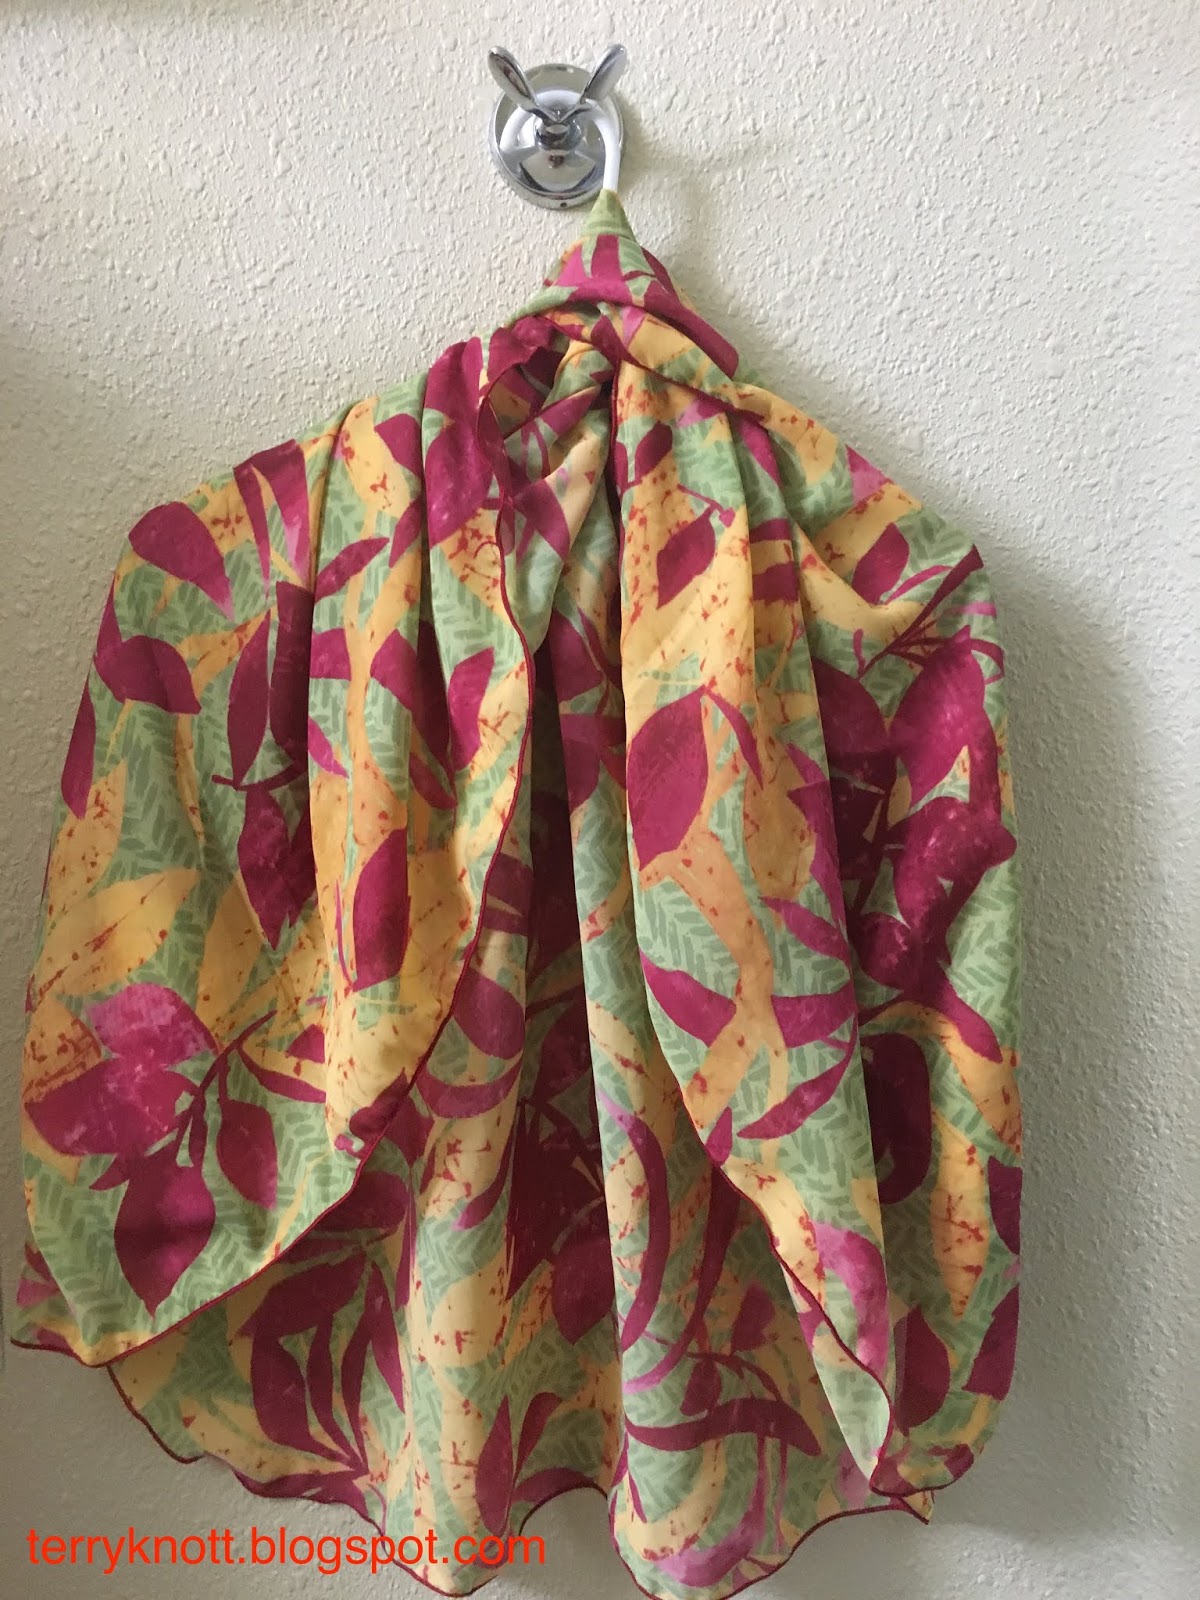
| Scarf folded and ready for trimming |
I had a gifted piece of fabric from my mother that would work so I had a "go" with the project. I first cut the fabric so it was as wide (about 60 inches) as it was long (also 60 inches.) Next I folded it in quarters and then I folded it into a triangle shape. I made my triangle smaller by folding it in half one more time.
 |
| One of two circle scarves |
Folding it smaller made it easier to trim the fabric to a gentle curve at the top of the V. Next, I opened the fabric so that it was four layers. Measuring from the fold, I made a cut that was six inches away from the fold and was six inches long. At that point, I could have called the project finished because the fabric didn't ravel.
Instead, I decided to stitch a narrow folded hem at the bottom edge as well as around the cut edges. It took some time to adjust the serger to stitch on this lightweight fabric. I found applying some tension to the back of the fabric helped it lay flatter.
 |
| Two infinity scarves |
Then I tried it on. Although I could get my arms in the holes, it wasn't easy to put on. So I cut off the stitching and made the slits longer. I tried it on and although easier, it still wasn't great so I cut the slits longer yet! In the end, I lengthened them two inches.
It still was a bit fiddly to get on; but, I liked how it looked. I don't know how easily my mom could get it on though. I tried putting my head through the slits and found that could work too. It even worked to put my arms through the slits like I was putting on a t-shirt. My mom could handle that movement. I did like the drape of the scarf once it was on my body. The following day, I tried the scarf on over a thin knit top and it was easier to put on and off.
 |
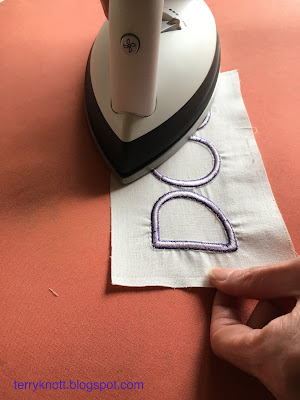
| March embroidery lesson |
I wore it to the guild quilt show to see how it felt. I experimented with two different methods of putting on the scarf. Both methods worked great. This would make a great item to pack for a trip because it is lightweight and it could easily dress up an outfit.
I decided to make a second scarf. I shortened the stitch length when I stitched the hem. I liked that effect better. I also decided to stitch two infinity scarves out of the remaining fabric. I've a few more gifts for giving and four yards less fabric in my stash! I have now sewn 39 yards of the 57 1/2 that were my goal to sew this year. I have 18 1/2 yards left to meet my goal. On my 1st Quarter FAL 2019 list, this scarf project was goal number 23.
I also completed the March software embroidery lesson which was lapped and overlapped designs. I have clean up work to do on the initial exercise; but, I have an idea of how to use it. The wreath was fun to create. I think it will make a great future quilt label.
This is the end of the month so I'll share that I trained five lifeguard instructors and 25 participants in basic life support CPR.
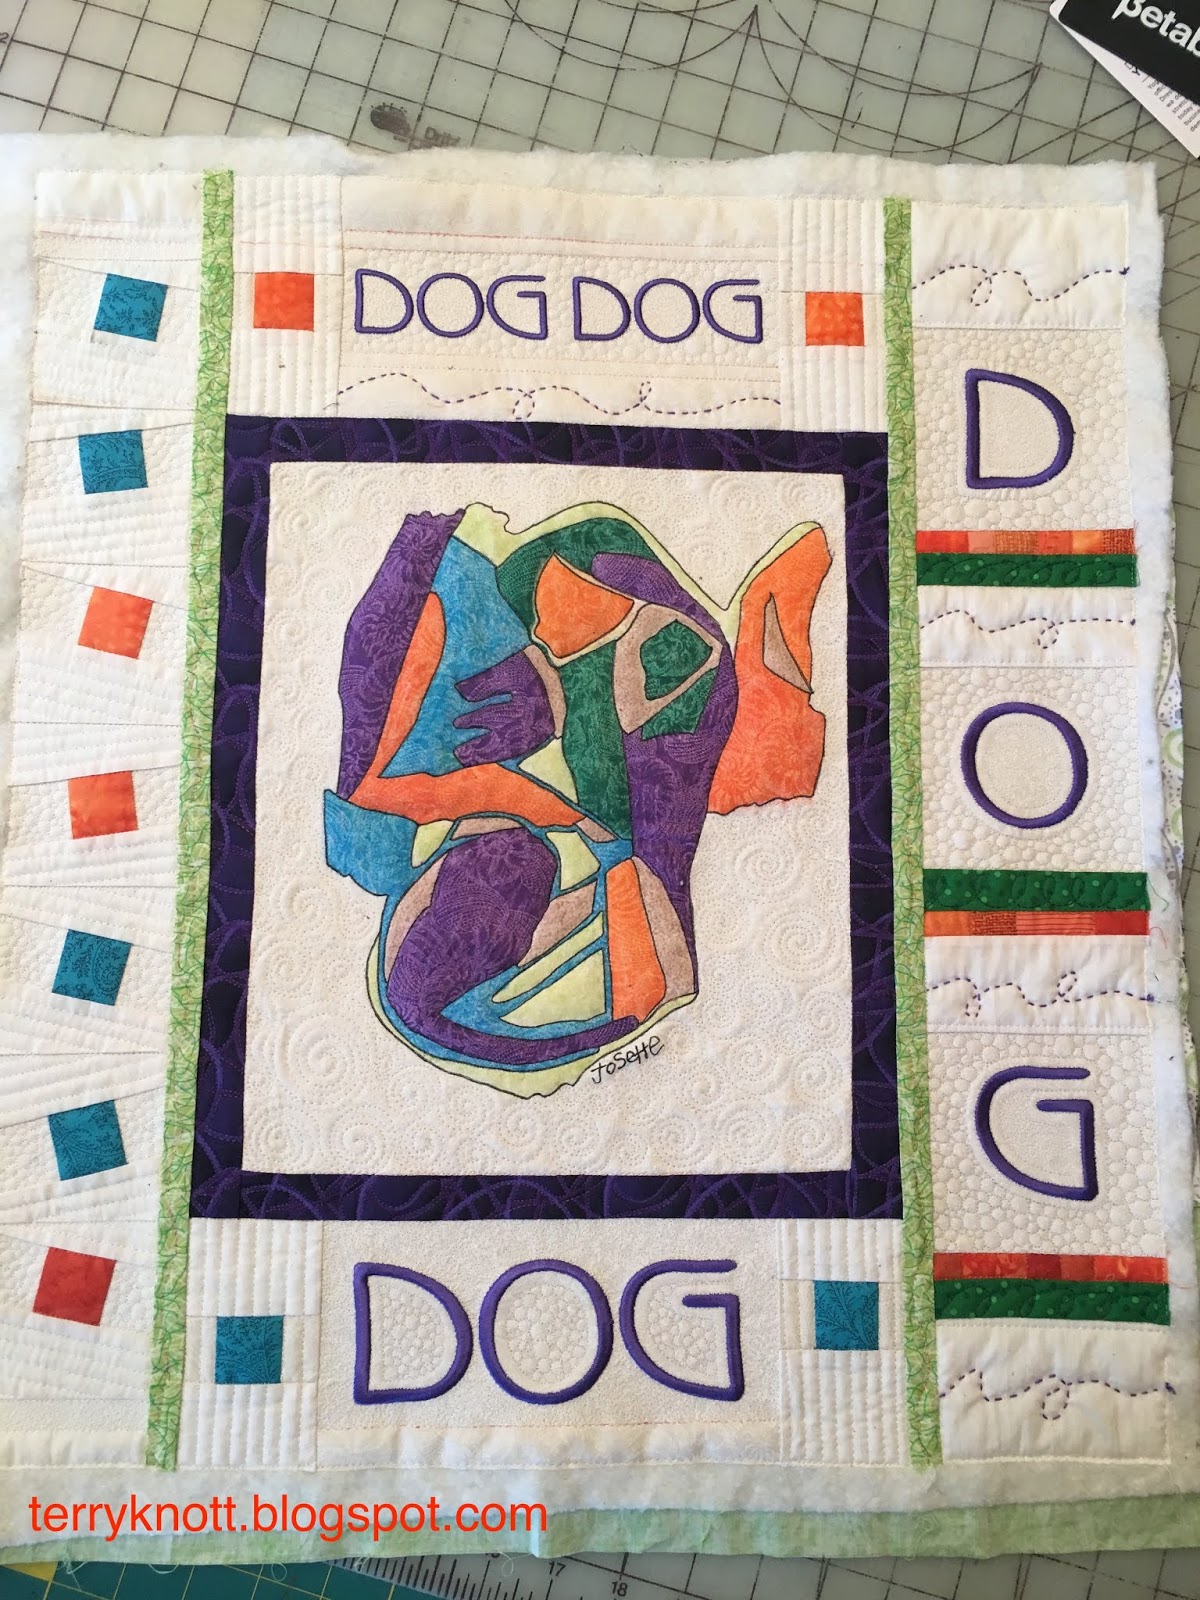
My March goals were to: finish the dog quilt, make the flannel potholders, stitch the scarf, sew K's and J's knit outfits, complete the March embroidery lesson, give a lecture to the North Star Quilt guild, brainstorm ideas about sunset, sew the green shorts, and finish the gold flower project. I completed all but the last three items. I feel good about my progress!