One of the activities at the virtual retreat, that ends later today, was a challenge quilt contest. We were to make and finish a small quilt--no smaller than 8x10 and no larger than 11x14 inches that represented us. We couldn't use a photograph, we couldn't use something that was lifelike.
I wanted to participate so I thought about my quilting of late. I made a short list: use scraps, use leftovers from the parts department, enjoy machine quilting, like hand stitching something in the project, like to try something new in a project.
 |
| An early arrangement of the pieces |
I thought about what quilting means to me. During this pandemic, quilting allowed me to exercise my brain and it kept my fingers occupied. Quilting gave me the chance to experiment and to connect with friends through zoom. Creating makes me happy. Being happy while you are home waiting for "ordinary" to return, was a feeling many others did not have. I am thankful to quilt. When I complete a project or have success with a new to me technique, I feel joyful and exuberance. I liken the feeling to playing outside in the rain when I was in elementary school. Catching rain from the sky on my tongue, splashing through puddles made me laugh.
 |
| Figure representing stomping puddles |
I thought about projects. I could string piecing a star on a placemat. I looked at the parts in the parts department. I thought about putting machine speciality stitches along with quilting stitches and some trims on a piece of fabric. I thought about piecing some 1 1/2 inch squares together then appliquéing a flower on top of the squares. I thought about using the Summer wall hanging I recently finished. . .measurement was too big. I thought about using the Spring wall hanging had close to a finish. The day I received the information about the challenge, I had pieced a string border around the embroidery making it too large.
I sketched shapes in my sketchbook. . .then, I had a thought. In Martha's scraps were some curved pieced fabrics. I wondered if I could make a happy piece out of those. I don't know if these parts were practice pieces or if the parts were trimmed pieces from other blocks. I don't remember Martha working on a project in these fabrics.
 |
| Auditioning a face fabric |
I played with the pieces as if they were puzzle pieces. I put them together in a myriad of ways. I took photos with my cell phone to be able to review the various options. In one arrangement, I thought the center resembled a child playing outside on a gray day.
The child and playing outside made me think of splashing through puddles so I played a little more with the arrangement until I found a layout that represented more movement and expressed pure joy.
Once I had my layout, I determined that I needed a face. I thought about machine stitching an outline; but, decided a face would be better. I tried a comic style face; but, decided I wanted to try a more realistic face.
 |
| Drawing faces |
A sketch artist, I am not. I looked at early sketches of young children on the internet. I made a pencil sketch and I liked it. However, the orientation was wrong and the face was too large.
The next sketch I made, I placed the paper on top of the block pieces and drew a line from the head to the body. This helped me with the orientation; but, the head was too large. As I redrew the head, I tried to refine the lines to keep the face young looking. I redrew the head several times until it was a good size for the project.
 |
| Appliquéd face |
With a sharpie pen, I darkened the lines of the drawing. The darkened lines would make it easier to transfer the image to fabric. I auditioned fabrics for the face. Peach, tan, cream, four shades of pink, two shades of brown and one yellow. The yellow was the winner.
Using a pencil and a light hand, I transferred the image to the fabric. I cut out the image with a scant quarter inch seam allowance and appliquéd it to the top of one of the curved blocks.
 |
| Ready for quilting |
While I am pleased with the appliqué, it was challenging to needle turn the edges under while refining the facial elements. In the end I was successful. I started piecing sections of the block together. I trimmed the excess parts of the block. I added the bits to other parts of the block that needed to be filled.
I did wish that I had made the face a quarter of an inch shorter after I had sewn the block together. However, I did have a small piece of the pink batik that I could use to make a trim for the hood. I took the block apart, inserted the trim and restitched the block. I liked the addition.
The face is in better proportion to the rest of the figure. I squared the block. It measured about six inches wide by about eight inches high. I was ready to audition fabrics for the border.
 |
| Finished back |
I tried a pink, a green, a grey, a floral print. . all not the one. Then I tried the bubble or dot fabric that I used to bind "Little Bits." That fabric seemed to tell me that it wanted to be the border. It must have been the correct choice because there was just enough to place the fabric around the block to keep the design in the fabric as well as get the design to about 11 inches wide by 14 inches tall. I was ecstatic! My story is the bubble print represents the stomped splashes. . .although, in real life, this splash would be mud!!
I used the leftover facial fabric for the backing. It is what I used to back my New Beginnings quilt. It also came from Martha's stash. I layered and basted the project for quilting. As I was pin basting, I decided that I would call this project "Joy." I also reminded myself to enjoy the journey.
 |
| Label |
Using a 100 weight polyester thread, I quilted in the ditch. Using the circle template, I quilted circles in the outer border. I quilted slanted lines with a metallic thread to represent rain and I quilted a puddle so the rain had a chance to pool. I quilted paisleys in the pink and added hair
and and eye. I liked it. I added a black single fold binding. I addd a little micron pen to give my figure lips and called it finished!
I used about half a yard of fabric. I purchased nothing for the project and used leftover batting, backing and scraps to complete the project. I have now used negative one yards of fabric from my stash. This is finish number 11 on my quarter goal list. It is my seventh finish this quarter. It went together fairly quickly.
I'm linking to Oh Scrap/Quilting Is More Than Fun Than Housework.
Regarding COVID:
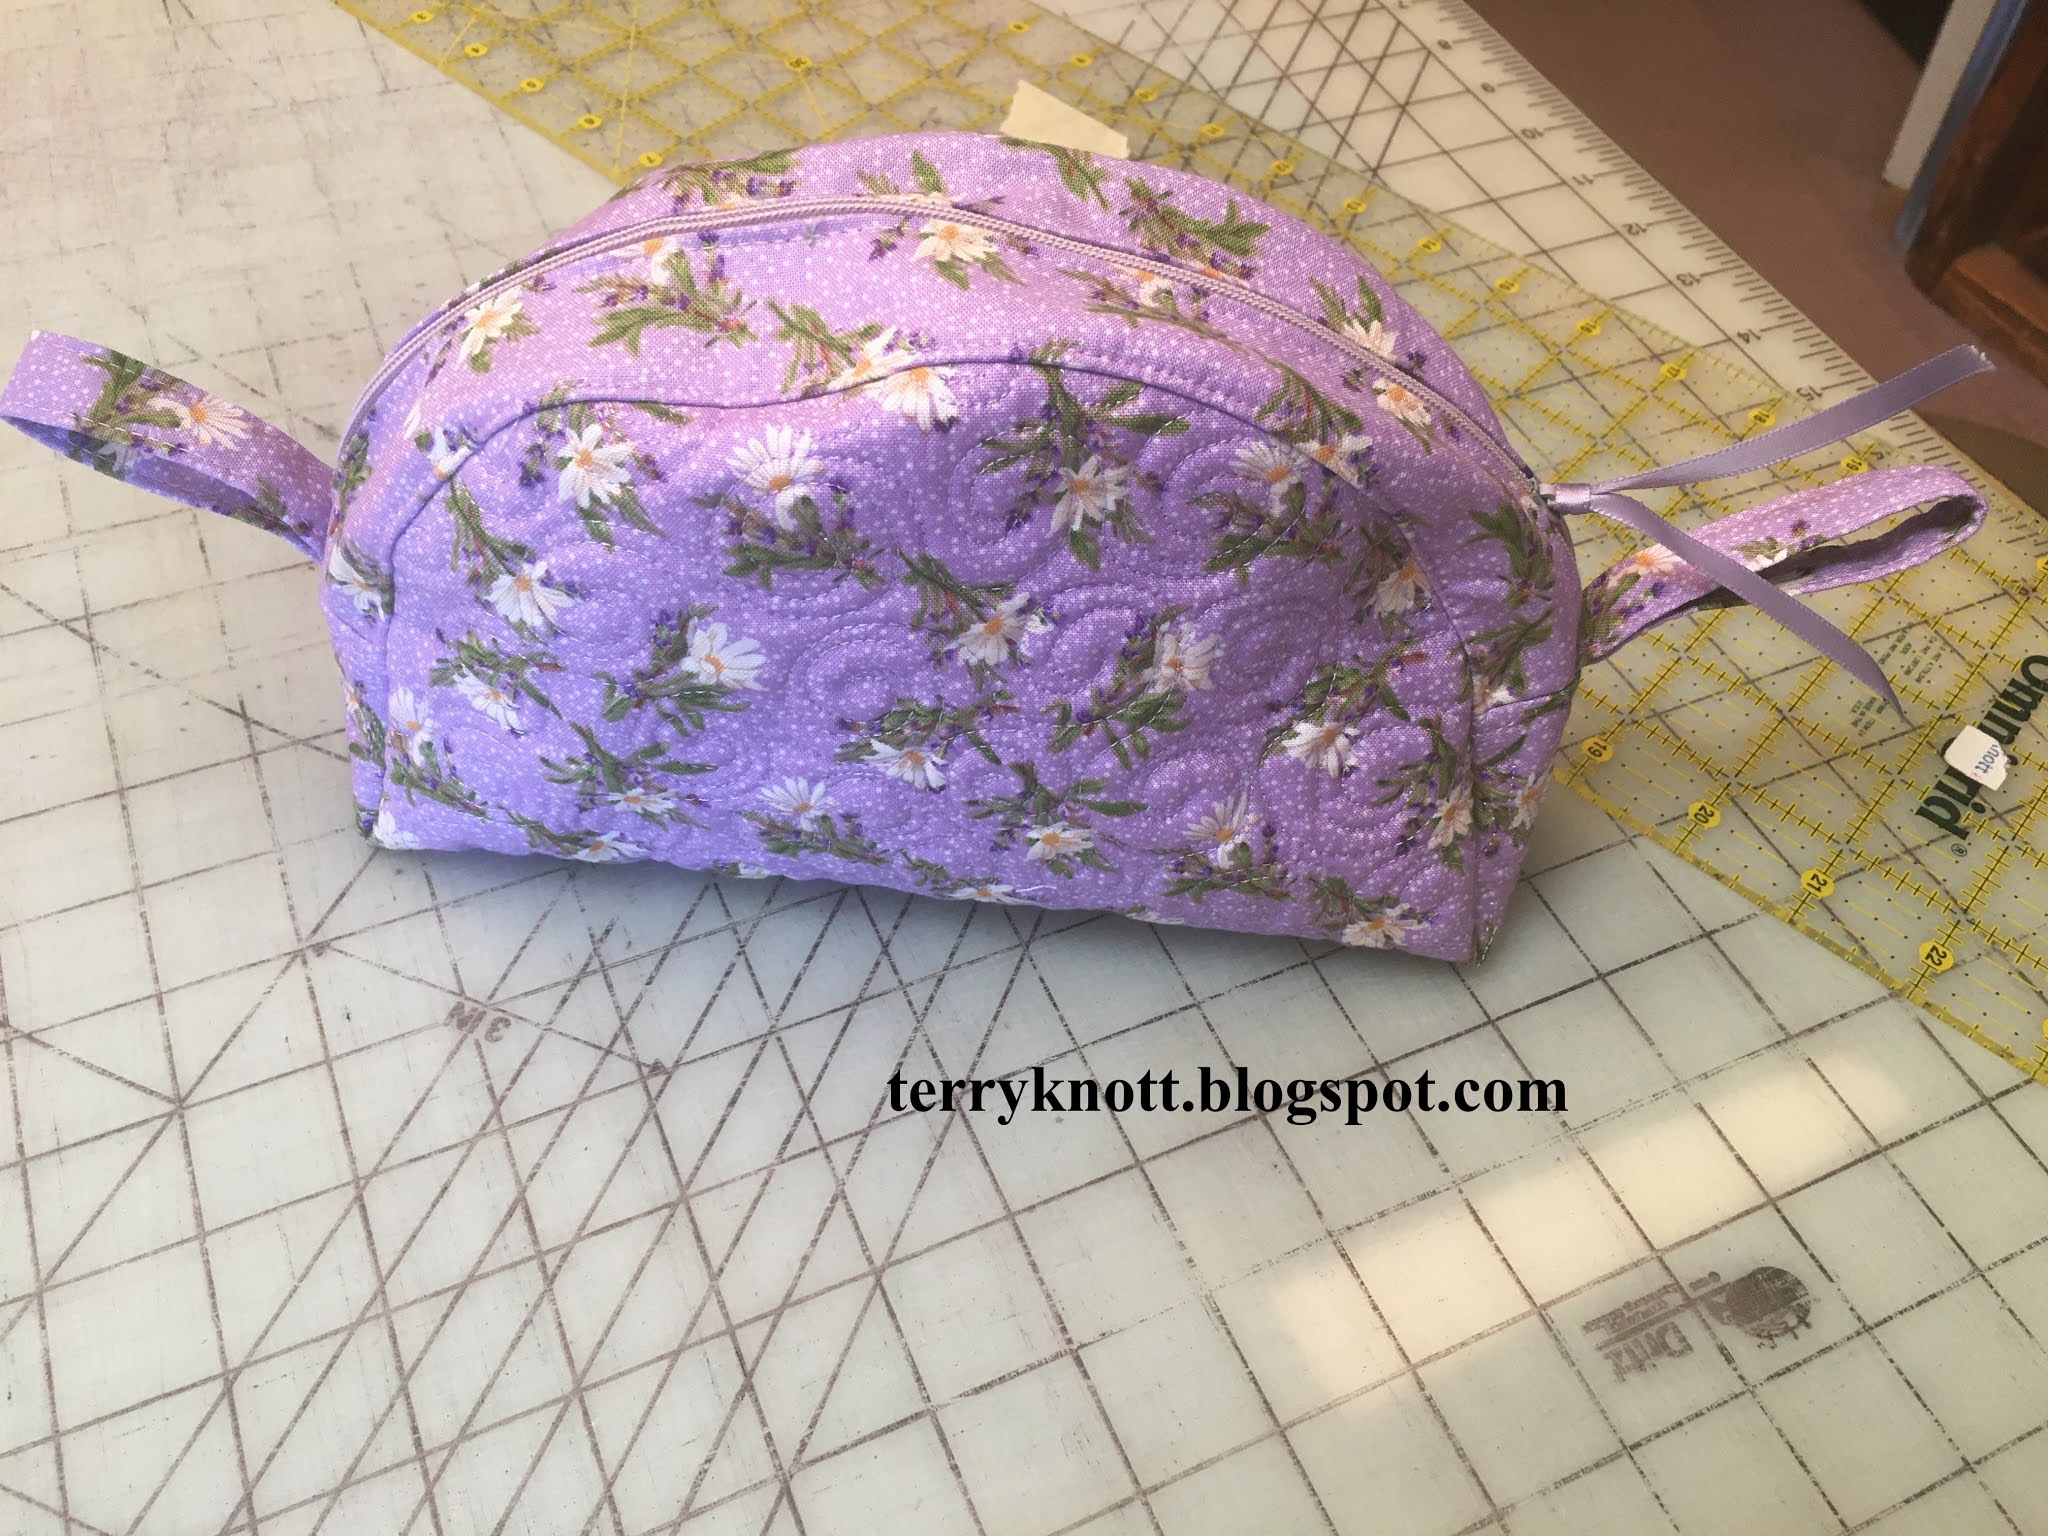
 |
| Finished front |
Worldwide: 122M cases; 2.69M deaths
United States: 29.7M cases; 540K deaths
Oregon: 161K cases; 2,369 deaths
Everywhere, the number of hospitalized COVID cases continue to drop as do the number of deaths. However, as more people are vaccinated and social distancing protocols are relaxed, the number of cases are beginning to rise. We are being cautioned to continue wearing a mask and to social distance even though signs of normalcy are beginning to return. In Oregon, it is still a challenge to get an appointment for the vaccine.
At the end of the month, Oregon schools grade K-6 will be open to in person students. The remaining grades will follow about a week later. (Parents still have the opportunity to continue with online learning.)
At the hospital where I work, there was a small ceremony marking the last year of living with COVID. Last week, it was reported that there was one COVID patient being treated. Over the last year, I learned that 100 employees contracted COVID. I learned that staff treated 282 COVID cases and 63 patients died. While I'm sad for the families of those 63 patients, I'm also happy for the families of the 219 patients.


