Monday, December 31, 2018

Mesh Grocery Bag--Eighth Finish for 4th Quarter Finish A Long 2018

Pocket topstitching

Today is the last day of 2018. Gosh the year flew!! I looked through my project list for this quarter and determined that I could make one more finish . . .a mesh grocery bag. I've had the supplies for more than a year. I used half a yard of cotton fabric, half a yard of mesh fabric and three yards of webbing. The 8 1/2 x 11 inch two sided photo copy of directions for the bag included a diagram for cutting, placement and stitching.

Stitching the webbing
I found it difficult to stitch the fabric on top of the mesh. The fabric would stretch. If I could stitch with the fabric next to the feed dogs, I had less stretch. I switched to a dual feed foot and had even better results. I also found it difficult to understand the directions; but, in the end, I did complete a bag! For example, press pocket in half. . .does that mean hot dog or hamburger style??? It meant hamburger style!

The edge stitch foot was great for applying the webbing. I had no slippage issues as I stitched. For extra security, I stitched several times across the top of the webbing. Then it was time to stitch a French seam on the bag sides. The mesh was a bit unruly and difficult to fold on itself. Next time, I would stitch the first seam at a bit less than a quarter of an inch and the second seam a bit more than a quarter of an inch. For this bag, I stitched 1/4 of an inch as the directions stated. Instead of stitching again  at 1/4 of an inch, I stitched a 3/8 of an inch seam allowance to ensure concealing the raw edges from the first stitching.
Boxed corner ready for the zig zag

To make the box corners, I cut a two inch square out of the corners. Next, I pinned the layers in a diagonal which I zig zagged. My 790 Bernina, Joyie, stitched through all those layers without a hiccup. I turned the bag right side out. The box corners pushed out beautifully. The bag stands up nicely.

It is ready for gifting next year. (I already have a recipient in mind!!!) I used a yard of fabric which brings the total yardage I have used from my stash to 42 1/2 yards. I am seven and half yards short of meeting my goal of using 50 yards of fabric from my stash. No worries, I plan to stitch another 50 yards from stash next year plus this amount from this year. That means my total goal will be stitching 57 and one half yards out of my stash! I can do this!!!!!


This was goal number 19 on my 4th Quarter Finish A Long list. It is my eighth finish for the quarter.

This evening, I'll be ringing in the new year with my best friend and husband. . .although, we may have the year rung in via Australia time! Wishing all of you a safe and happy new year. May your dreams and wishes become a reality in 2019!


Sunday, December 30, 2018

Chicken Placemats--Seventh Finish 4th Quarter Finish A Long 2018

Comb, beak and wattle basted into place
Last Christmas my friend, Martha, gifted me supplies to make four chicken placemats. I sure thought that during the year, I would stitch this project. Other projects went under the needle instead. I decided that I wanted to finish this project before the end of the year. I pulled it out of my "To Do" box and read the directions. I traced the pattern pieces on tissue paper and cut out the pieces.
Stipple quilting design

Stitching the wattles, beaks and combs took some time. After each was trimmed, turned right side out and pressed, I basted each on the placemat. The next day, I pinned the batting and the backing to each placemat. I stitched around the outer edge, leaving a hole to turn the placemat right side out. I trimmed away the extra batting, turned the placemat to the right side, pressed the edges and slip stitched the opening closed.

Using the main color of each placemat, I free motioned stitched a stipple design across each placemat. Last, I stitched a button to represent each chicken's eye. These will be a great gift.
Finished chicken placemats

This project was goal number ten on my 4th Quarter Finish A Long list. It is my seventh finish for the quarter.  I used two yards of fabric to make these placemats. I've now used 41 1/2 yards of fabric from my stash. I've 8 1/2  yards of fabric to go to meet my goal of using 50 yards from my stash this year. With one day in the year, left, I'll not meet my goal. No worries though, I'll just add the 8 1/2 yards to my goal for next year!

Tuesday, December 25, 2018

Christmas Card--Sixth Finish 4th Quarter Finish A Long 2018

Piecing and trimming complete
View from the front
Finished card
My friend, Martha, had a kit in a small plastic bag to make this card. It reminded me of her. I wondered if she planned to gift the kit, give the card and/or make a bunch of cards. I won't know the actual answer since she died last July. I've had it sitting on my sewing table since early September. It is paper piecing, a technique that she loved. I am not as adept at it as she was. Perhaps, that was one reason why I procrastinated with stitching the project. Before I started, I made a copy of the paper pieced pattern and I noted the dimensions of the fabrics in the kit in case that I decided to stitch more.

With six pieces to stitch, it didn't take long to stitch the piece together. I cut out the pieced block on the dotted line. Then I removed the paper. Using an Elmer glue stick, I liberally glued the opening of the card. I placed the pieced tree in the opening. I cut another piece of card stock and glued that in place. Covering the back of the piecing made for a more finished look to the card. To ensure the glue activated, I pressed the paper.

I like how it turned out. If I were to make more, I would need to purchase card stock that either had the center cut into a circle or an oval--there were patterns for both--or figure out how to cut the card stock myself. I doubt that I take on that project. . .but, then again, you never know!

It took me about an hour to make this card. It was goal number 15 on my 4th Quarter Finish A Long list. This is my sixth finish for the quarter. I stitched it Christmas morning.  I plan to gift it next year!

While I stitched the card, I thought about Christmases past. When I was a kid, my brothers and I would wake up early. Mom's and Dad's rule was that you had to stay in bed until it was light. Waiting for the sun to rise was hard! Once we were up, we could open our stockings. We used to bring our stockings into Mom's and Dad's room and open the stockings there. The guise was that Mom and Dad could rest a bit more! Of course, once we were there, Dad would kick us out of their room so they could get dressed. I think it was Dad's way of making the day last longer. Oh, the anticipation I had to see what Santa had left in my stocking!!!

When we picked up our stockings, there often was other evidence under the tree that Santa had been there. . .my brother received a lego toy train one year; I received a doll that was about as big as me complete with dresses that were just like mine; my youngest brother once received a hot wheels set complete with a track. My dad died two years ago on Christmas Eve. He was the one that put together the train and the hot wheels track. It must have taken him hours. He probably had just gone to bed when we were ready to open stockings! I still miss him.

No other packages were opened until my mom's parents arrived. They would arrive soon after the sun had risen. They were laden with packages, appetizers and side dishes for breakfast and for dinner. It was a big deal to me to share the morning festivities with them and then have them hang out with us until after Christmas dinner. It was a part of the holiday that I looked forward to each year. My grandmother would have knitted us mittens and caps and often there was another gift that she had stitched.

She and my grandpa said that they liked to see our faces as we opened gifts. It was always a fun day. So each Christmas, I think of those days. I hope that today brings you much joy and that many happy memories are made.

Merry Christmas!


Sunday, December 23, 2018

Kitchen Towels--Fifth Finish 4th Quarter FAL 2018

Decorative band for towel--too plain
Band with rick rack embellishment
I've taken on a couple new projects and was busy with an instructor course so I haven't finished the gifts that I thought I would finish this month. Yesterday, I completed the two kitchen towels that were goal number eight on my 4th quarter list. This is my fifth finish for the quarter.

I wanted to make these look a bit different from the four that I made previously. Click here if you would like to see them. I used the large rick rack on the previous four towels and I hadn't planned to use rick rack until I stitched the decorative band to the towel. That band looked too plain to my eye. I had sewn all the large rick rack that I had purchased.
Pleated kitchen towel ready for handwork

I dug out my grandmother's rick rack stash and chose a red and black to compliment the print. The price on the black package was 15 cents and the price on the red package was 60 cents. Those packages have been around for a long time! Seriously, I like to use my grandmother's stash in a project. The action makes me feel like she is hanging out in my studio!

 I used a monofilament thread and zig zagged the edges to the towel. This took some time because the rick rack was narrow. I chose that time consuming edge treatment because I didn't want the edges to flop down with washing or use. I especially liked how the red added punch to the project.

Then I stitched the handles. I could have edged stitched the handle to the body of the towel; but, I chose to stitch it by hand as I wanted to be sure that the layers didn't shift in the process of stitching.
Finished kitchen towels
I spent hours trying to figure out how to make the pleats. I looked at one that my friend, JoJo, had made. In the end, I divided the towel into fourths and made the pleats from the back of the towel. It worked. After I had hand stitched the handle, I edge stitched around the edge.

I had two red buttons left from when I previously stitched the towels. The buttons also came from my grandmother's stash. It didn't take long to machine stitch the button hole and stitch the button to the towel. Both are now ready for gifting and not a moment too soon either!

I used about 1/2 a yard of fabric. I may have enough fabric left for two decorative wide bands and perhaps, for one of those wide bands to be paired with a skinny band.

I've now used 39 1/2 yards of fabric from my stash. I've 11 yards of fabric to go to meet my goal of using 50 yards from my stash this year. Because I'm not close to finishing my mystery quilt, I'm likely not going to meet my goal. My plan is to roll over what I didn't stitch into my goal for next year.

Last week, I taught the last classes for the year. I taught 11 in Basic Life Support and six in the Red Cross Lifeguard Instructor course. Year to Date, my numbers were:
41 participants--Lay Responder CPR; 25 lifeguards; 22 lifeguard instructors; 3 water safety instructors, 81 swimmers; 22 babysitters; 291 basic life support CPR, 21 inservice training; 21 blood borne pathogen training and 6 for quilting. For the year, I taught a total of 533 people. Wow! I had no idea I would reach more than 500 people!!!!

Wednesday, December 19, 2018

The Mailbox

Found mailbox. . .now to find out what is inside
My friend Martha gave me a little mailbox several years ago. It needed a flag which my husband fashioned. When it is a grand day, I write a letter outlining the agenda for the day. I slip the letter and a small treat into the mailbox. I hide the mailbox for the grands to find.

Playing with the yoga cards
Sometimes they easily find the mailbox and sometimes it takes a while. If I forget to hide the mailbox, there are sad faces. In the letter, I include what we are cooking for breakfast and lunch. If it is a Monday, cleaning toilets and dusting is on the list. Sometimes, we organize a drawer or wrap a present. We often read a book, draw or play a game that their Auntie has sent them. We do a sewing related activity as often as I can work it into the day. We cook a recipe that is familiar and the next time, we cook a new recipe. I've found that recipes that require a lot of taste testing go over the best. We take walks and play outside when the weather permits. We also make a plan for the next time we are together.

Melting Marshmallows for Grinch cookies
With the youngest grand headed to kindergarten next fall, our Mondays and Wednesdays days will end at the end of June. I'm sad about that fact as I have had fun on our play days. If they have a no school day,  however, they might be inclined to spend it at Papa's and Gran's.

Next fall, I will plan for regular "sleep overs" so we can still have play time together. I hope that no matter what their age, they will still want to "find" the mailbox! This week, when I asked Miss J as her tummy was rumbling, what would she choose if there was only tuna fish sandwiches or pineapple to eat? (She doesn't like either of those options.) Without taking a moment to consider, she responded, "I'd go to the store and buy bacon and toast!" I LOVE how she thinks!

At any rate, I decided this was a good place to share anecdotes and some photos of times they have spent with us. We've made many happy memories together. This is a good spot to preserve those memories!


Wednesday, December 12, 2018

Trio of Sisters--drawing and coloring Post 2

Vignette of the sisters
Supplies used to colorize the figures
This post is the second one regarding the project I'm stitching after reading the book, "Girl Waits With Gun." When Miss J and I completed our initial drawing, I figured that I needed to draw one more figure which I did. When I laid the drawings next to one another, I found that "Norma" was too small; "Fleurette" was too large and "Constance" was too small. I redrew "Norma." My friend, JoJo, reduced the size of the copy for Fleurette and she increased the size for Constance. Then I played with an arrangement of the three together. I was thinking of a vignette that would eventually be enclosed in an oval frame.

Colorizing the figures
I left Norma a bit outside the grouping because she was opinionated and often looked down on the others' decisions. I gave Fleurette a big hat and some emeralds as she loved being ostentatious and bling. I put Constance in the green dress the author described. I left her a little smaller than she was. In the book,  she didn't give herself credit for her skills and passed herself off as less than she really was. In life, she was six feet tall and Fleurette was just over five feet tall. What a pair the two of them must have been!

Once I had the figures arranged, I pulled a piece of muslin from my stash and lightly penciled the figures in place. Then it was time to colorize the figures.

I used color pencils, inktense pencils, acrylic paints and jacquard paints. This was my first experience with adding color. It was scary to start; but, I did! After getting past the fear of making a mistake, I had fun playing with various supplies. I liked the results.

I used a Clover type iron to set the color as I worked. For example, I set the purple lines in Fleurette's hat first. Then, I worked on filling in the color. I used aloe vera gel as a medium with the dye based paints. I found the medium helped me apply the color more evenly. As I completed a section, I heat set it with a small Clover brand iron.
All three figures colorized

It was fun to shade each figure's hair. I really had planned to make Norma's clothing red; but, decided that the orange went better with the clothing on the other figures! The lines on Constance's dress were supposed to represent her sleeping in her clothing at the jail. The lines in Norma's clothing, were drawn to represent what her coat might be like after wearing it day after day doing her outside chores.

I've been thinking about stamping a background around the figures. I've been thinking about adding machine embroidered words which would mean I MUST learn the ins and outs of that process. It isn't as simple as typing the words, selecting the font and pushing stitch!

On a side note, at the end of September when our Thread Tales group met for the reveal of quilts which were inspired by the book, the author, Amy Stewart joined us. Turns out, she moved from California and lives in the Portland area now. She had dinner with us and then we walked over to Powell's Books and listened to her speak about her latest book. It was a fun evening. She was impressed with the quilts that our group had completed.

There will be more posts to come with this project!


Sunday, December 9, 2018

Quilting The Mystery Third Step--Square In A Square Border and Sashing

The motif I started
For the first 19 days of November, I looked each day at the square in a square border and thought what to do? I pondered, I made some line drawings of designs. I pondered some more. I worked through the other goals on my November list; but, alas, no inspiration appeared. Then the only goal left on my November list was. . .this border!
Motif with embellishment

Sometimes when I get stuck I ask myself what part could I do? I ask myself is there a motif or a part of a motif that I could repeat? I ask myself what would I like to practice? Then, and this is the REALLY scary part. . . .I thread the machine and I BEGIN! I don't know exactly what the design will look like. I don't know if the design will fit the space and I don't know if I will like what I stitch. BUT, in putting the threaded needle to the quilt sandwich, more often than not the magic happens.
Motif without the inner circle

In this case, I decided that I wanted to repeat the circular motion in the inner pink blocks. I used a circle ruler to quilt the inner circle and then eyeing about a quarter inch from the corner placing four petals. In my first square, I used a variegated thread. I know that stitching on top of a variegated thread isn't good; but, I hoped that the subtle shades in this thread wouldn't be a factor. I was wrong. BUT, I was successful with the design and the magic happened. I liked the bones of what I created.
Quilted lines in sashing

I switched from the variegated thread to a silk thread. I added lines in the areas adjacent to the petals and I added a circle to the center. I added the inner circle stitching a quarter inch away from the line. I found the visibility around the ruler foot too limiting to be accurate. I tried using a guide that snapped on to the foot, but had a difficult time holding the ruler and watching that the guide stayed on the foot while I stitched. So removed the inner circle. Besides, the circle was too large. The idea I had in my head was to pebble a small center. This might come later!

I timed myself to stitch one motif. It took me 15 minutes. There are a lot of squares in this border; but, the design I had stitched felt "right." So I started stitching. Sixteen hours later, I quilted the last square. During this process, I got a lot of practice with lining up the ruler template so the design would be centered as I stitched. I also found that lowering the pressure on the foot made it easier to stitch to the corners where the seams made more bulk. Eventually, I also managed to stitch the whole design with one stop and start of the thread. I also trimmed about five minutes off of my stitching time!
Closer view of the sashed border
From the time that I had finished this top, I wanted to quilt curves into the sashing. My thought was to quilt circles that overlapped. I stitched two and the quilt rebelled! Instead, I quilted straight lines and the quilt liked the simple lines much better! It took me about three hours to quilt each border. I like to use a chalk pencil to draw the division lines. I've found that the drawn line helps me to keep the stitched lines more perpendicular to the sashing.

Also, I use points in the block to divide the sashing. I'll use the point of the square in a square and the seam line in each square. I know that the quilting process tends to draw up the quilt a bit. A section might not measure exactly the same; but, in using the division points, the eye is fooled into thinking the areas are the same! I spent about 16 hours quilting the square in a square and the sashing.

I'm thinking that I'll continue the straight lines in the sashing in the next border; but, am not sure if the lines will line up as the blocks are a bigger. I'll have to think this issue. I'd also like to continue some sort of floral design in the next border and I would like to treat the two borders divided by the brown sashing as one. Hmmmmm lots more thought is needed!


Wednesday, December 5, 2018

New Beginnings--post 2

Corners in place
Note to self. . . .don't wait seven months before returning to a class project!!! It was a challenge to remember what I was planning to do. I spent an hour reacquainting myself with the fabrics, the pattern and the instruction booklet. I thought I was ready to cut the corner pieces. I pulled the corner fabric and drew a blank. I couldn't remember the tips Karen gave us about the corners nor could I remember what the tips were to place the second border on the piece. Luckily, JoJo had finished her project and she gave me some insight on the process.

Template and shape drawn to the fabric
I spent about three hours on the corners. I was concerned that the gold fabric might show through the corner fabric so I ironed a
stabilizer to the corner fabric. I traced the pattern on freezer paper. I ironed the freezer paper pattern to the fabric and cut out the shapes. Then, I carefully placed the corner shapes on the top. Yes, there is a raw edge; but, in the next step, I'll cover that raw edge.
Second border basted in place.

The next step took about five hours. I made a template out of the heat resistant plastic. Note all the blue tape marks. The plastic was 8 1/2 inches by 11 inches so I needed to piece the template many times! After I completed the template, I traced around it on my fabric and cut the shape out of the fabric. (I did leave a generous quarter inch seam allowance.)

Then I replaced the template, starched the seam allowance and pressed the allowance over the template. It was a long process. Even though I had taken care in the whole process, I still had some stretching. However, with a little more patience and care, I was able to glue baste the border in place. I love how much life this border gave to the project. Karen's method was ingenious. Cutting the shape from a whole piece of fabric and then placing it on the top in one piece was worth all the time I spent. When I stitched each side of the pink border, I anchored the corner fabric and covered the raw edge of the gold fabric in one step!
Choosing fabrics for the inner appliqués

The next step was to fill in the blue area. I cut the shapes from the template plastic and then the fabrics. The fabrics that I had chosen for the class last May, didn't excite me then and didn't excite me in November either. After placing the second border, it became more evident that I needed to change most of the fabrics. I had chosen a yellow and an orange fabric. The fabrics were too close in value with the gold border and were too grey in relation to the corner fabric. The greens that I thought would be great were fine on their own; but, not so interesting when they were all together. The purples didn't work because the values of the medium and dark were too close together. I found I didn't have enough of the light purple to cut all the shapes that I needed. Some of the prints didn't blend well with the other fabrics. In the end, I replaced all of my original choices.

When I thought that I had a fabric that was going to work, I would cut the applique shape and prepare the edges so I had a clean shape to view. It took time; but, this trial and error audition method worked well for me.
Finished top
Once I had prepared the appliqué pieces, I glue basted a layer which I then machine appliquéd in place. I repeated this process until I had all of the shapes appliquéd to the top. The last bits to applique were the 20 small blue circles that I made for my homework when I took the class back in May.

I'm glad I prepared those circles. At least two other people in class chose to leave them out and to quilt circles in that area instead. On my project, these circles added dimension and carried the theme of the focus fabric well. Number of hours to this point were a lot. . .about 51 hours! I'll be figuring out what to do for a backing. I may use one piece of fabric for the back which is uncharacteristic for me!  Then, I'll layer it so it is ready to quilt.

I'm going to enjoy it as a top for a bit until I finish quilting that big BOM mystery quilt from 2015! As I worked on this top, it reminded me of one of the books our book club read that I didn't make a project. Perhaps, I can use it as a book club quilt too!

Sunday, December 2, 2018

Thanksgiving 2018 and Hello December!

Thanksgiving dinner
This year, our oldest daughter and family planned to cook Thanksgiving dinner. We were in charge of an appetizer and pecan pie. Ten minutes after her husband had put the turkey in the oven, the oven had an electrical short and no longer worked. Luckily, we live about a 25 minute drive from them, so they brought over all the dinner items and cooked it at our house. It was a wonderful dinner. My favorite dish was the Brussel sprouts which she stir fried a bit, then squeezed a fresh lemon over the dish and garnished it with walnuts.
Birthday girl modeling her birthday vest

Miss K made the gravy and Miss J made the pumpkin soup. I love it that they like cooking so much and how great that both their mom and their dad encourage each to stir and prep when they cook.

While dinner cooked, Amanda and I made our shopping plans for Black Friday. We have risen early and been in line for a store opening for many years. This year, we met at 4:00am and had completed our shopping by 7:30am. We have decided that the bargains are still there; but, that they aren't as great as they once were nor are there as many bargains. Still, it is a tradition the two of us share (and the youngest daughter when she is in the country) and a tradition that I look forward to each year.

Two days after Thanksgiving, Miss J turned five years old. We gave her a bike and a vest. She loves riding her bike and soon she won't need the training wheels! She wore her vest to school the following day. She loves kitties and was tickled to find a kitty on her vest! She and her sister were invited for a sleepover which was so much fun! Watch for a future post to share about our activities.
Birthday girl showing the kitty on her vest

I made progress on all of my November goals. I did quilt the square in a square border and the sashing. I'll share a post soon. I'm still undecided on how long to stay for the Birmingham quilt show so I haven't made hotel reservations. I'm still working on the machine embroidery for a quilt project; but I like the progress I have made. I'm also understanding more about the machine settings which is helpful!

Before I usher in the last month of the year, I need to say goodbye to November! In November, I trained 12 people in Basic Life Support (280 YTD) and 15 people in Lay Rescuer CPR (41 YTD). I have trained a total of 516 people so far this year!

For December, I plan to continue quilting the next section of the mystery quilt. I had hoped to finish it this month; but, I don't think that will happen. I don't have a specific idea of what to quilt in the next area. I do trust the quilting pattern will develop as I work through stitching steps on a couple sew alongs and gift items.


Saturday, December 1, 2018

High Wind Tree Incident

Removal process in progress
The week before Thanksgiving, we had some high winds and one of our trees blew down into our barn. Upon closer inspection of the tree, the limb was rotten so that was why it broke away from the tree. What a huge mess that tree created.

Removing the branches from the barn roof
My dear husband spent several days limbing the fallen tree, stacking the wood and repairing the roof. Luckily, he was able to make all the repairs before heavy rain fell.

The rotten part of the tree and why it fell
The first day he worked non stop for about six hours trimming the limbs. He cut the larger limbs into size for burning in the wood stove after it cures. Then he loaded the wheelbarrow with the limbs and stacked them into the woodpile. He figures that there was a about a cord of useable wood in that tree. He works smart. He varies his activities so that he keeps moving and spreads the workload more evenly across a variety of muscle groups. He is always thinking about how to do a job more efficiently and he makes sure I'm around when he is walking on the roof or doing an activity that he could injure himself.
Limbs ready to be transported to the woodpile

We had Miss J the following day, so he rested his body from stacking limbs and played with her instead. If it had been me out there, I wouldn't have lasted too much more than hour and it would have been five days before I felt like I had my energy back! For him, his hip that he had replaced was sore. He stopped working when it told him it was tired. He rested it the following day because it was still sore. Before his hip replacement, he would have finished the task in one work setting. I'm glad he has "matured" to not only listening to his body; but, following how it feels as well.

On the third day, he finished cutting the limbs and he patched the roof with a piece of tin that a friend dropped by for the repair. He did buy a battery drill so he could apply the tin to the holes. He said that he had wanted one for years; but hadn't purchased one. Had I known about his "want," Santa could have brought it much earlier!
Bits of limbs cut where they had fallen

We didn't have enough electrical cords to stretch from the house to the barn so he needed it. He was excited that he was able to purchase it for less than he had previously budgeted!

We are fortunate that he likes to putter on projects and that he is fit enough to complete projects like this. We are also fortunate that he can take care of many repairs himself. If he weren't so handy, we would have spent a lot of money to hire the work done. I also doubt that the work could have been completed before heavy rain fell on the fourth day after the tree incident!

His hip seems to be fine. The barn still looks "naked" without the tree; but, otherwise, you wouldn't know that there was ever a limb on the roof.


Wednesday, November 28, 2018

New Beginnings--A Karen Kay Buckley project post 1

Fabrics for the project.
Last May, I took a two day machine applique class from Karen Kay Buckley. When I registered for the class almost a year in advance, I had no idea what the project would be. I will admit that I was disappointed when the scheduled class ended up being a machine appliqué class. I really wanted to take a hand applique class from her. She  produces amazing appliquéd quilts, so ultimately, I was just happy to take a class from her!!!

The first layer 
About six weeks before the class, I started looking through my stash for possible fabric combinations. I came up with several options; but, eventually eliminated each one because there wasn't enough of a value change or because the fabric I wanted in a particular area wasn't enough! Finding 18 fabrics that would work into the project was a daunting task.

Three weeks before class, I asked my neighbor, Pat, to give me some feedback. She has amazing color sense. She agreed.  It helped to talk through my choices and hear her feedback. I made a few changes. I felt better about my choices.  Thanks for your help, Pat!

I cut the fabrics into the size pieces listed on the class list.  I labeled each piece. I also made a cheat sheet of the fabrics so I could refer back to "what was I thinking" at a glance. I packed my supplies according to the class list. I was ready!

The second layer- appliquéd
I like packing early for class. Spring is a hectic time of year and I didn't want to get to class without an item on the supply list. I also wanted to just learn the process and if I was kicking myself for fabric choices, I wasn't going to be as mindful of her teaching in class.

I LOVED class. I was so inspired to play with Karen's techniques in a number of my other projects! My friend, JoJo, also went to class. This was extra great because not only were we able to keep each other moving forward as we learned the new techniques; but, we also rode together to class. Sharing a ride when class is a minimum of 45 minutes away was nice because we were able to visit as we drove!
Making a sample of the zig zag

I couldn't believe how quickly the first layer was ready for stitching. Karen employs a technique of using painting spray starch on the fabric shape, then pressing the fabric shape over a heat resistant template material. After she removes the template, the shape is ready to appliqué into place.

Circles and inner ring appliquéd
Karen had us work with our blind hem stitch on our machines until we were able to stitch a sample she approved with monofilament thread. She likes the Madeira mono poly best. I used Superior Thread's monopoly because I have a lot of it. She doesn't use it because she feels it has too much sheen.

At the end of the first day, we had made points and learned some how to stitch around the applique. I LOVED how the stitches don't show. We had homework. I went home and prepared a lot of circles and some shapes for stitching the following day.
Progress at the end of the second day

It was great seeing all the different color combinations and fabric choices. Although these circles are good, I know how now to make even better circles. Turns out, I needed to use a heavier thread and leave a little larger seam allowance for better results!

At the end of the second day, I had the gold frame placed on the project and was ready to cut the
focus fabric to be placed on the outside. I was shocked that I was able to keep up in class. Usually, I'm half a day or more behind everyone else!

I also purchased more products from Karen than I have from any other teacher. I spent some birthday dollars purchasing a pair of scissors, some template materials and some other "necessary" supplies.

One of the products I especially liked was the glue pen. It is easy to use and it a little bit will hold the fabric in place. It dries clear and doesn't affect the hand of the fabric.

I look forward to getting back to this project.


Sunday, November 25, 2018

A Lot of That and a Little of This--Mostly A Journal Update

Monthly and daily goals example
I started strong using a bullet journal in August. I refined a few pages and was making great strides again in September. Mid way through September, I came down with a nasty cold. For about four weeks, which meant into October, I didn't do much!

Habit tracker page, 2019 planner and 2018 planner
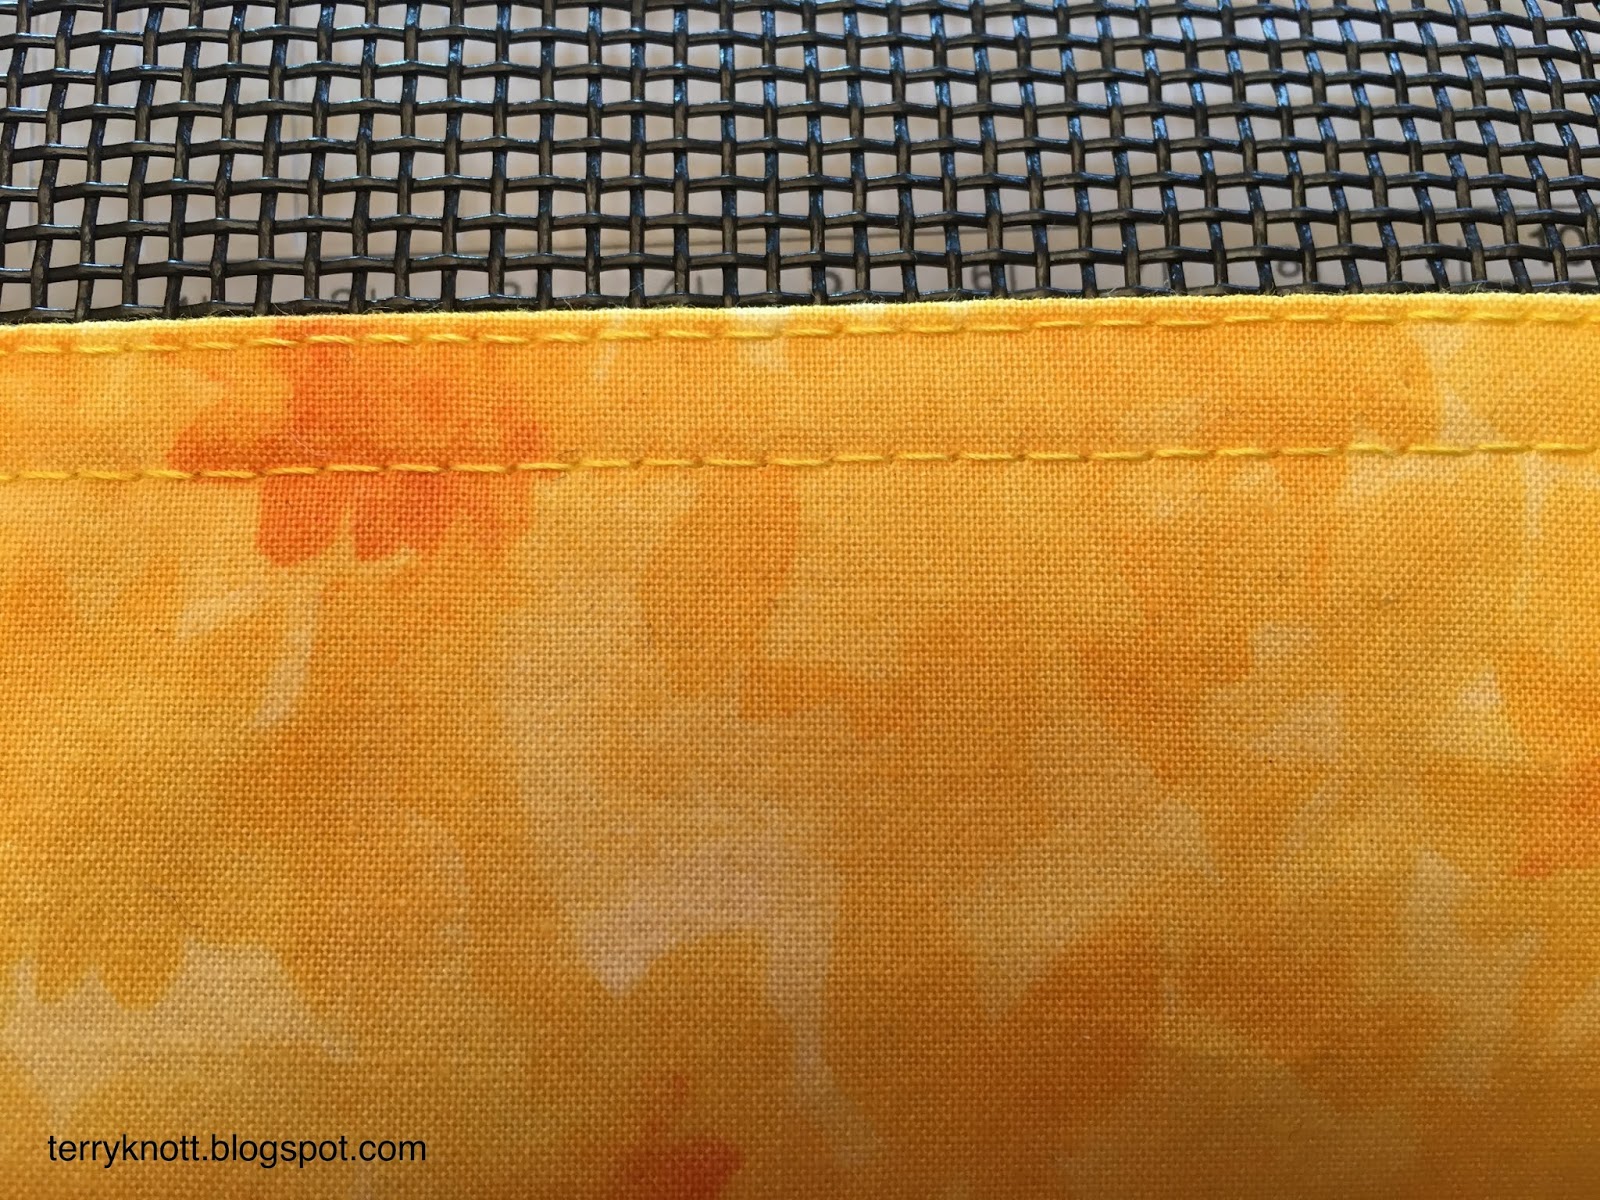
My current bullet journal is one that I had on hand. It doesn't have enough lines on a page for a month so making a habit tracker and the monthly calendar took a bit of a redesign of the space. I printed a habit tracker from my laptop thinking that it would be useful. I found I didn't use it!  In November, I went back to writing by hand my tracker activities. I do know that using color helps me work in the journal and I need to integrate more art and color into the pages.
Pages that I didn't use in my planner

In November, I purchased my new calendar/planner. This time, I purchased one that will fit in my purse and it will last for two years! I spent $11 instead of $18. Seven dollars for two years isn't a lot of savings. When I purchase my next journal, I'll probably spend my savings; but, not having to shop for the next planner in twelve months will be nice! Being able to put my notes in the journal is helpful for me. I found when using the planners, there were many pages that I didn't use or the occasional times when I needed more space! With the bullet journal, it is easy to use another page if I need more room. The index lets me find the page later when I want to review the information.

As far as my journal progress, I'm still refining what I want to track and how I want to track it. I thought I would be tracking project time in a particular way. Then realized I didn't track one bit of a project after I had finished and was writing the label! Now, each evening I'm entering the time I worked on a project.

I have found that my daily lists are short. Before the journal, my daily lists were long! I don't generally list cleaning activities; but I might list cooking or baking an item. (My dear husband is a great cook so I might cook a couple times a week.) A short list means most of the time I complete the list at the end of the day. I have found writing a monthly goal list to be helpful. When I didn't come close to finishing my October goals, I reviewed the goals in November and determined that I had worked on all of the projects in October so I did make progress. Had I not reviewed the goals, I wouldn't have realized the progress I did make!
Spoils from being a FAL winner
I thought that I would use the future list pages of my journal more; but, perhaps that will come in time. I did add a couple envelopes inside the inside cover of my journal. Sometimes, there are items like a receipt or a note that I like to keep. Now I have space to keep it! I'm considering adding tabs to the pages I like to frequent as that would make it faster to access the page I want.

When I make my quarterly goals, I purposely put more on the list than I can possibly finish. One reason I do this is because I need variety. Working on only one project would kill my creativity because when I got stuck progress would be halted. Having options allows me to work on something else while I ponder my approach about getting unstuck. Options also allow me to work on other projects when my body can't sit and pull for quilting. I do try to be more realistic with my monthly goals. Time management and I, however, are passing acquaintances. We need to become better friends!

Posting my quarterly goals with the Finish-A-Long program and posting my monthly goals have also helped with making better progress on projects. I'm more focused and less apt to jump to the next cool project. Although, I'm still attracted to those cool projects!!!

Once I've posted my monthly and quarterly goals, I review them each day. I pat myself on the back for the projects I've finished and for the progress I've made on other projects. I think about the progress I'll be making on future projects.
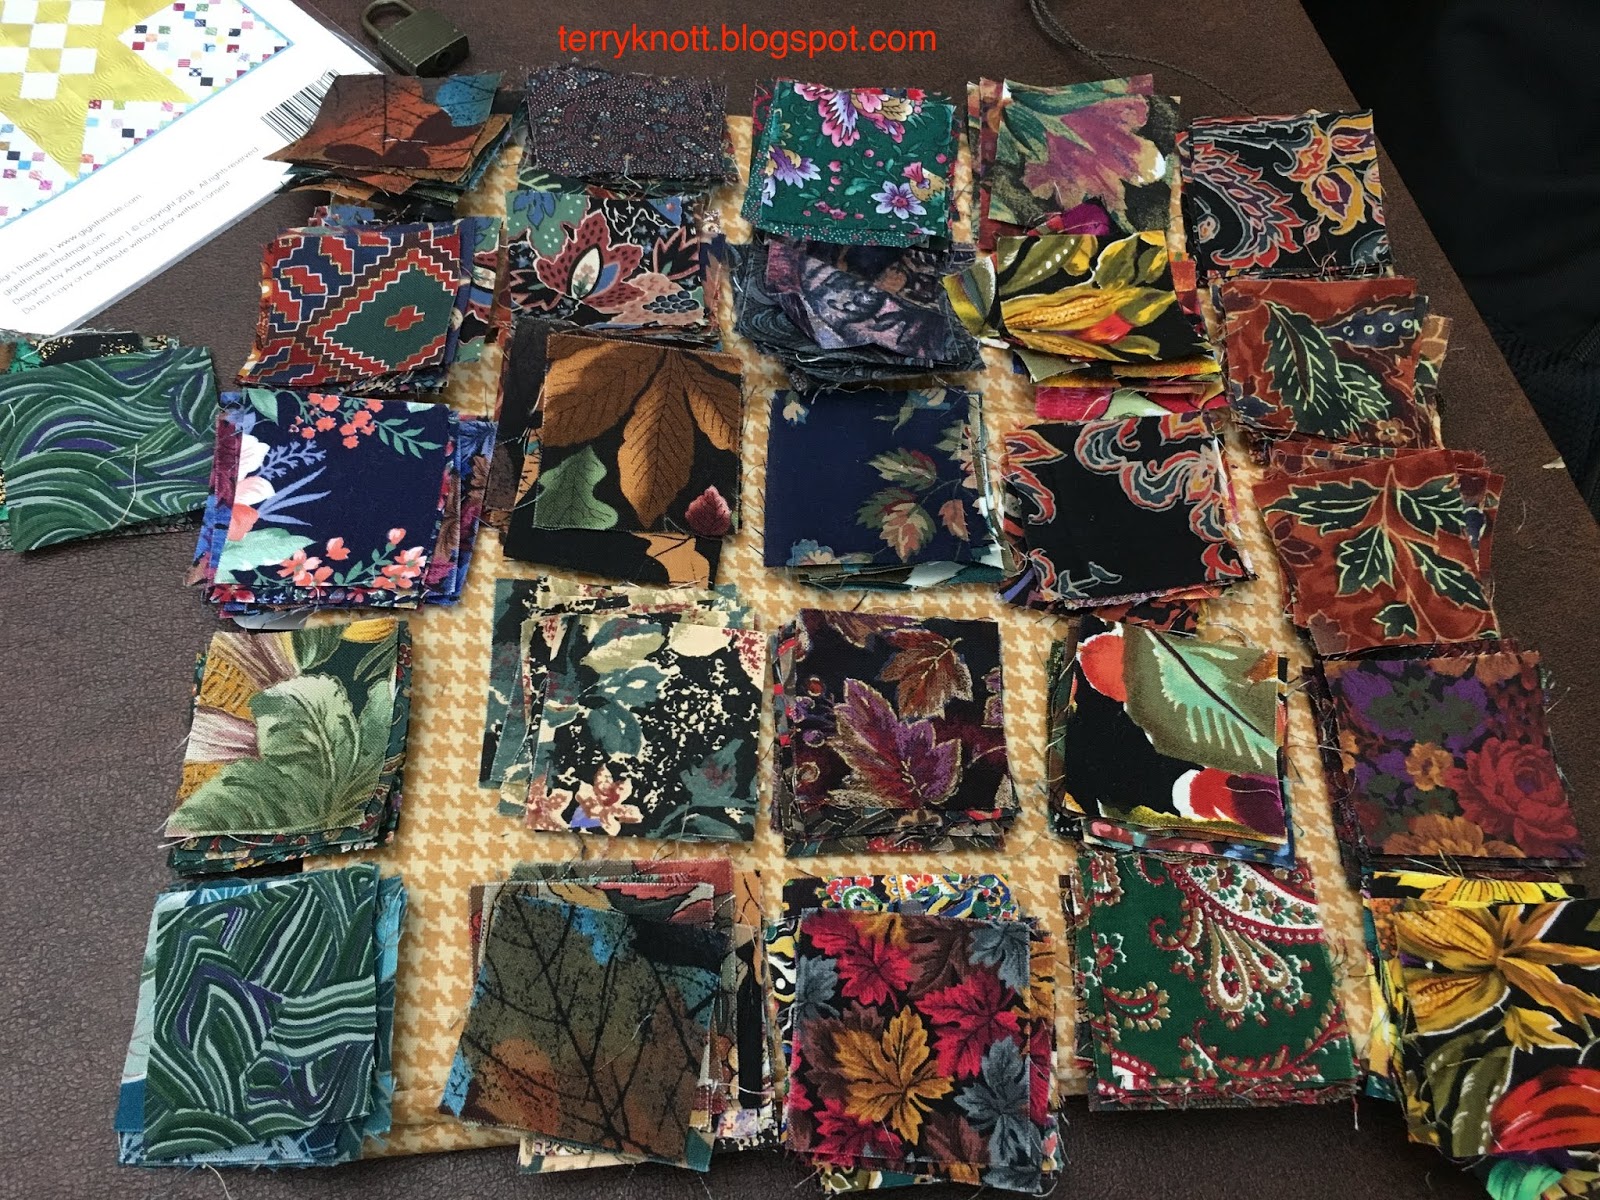
Two inch squares for the Star Patch Sew Along
I was a second quarter winner in the Finish-A-Long (FAL) program. Posting about finishing my guild name badge holder, posting about it and linking that post to the FAL quarter finishes won me a $25 gift certificate from Mad About Patchwork. It took me months to decide what to purchase as there were too many cool and fun choices!!! In the end, I picked a ruler and then I bought a companion ruler. I like hexagons and thought. . .why not??? I've held off playing with it because I wanted to make a bigger dent in my projects waiting to be finished!

I won a copy of "Modern Patchwork Home" from Teri Lucas whose blog is TerifiCreations. The book has many striking projects in it made by a variety of quilters.  She also included a copy of "Generation Q" where she was a contributing staff member. Unfortunately, this publication ceased printing some time ago.
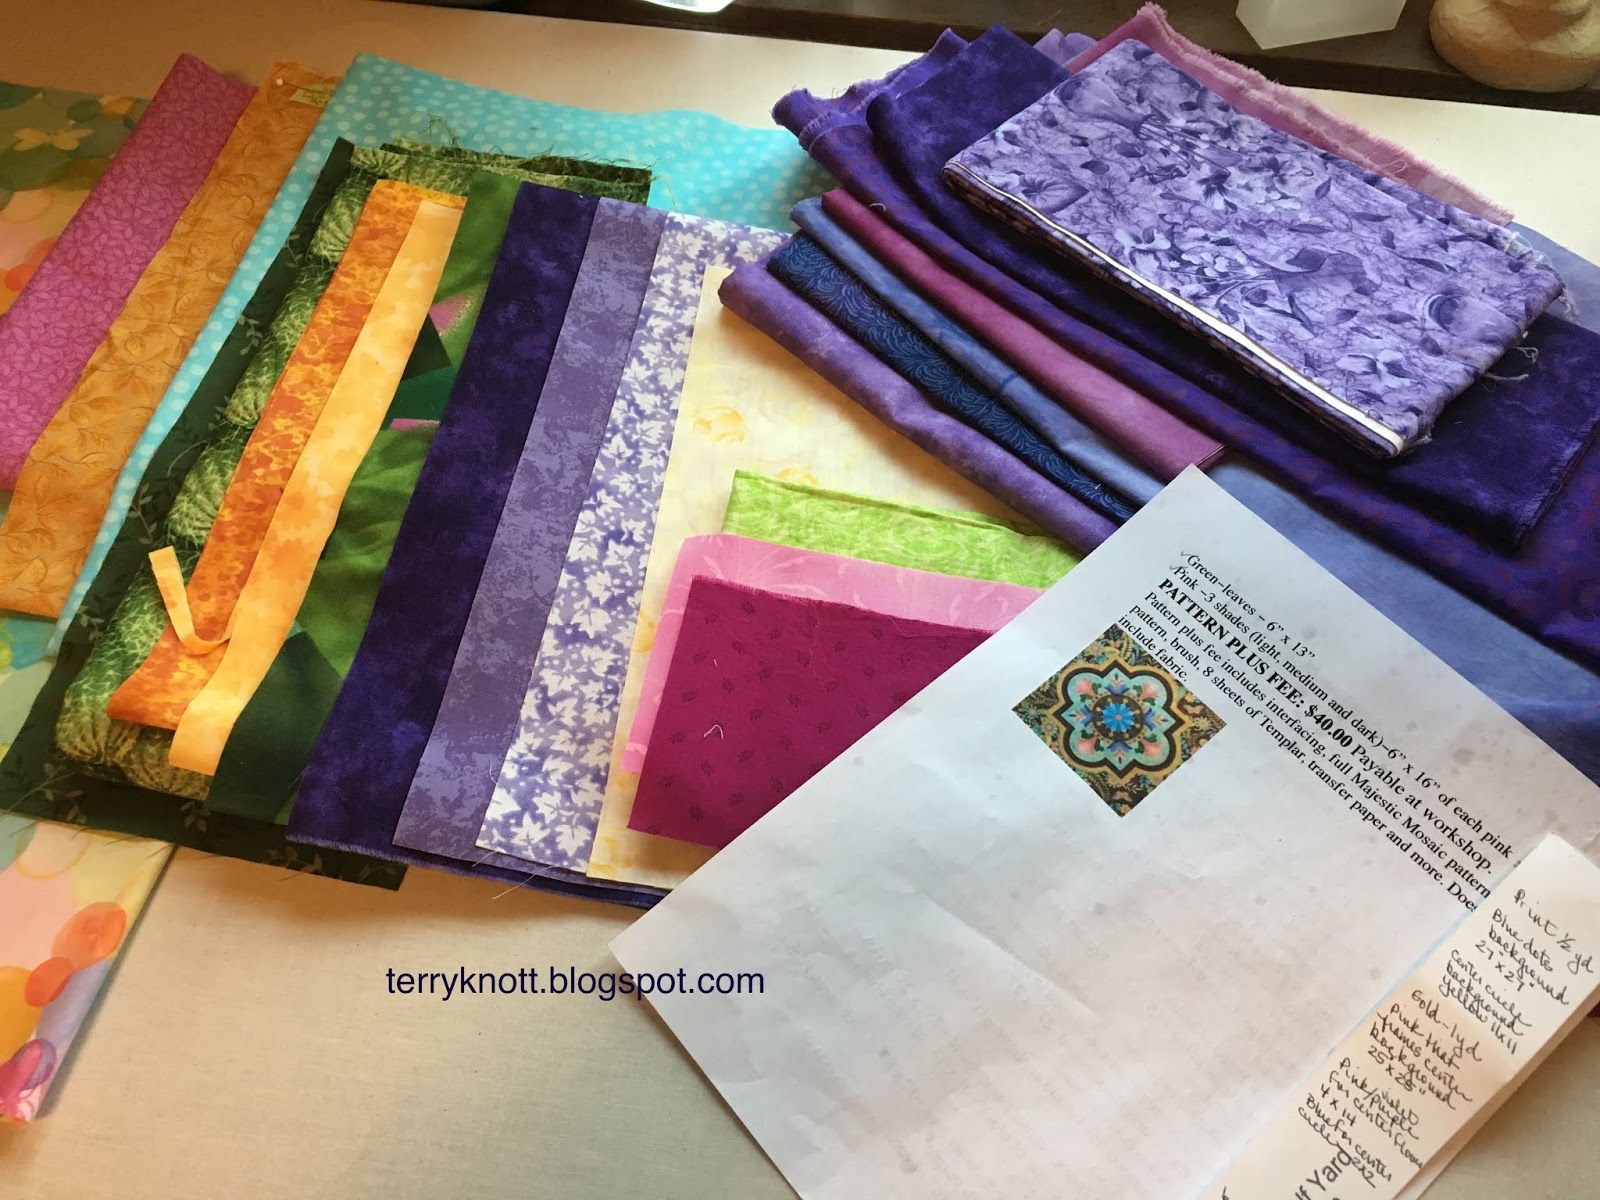
Bonnie Hunter mystery fabrics
I'm not sure what project I'll stitch from the book. . .that cover quilt is dynamic. For now, I'm drooling over the pages.

Teri and I share the love of machine quilting. I met her through The Quilt Show and physically met up with her when she was in Portland to teach a class through MQX a number of years ago. I enjoy following her blog posts. Thanks again, Teri for the book and magazine!

I started two quilts. One is a "Star Patch Sew Along" with Amber over at Gigi's Thimble. It started October 29 and runs through December 22. So far, I'm keeping up! The other is the annual Bonnie Hunter mystery. For at least the last five years, I've thought about joining in; but, didn't leap. I generally got stuck at the fabric selection stage. This year, I leapt which is a crazy move for me!

My goals for December will be to continue quilting the BOM mystery quilt and to stitch as many gift items on my 4th quarter Finish A-Long list as possible!