Sunday, October 29, 2023

Quilting the Outer Edge of the Lone Star (post nine)

Beginning quilting lines in the geese
After I finished writing the Wednesday post regarding being stuck again on what to quilt in the space, I had an idea. I wanted the quilting from the outer edge of the Lone Star to extend into the goose top and bottom borders. I wanted a simple pattern that provided texture. I was stymied for so long.

I quilted the some of the lines in the skinny border. As for what to quilt in the background, quilting the striped border gave me the plan for what to do in the outer edge . . .more lines.

I'm stitching quarter inch lines that run vertically using a 50 weight Gutermann cotton/polyester thread that perfectly matches the background fabric. I'm using Sue Nickles' ruler which is comfortable in my hand. The quilting provides the texture that I had envisioned. 

Geese and bottom border quilted
It will take some time to fill in the space, It's taken me about two weeks to complete the top and bottom sections. I am on a roll. Now I actually have the evidence of what is filling that space after all! I truly have met goal number three on my October list.

As I quilted line after line, two thoughts came to my mind. First, I needed to extend the stripe border to edge of the quilt. I looked for scraps. I had one short piece which was long enough for one side. 

Where was the remaining fabric? I had used it to piece the quilt back! There was enough, if I  trimmed that edge of the quilt. I could applique the strips in place.This will be my goal to complete next week. 


View of one quilted corner

Second, those geese are a little too "puffy." They need a little more quilting. I plan to add a circle to the center of each goose. Perhaps, I can complete that next week as well. 

Puffy geese. . .will add a circle

Time will tell. Life is good. Linking to Cynthia at Oh Scrap/Quilting Is More Fun Than Housework.

Wednesday, October 25, 2023

Temperature Quilt

I last shared my progress on this project in August. I was adding the filler blocks for the border. Goal number four on my October list was to continue making temperature blocks and inserting them into the top. I'm up to date on this process. 

At the beginning of October I had pieced all of those blocks into the project. Rita, one of our Mystery Mavens, took a photo of me and my top on October 2. It is now wide enough to cover my body!

Progress on October 2
I've managed to continue piecing the daily block and inserting it into the top. I thought that I would have pieced more of the dark filler blocks for the outer edged than I have. Honestly, I'm finding it difficult to be motivated each day to stitch the block. 

My goal for November is to have pieced all the dark filler blocks needed for the outer edge. In December, I will insert the filler block along with the block of the day. I still haven't figured out how to attach the border. I'm thinking that I will need to add at least another half triangle so that the edge will be straight. 

I'm planning to add a purple border that finishes at four and half inches. I had planned to applique it because I didn't want to lose all the points on the English paper pieced blocks. I have been unable to figure out a method of adding the top and bottom border without having a seam show. 

One solution is to piece a purple filler block along the edge. I don't know if I'm up for piecing close to another 170 half diamonds. Time to contemplate.

Sunday, October 22, 2023

Second Boy Quilt Finished

The pile of scraps
Last fall, I finished a baby quilt for a Starbucks employee. For the second boy quilt, that I planned to make for another Starbucks mom's son, I pulled all the scraps form that first baby quilt. 

The "trimmings" from a previous project
I placed the pieced leftover sections on the design wall. The grand daughters were over. I asked them to help me fill in the spaces. I thought that they would build designs. Interestingly, they would put pieces next to other pieces and create chains! 

Sewing some sections
As a first step, I decided to fill in the areas that were open to right angles. This meant I did a little ripping; but, it wasn't much. The oldest granddaughter, Miss K, stitched some of the pieces together. 

Growing the sections
Once, I had a partial section together, Miss K understood what I was doing. She then thought the process was interesting! We spent some time talking about how to "sprinkle" in some of the small pieces so the overall design would be pleasing to the eye.

More sections pieced together
I asked Miss K if she could see a kid playing with a car, truck or airplane using the yellow sections as runways and the white sections as roadways. She thought I was funny.

Adding some "water"
I had a chunk of blue. I thought that would make a good ocean. There are other smaller pieces of this fabric in the blocks that could represent rivers or lakes.

More auditioning of bit placement
I was careful to make this quilt the same size as the previous quilt. We auditioned adding other fabric to the mix to "grow" the top. In the end, we only added the navy blue flannel. I had purchased a couple fat quarters last summer of it. I used about half of a fat quarter. We decided that the checked fabric would make a good binding.

Finished top
Sometimes, I turned a section a quarter turn because I needed the length of it rather than the width. As I worked, the pile of scraps slowly dwindled. When I had the top pieced, I had so few scraps left! 

The leftover scraps
For the backing, I selected some yardage I purchased at the beginning of the summer. I layered and pin basted the project. I quilted in the ditch with Superior's monopoly thread.

View of the walking foot quilting
 For the remaining quilting, I used the same red thread that I had with the other boy quilt.
A few free motion stars
Then I quilted with a combination of serpentine stitch rows and straight stitch rows in the long sections of the quilt. I free motioned quilted around the words in one print and around the dinosaurs in the other print. I stitched on the printed lines of the lined fabrics. In the small sections, I free motioned some stars.

Another view of the quilting
I added the binding and the label. I had another finish! Cynthia over at Oh Scrap/Quilting Is More Fun Than Housework definitely inspired me as I was stitching scraps together. It was also a good practice for improv quilting. 
View of the back
I used three yards of fabric in this project which brings the total of fabric used from my stash to 20 and one quarter yards! 
Label
Finishing this quilt was goal number one on my October list.

Finished front
I photographed both boy quilts together. I can picture two boys on the quilts watching a movie or playing a game. These will be gifted next month. That mama is going to be so surprised!
The two quilts together


Wednesday, October 18, 2023

Slowly Moving Forward--A Lone Star Update (post 8)

Brace yourselves. This is a long, meandering introspective post.

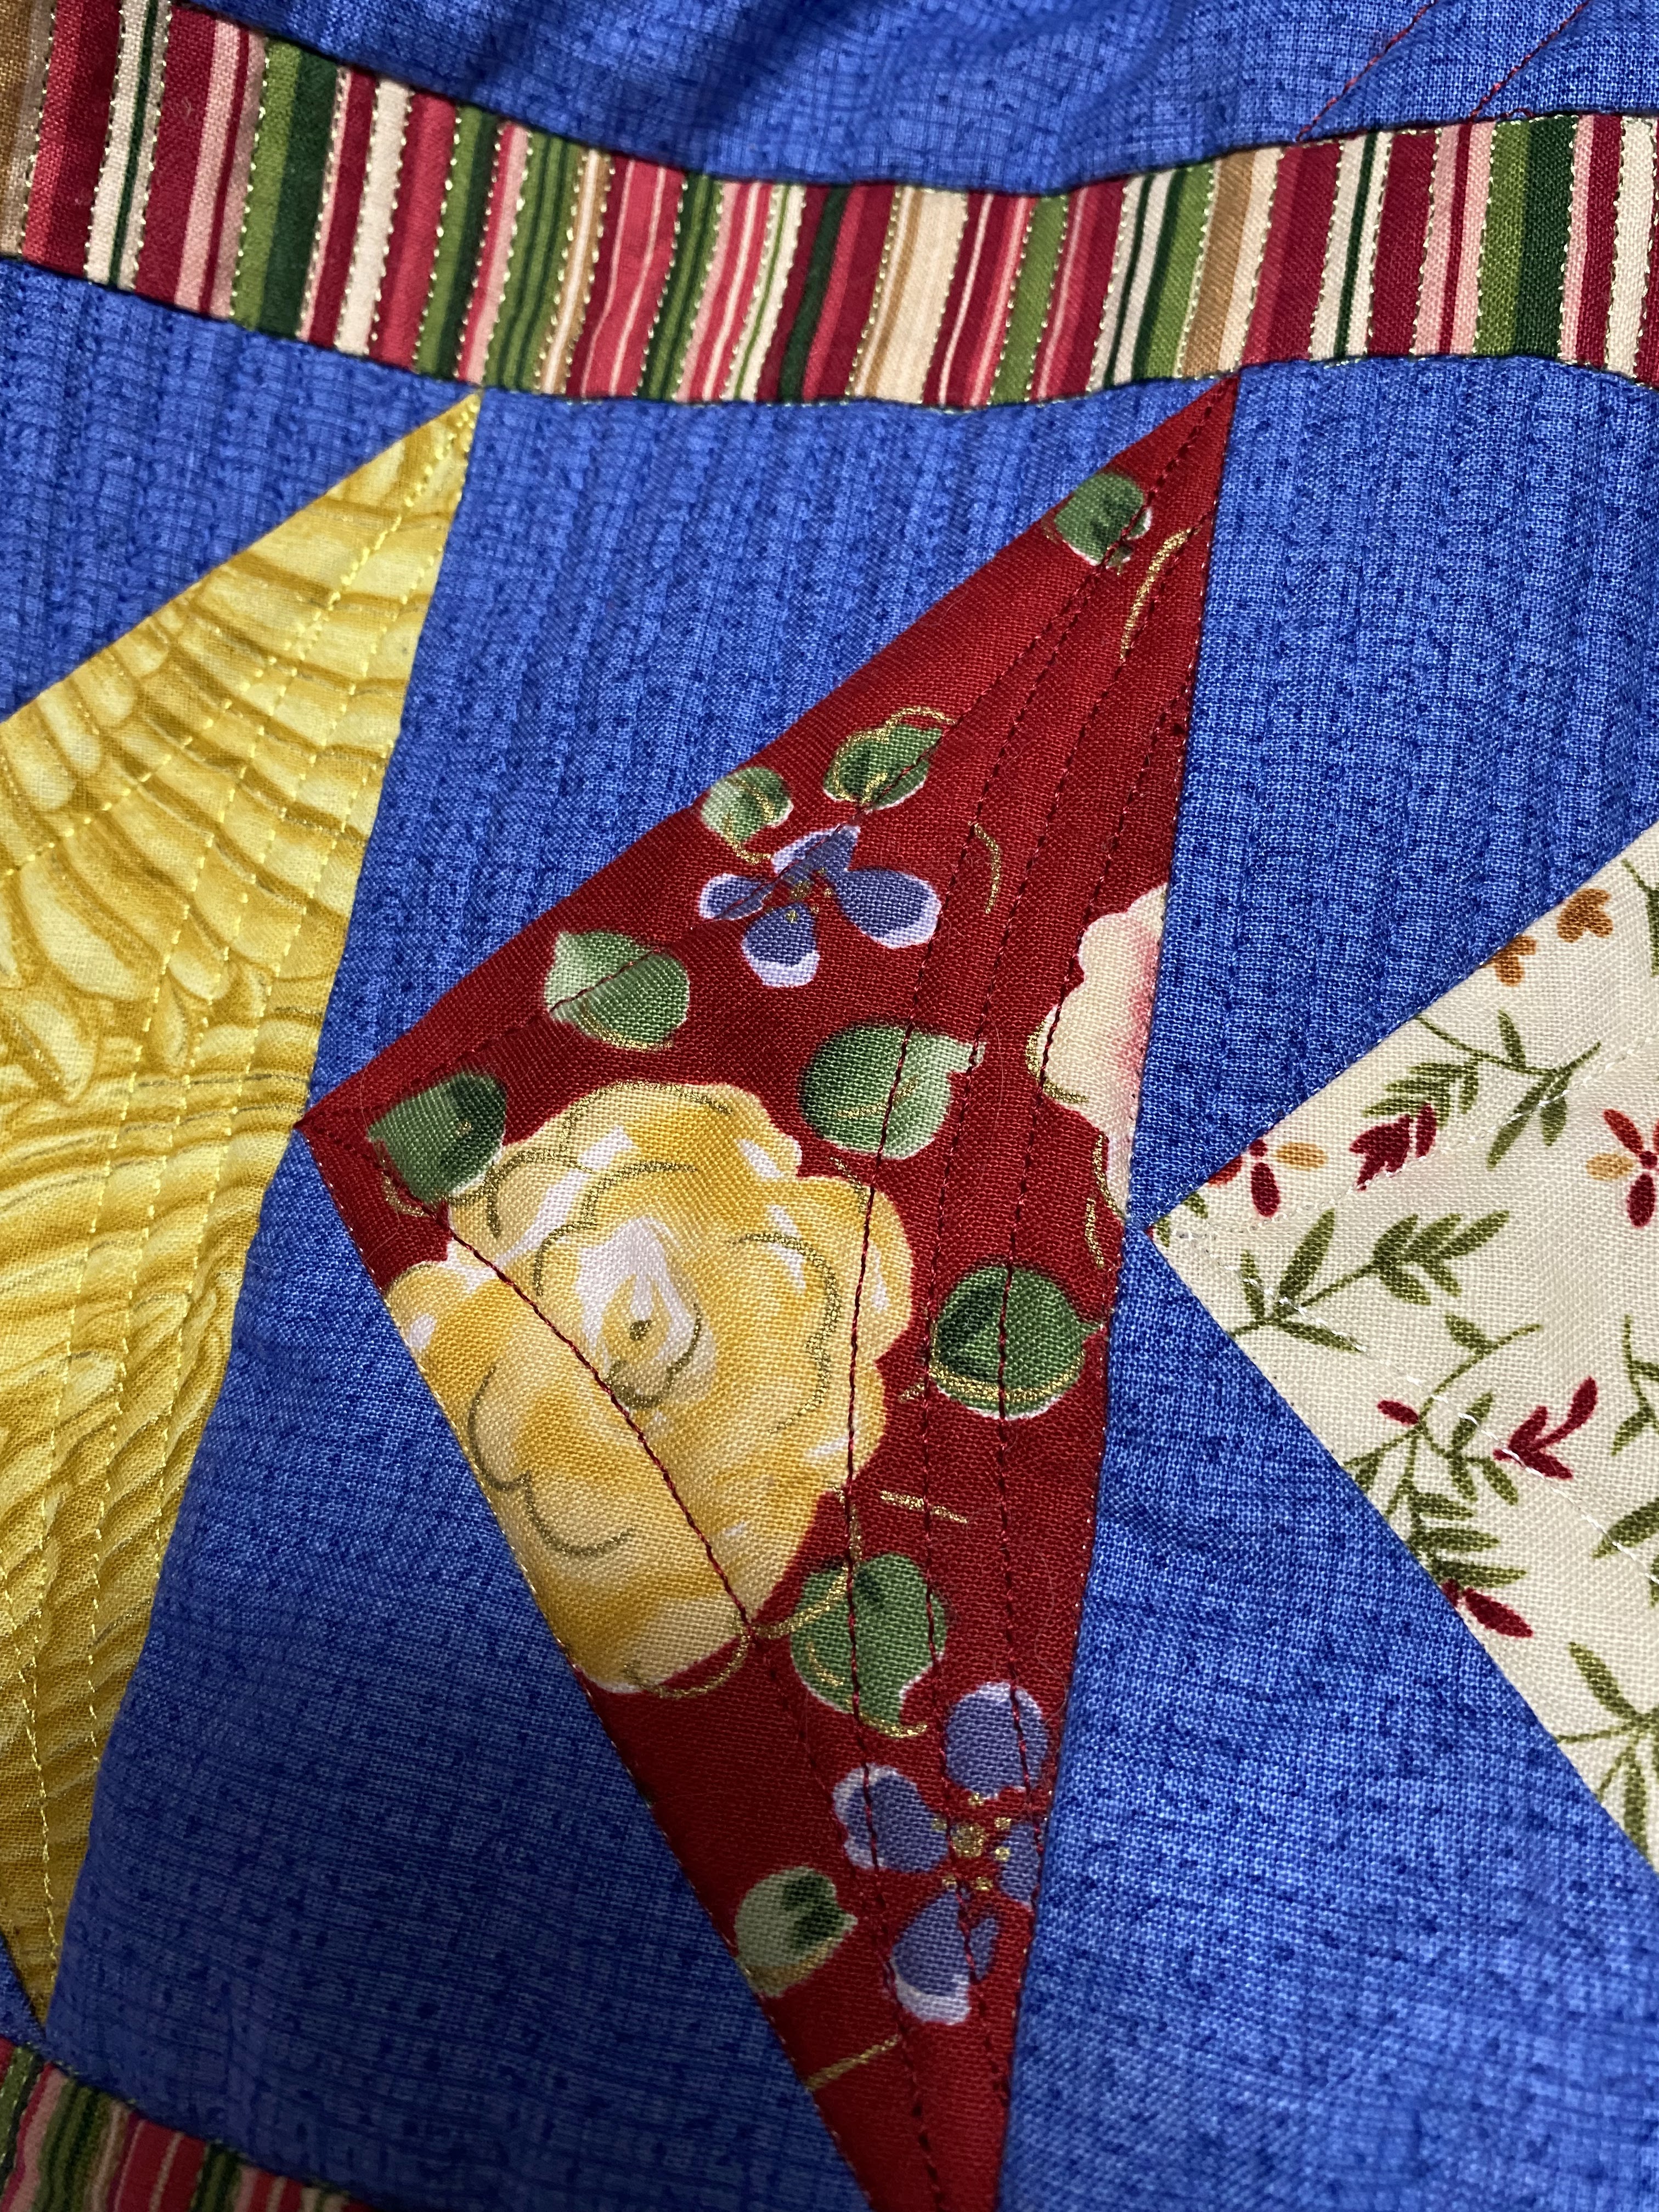
The area in question
I began this project as a Saturday Workshop class in 2020. I put other projects ahead of it. Eventually, I managed to get the project to the quilting stage in August 2022. In September 2022, I was rear ended in a car accident. While I have improved my function of activities of daily living and have less head, neck and back pain, I still can't quilt long. I can free motion quilt about half an hour. Using a walking foot, I can manage about forty minutes. Some days I can quilt multiple sessions. Other days, I can't.

Using templates in a different configuration
I don't have the hand strength to free motion quilt like I could before the accident. I'm trying to cope with that loss. Yet, I continue to search for a path that will fulfill my soul when I quilt. This path has to be one that won't wreck havoc on my body.

Adding some extra quilting lines
I spent most of last month pondering what to do in the outer section of the Lone Star. This project has stymied me so many times which has surprised me. I've appealed to Gertie, my inner squirrel, but, she has mostly been in hibernation since the car accident. Before the car accident, when I found myself in a stuck place, I'd put the project under the needle and begin to free motion doodle. Unfortunately, this technique stopped working.

I've tried challenging myself to use a template to create a new to me design or I've challenged myself to use a template that I haven't used in a while. I 've looked at designs in Pinterest. I've watched Christina Cameli's instagram reels where she draws designs on a white board. I had mixed success with those challenges. I've tried quilting small projects with simple lines thinking that the feel of the fabric and the rhythm of the motions
Finished quilted geese

would open my creative path. Nope, that approach didn't work.

This month I quilted the two boy quilts. I posted about the first finish here. I finished the second one Monday. I'll post about it on Sunday. My focus for the rest of the month is to make progress on quilting the Lone Star. Goal number three on my October list was to figure out what to do with the outer edge of the project. 

Because I've been stymied on the next step, I've had many self chats asking why I haven't been able to move forward. I know that I'm grieving over the loss of my abilities. Yet, I feel guilty because my loss isn't like losing my eyesight or the use of a limb. In other words, my loss could have been worse.

Currently, my free motion quilting doesn't meet my expectations. Perhaps, the expectation issue is the crux of my angst. I don't know what the path forward is. If I have identified the issue, perhaps, the path to enjoying my quilting journey will come back to me. My fingers are crossed as quilting was the part of the process I enjoyed the most.

My lifetime membership framed document

While I wait, I quilted the flying geese that are at the top and bottom of the quilt. As I finished quilting the last goose, I had a thought of what to do with that  space in question. This morning, I have a plan. The plan feels right. My heart and soul are happy. Stay tuned!

As I end this post, I'm including a photo of the lifetime membership document that I was awarded last June. I wasn't physically present at the meeting because the hour plus drive is too far for my body to handle. It took some time to coordinate getting the document to me. Thanks Nancy T for picking it up and waiting for me to make it to your house to pick it up Monday!

I was recognized for my contributions to the guild during my twenty five year membership. I can't believe I've been a member that long. I still pinch myself that I was honored with this award!


Sunday, October 15, 2023

First Boy Quilt Finished

The quilt block
Last fall, I made a quilt for the barista at the local Starbucks who made my Carmel macchiato just like I like it every time. She was expecting a baby boy. 

Little did I know at the time, another employee had had a baby boy a few months before my husband gifted the quilt. Fast forward to the end of September, I learned, through my husband, that Rachel, had had another boy. She had lamented to my husband that her first baby didn't get a quilt and now her second one didn't have one either.

Auditioning the layout 
Well. . . . I can make a couple kid quilts. Last summer, I spent a dollar at the Mt. Hood guild parking lot bazaar and filled a small bag of flannel scraps. About half of the blocks, half of the backing and all of the binding came from that bag. Note: There are enough scraps to at least two more projects!

Finished top 
The other half of the blocks either came from scraps of mine from my past projects or from my fried Martha. She would be pleased with this finish. She likely would be shocked at how quickly I stitched this project together!

A while ago, Linda at Flourishing Palms, shared a quilt block that was perfect for using scraps. I cut the sashing 1 1/2 inches by 3 1/2 inches and 1 1/2 inches by 4 1/2 inches. I made all the center 1 1/2 squares white. I sorted through my scraps cutting 3 1/2 by 4 1/2 inch rectangles into little kits. 

Template design
I made my top to contain five blocks across and six blocks down. It finished 35 inches by 54 inches. When I make this pattern again, I'll make it a little bigger . . .six blocks by seven blocks. (Linda made her project  six blocks by seven blocks.) The finished block reminds me of a package.
Pebbles stitched in the blue velour block

All of the packages are different fabrics. If there was enough scraps from the packages to become "ribbons," I cut and stitched them.

As I was coming to the last few blocks, I didn't have enough flannel to make three more "different" blocks. I wasn't planning to buy any fabric so I inserted a corduroy block that was a leftover from stitching a little girls skirt. The remaining two blocks were made out of a velour that was leftover from stitching sweatshirts.

In the finished top photo, the orange corduroy block is in the fourth row second from the right. The blue velour block is in the fifth row first block on the left. The green velour block in in the sixth row, first block on the right.

To make it easier to sew the blocks together, I pressed the seams towards the sashing on one block and away from the sashing on the block that was its neighbor. It wasn't long and I had made enough blocks for the top.

I webbed the blocks together. I did encounter a block that should have been pressed differently so I played with the layout until all the seams nested. Then I stitched the horizontal rows together. I pieced the back and pin basted the layers together. I used an 80/20 Pellon batting. The back is flannel too!

Next, I stitched in the ditch using my walking foot. My original quilting plan was to stitch diagonally through the blocks with the walking foot. I need to play more with the walking foot to increase what I like to do with it. I couldn't do it. I couldn't quilt vertical lines or horizontal lines either! 

Honestly, I could have; but, I wasn't "feeling" the walking foot. Instead, I free motion quilted the blocks. I used a red polyester thread in the needle and in the bobbin. Sometimes, I used templates and my ruler foot to stitch a pattern. Sometimes, I followed the print in the fabric. Sometimes, I stitched a filler design. The spider web design came from Christina Camelli at her A Few Scraps instagram account.

While it took me days to quilt the top, I was happy with the results. This baby can find different quilting designs, as well as different colors and motifs in the fabric prints. I didn't quilt in the sashing because I wanted another tactile feel in the quilt.

Parallel lines above and stars below
I free motioned stars, hearts, loops and leaves. The leaves are my favorite block.

Stipple top left, follow the fabric print right
and various fills bottom left examples
For the binding, I stitched together the longest 2 1/2 inch strips that I had collected from the bazaar until I had enough to go around the outer edge of the quilt. 

Spider web filler
I added the label and I had a finish! 
Hearts and leaves filler stitches

I figure I used about three yards of fabric in this project. This brings the total yardage used from my stash to 17 and one quarter yards of fabric. Finishing this project was half of goal number one on my October list. I'll finish boy quilt number 2 soon!

Label
This is one project finish for WIPs-B-Gone 2023 sponsored by Devoted Quilter. 

Back
I'm also linking to Cynthia at Oh Scrap/Quilting Is More Fun Than Housework. In addition to Martha, she is the inspiration from my scrappy projects. 

Finished front


Wednesday, October 11, 2023

"As Noted" Contest Block

The parts cut and ready for stitching
This year, I joined with four other ladies from the Clark County Quilt Guild to come up with the parameters of the annual block contest. It's been a fun experience. I've enjoyed working in a group setting.

We discussed themes, colors and block size. We contemplated what style we hope to use to turn the blocks we receive into a quilt. People will be able to purchase tickets or chances to win it. The ticket proceeds will support a charitable organization that our members will choose.

We named the contest, "As Noted." We hope that words, music, notes, instruments will come to mind for the block makers.The basic rules are to use a cream background. Use a true black for words and notes and another colors you would like. Block finished sizes that will be accepted are 6 x 9; 9 x 9 and 6 x 12 inches.

It's helpful to have a few blocks as "seed stock" for members to see while they think of what block that they will make. Over the weekend, I made a simple block. I'm noodling another block that contains words and some color.

Members can make multiple blocks and the blocks are due early enough so that the blocks can be hung at the guild quilt show in April. The show attendees vote on their favorite block. The top three winning blocks receive a ribbon and a small monetary prize. I hope we receive a lot of blocks!

This block was free from Kelli Fanning Quilt Designs. Hers finished to eight inches. I added a little sashing so my block will finish to nine inches. I used a cream grunge and I like the texture of the background against the black of the note.

While I did purchase the background, the note fabric was a scrap of "Black Magic" which is my favorite black fabric. It didn't take long to make the block. It's in the mail to the leader of our group to share at the upcoming guild meetings.

Goal number seven on my October list was to make a block for the challenge. I've completed that goal! Wahoo!

Sunday, October 8, 2023

Paper Pieced Christmas Stocking

Inspiration for the stocking
Goal number two on my October list was to stitch write and publish a post about the Christmas stocking that I finished at the end of last month. In the November/December 2015 edition of Quilt Maker magazine was a page of Christmas stockings. Originally, I had planned to strip piece a stocking; but, I thought the recipient might like the stars and tree blocks better. That was my reasoning as to why I selected that option to stitch! 

Determining if there were enough scraps
Perusing scraps, I found a bag of scraps that were the leftovers from a tree skirt I had made my oldest daughter years ago. I decided I would start with those. I thought the snowflake fabric with the green background could represent snow covered trees.

Tiny paper pieced stars 
First, I determined that there were enough red scraps to complete the red background and that there were enough scraps of the green print for the trees and stocking back. I would need to piece the backing; but, that wasn't an issue. I scrounged through my drawer of "chunks" and found a green stripe to use for the lining. Then I looked for a dark blue scrap for the sky. I had a small scrap/chunk. To be sure the piece was large enough, I drew the shapes on the fabric. If I was careful, I could make it work!

Pieced, layered and ready for quilting
I cut all the large rectangles. I began paper piecing the stars. Because I dislike tearing away the paper, I don't sew through the paper when I paper piece. I fold the template back on the lines, align the fabric edges right sides together and stitch next to the fold. I press the fabric and trim. I searched You Tube and found a tutorial which will give you an idea of how to paperless paper piece! 

Close up of quilting 
I used metallic thread to quilt more stars in the blue background. Otherwise, I mostly used a thread that blended to quilt the other areas of the stocking. The quilting provides texture.

Finished back
It took me about five hours to piece, quilt and construct this stocking. I like it. I took a photo of all three stockings together. Together, they make a nice grouping.

Finished front

I used about one and a quarter yards of fabric in this project. I bought eight yards of fabric so my total amount used from stash is 13 and three quarters yards of fabric. 

Family of stockings

I'm linking to Cynthia and Oh Scrap/Quilting Is More Fun Than Housework since all the fabric used was scraps!

Wednesday, October 4, 2023

Squaring a Back

For the longest time when I pieced a back, I thought that I stitched a "square" back. I had trimmed the cut edge and trimmed the selvages away before I pieced the back.

In reality, I didn't know the back wasn't square. My friend, Alvera showed me how to square the back when I had my early longarm lessons. I had heard longarmers talk about how square backs made rolling the back onto the longarm so much easier. The first couple quilts that I quilted on the longarm, Alvera mentioned how nice the back was; but, I didn't notice. There were so much to be aware of doing that a square back didn't meant much to me until I tried to roll a back that was out of square on the longarm. Then, I had that aha moment!!!

Step one
Step one of squaring the back. Fold in half. Smooth the fabric. 

Step two: fold fabric in half again
Step two:
Fold in half again. Take care to align the folds and smooth the layers.

Step three: align the bottom fold with a line on the mat
Step three:
Slide a cutting mat under the fabric and align the bottom fold with a line on the cutting mat.

Step four: Aligning bottom edge of ruler
Step four:
Look at the edges. Align the bottom edge of the ruler with the bottom edge of the fold on the loose edges side of the fabric. 
Check to ensure you will trim all four layers
Ensure that when you cut, you ONLY trim all the outer edges. You may need additional rulers to reach to the other end of the fabric. Trim.

Use the cutting mat to move the fabric
Step five:
Repeat the process for the other edge. If the fabric is longer than my cutting surface, I'll gently fold the fabric on the cutting mat and turn the mat so I can access a long edge. I'll again smooth the layers before I position the ruler and trim.

Checking the edges
Before you trim, check the layers to ensure you will trim all the edges. In the photo above, the shortest layer is on the bottom. Sometimes, the shortest layer will be in the middle. Sometimes, it will be on the top!

Trimming the layers
Notice in the photo above, that the bottom edge of the ruler lines up perfectly with the folded edge of the fabric.

The trimmed waste
It doesn't take long to square a back. It is worth the effort. There was little waste. 

Writing and publishing this post was goal number six on my October list.