Thursday, April 28, 2016

The back--2nd finish for FAL 2nd Quarter!

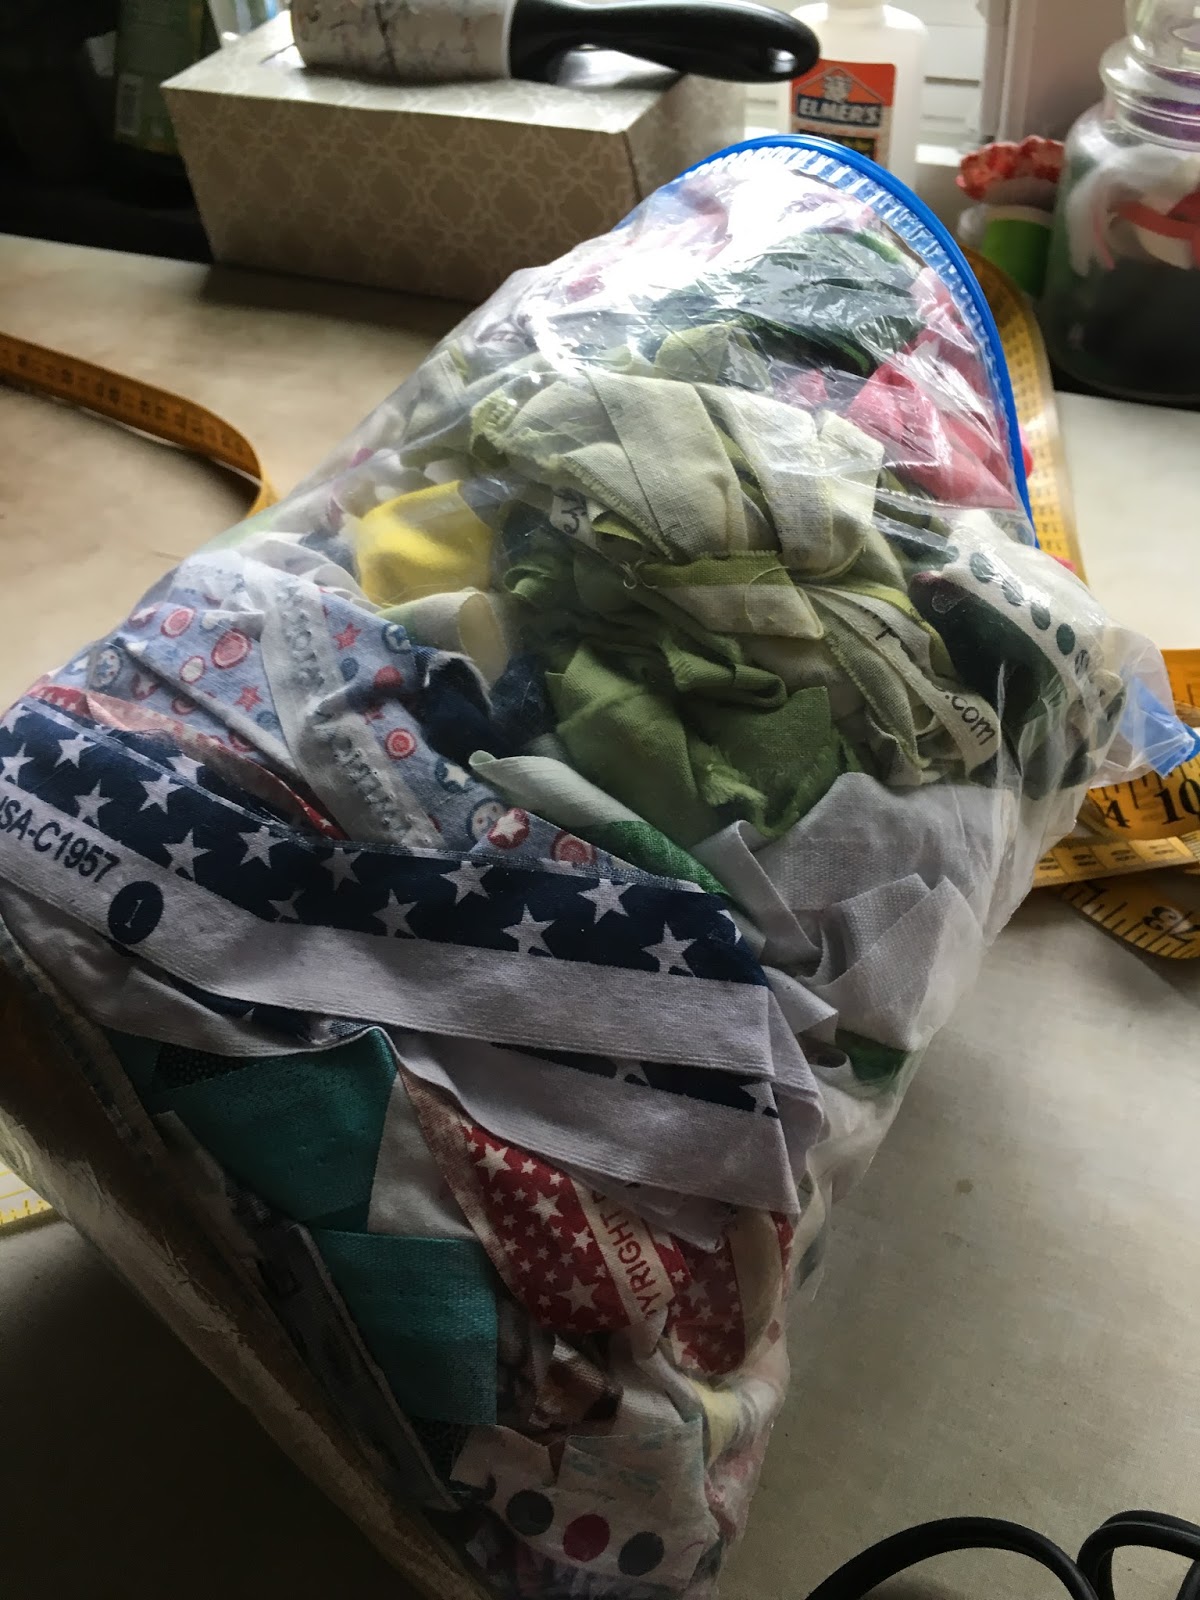
These were some of the pieces left from piecing the guild mystery quilt. 

I like using the leftovers to create a pieced back. I love using the pieces so that I'm not cutting them for my scrap saving system. (I use Bonnie Hunter's plan!) It is fun to play around with the pieces and watch them grow into a larger piece of fabric. Sometimes, I even contemplate using the back as a top! But, with the quilts that I have to quilt, I really don't need to create more projects for myself! It also is a chance for me to practice improvisational piecing! Sometimes, not having a plan can be r e l a x i n g !


This pieced back took me about 12 hours to stitch. There were a number of smaller pieces that I used. When there are small pieces (under three inches) it takes much longer for the pieces to grow!! I did need to go to my stash for a 2 1/2 yard piece of batik to have enough fabric for the back. It measures 88"w x 105"l. I will be linking this project to the 2016 Finish-Along Quarter 2.  The link to my 2nd quarter list is here.

I also have prepared the binding and cut a sleeve for this project. 

Once I have finished it, I'll be able to "count" the fabrics toward the 50 yards that I want to use from my stash!


I also have been making a little progress on quilting the hexagon quilt. I've finished quilting all the inner squares. I decided that I would quilt squares on the outer edges as well. I'm using my walking foot. I really prefer free motion quilting. Free motion is easier on my arms; but, I wanted to try quilting lines. I find my free motion lines are not anywhere close to straight. I do a little better with the walking foot!

Twice now, I've found my foot has rotated slightly so that it is no longer on top of the feed dogs. The first time, I took the machine back to the dealer and they repaired it. This time, the gap wasn't too large and I repaired it. Still, if the foot isn't over the feed dogs, it is impossible to stitch a straight line!

I also figured out a simple quilt pattern for the remaining part of the inner sashing. Now, I just need some time to be able to stitch! I still will have some spaces on the outer border that I don't have planned; but, perhaps an idea will come to me by the time I reach that part of the quilt!

I sure didn't think that I'd still be in the quilting phase of this project! I wanted to quilt the sashing and the borders with texture; but, wanted the design to not take away from the hexagon blocks. I think I'm achieving what I had wanted to achieve!

Thursday, April 21, 2016

Finished Guild Mystery Top--1st FAL 2nd Quarter

It is a start! I finished the top for the guild's mystery quilt. Since October, I've received a monthly "clue" and have stitched the pieces for that clue. These were the pieces that I put together for the March clue.

The pieces turned in to this top!


My inspiration fabric was the batik floral. I have had this fabric in my stash for at least ten years. It was time for it to become a project! I did purchase the light and the medium batik fabrics as I had NOTHING in my stash that would work.


I knew that I didn't have enough of that floral fabric for the outer border; but, I was able to find another batik that was a couple years newer in my stash that worked for the border.


There are lots of places for quilting designs; but, I'll figure that out much later!!! I'm just glad to have finished the top. Last year, I didn't get past selecting my fabric for the mystery! My first finish for the FAL2016 second quarter! Wahoo!!!! You can read my list here.


These were the some of the pieces that were left after I had finished the top. I like pieced backs. It is a way to practice improvisational piecing and a super way to incorporate the scraps into the project so in the end, little is left! I'll share more about this process next week.


I also cut the pieces for twenty-four 8 1/2 inch log cabin blocks for the online mystery quilt.  This was the pile.


I stitched a few pieces together until I had 24 of these! Now, I'm caught up on that project.


I've given myself permission to start new projects. I chose these fabrics--again from my stash. I cut the pieces--I barely had enough of the background fabric for the large setting triangles. I hope I didn't make any mistakes!

This is going to be a project that I develop more machine embroidery skills. It is going to be a good project!


Last week, I forgot to share that I won a 2nd place viewer's choice ribbon on my "Tickling the Ivories" quilt. I submitted five quilts; but, I didn't have any judged this year. Winning a viewer's choice ribbon is extra special to me because the people who attended the show voted for my quilt!

I also submitted a block for for our guild's opportunity quilt next year. This is the block. We had to use the dark grey fabric somewhere in the block and it had to be a sort of house. I saw that grey fabric and it made me think of the beach. So my wonky house is on stilts at the beach and a dog lives there too!


Thursday, April 14, 2016

First Quarter Finishes/Second Quarter List

Below are the goals that I completed from my annual list in the first quarter of the year:
Finished my stitch book,


Entered five quilts in our guild's show (my goal was four!) I entered Paths, Creating the Blues, Window Boxes, Blueberry/Lime and Ripples. If you want to read the posts behind most of the entries, click on the links.

Completed the 6x60 inch guild challenge

I did purchase an accuquilt die; but, didn't make a project with it.
The grands and I continue to make a little progress each week on our goose project.
I haven't made a dent in sewing 50 yards of fabric from my stash; but, this next quarter, I'll be finishing some projects so I'll be able to make progress on that goal! (At least that is one of my goals!!!)


Below are my second quarter goals:

Stitch the President's blocks into a top. This is a sample of one block at left.
butterfly quilt--get it pin basted, 


TQS BOM--figure out the embroidery for the border that I want to add, 


Three past book club projects:

Finish this little top.


Add the skinny pieces to liven up the background and appliqué the flowers to finish the top.


Figure out how to fit the bridge on this piece and what to do with the open bottom right corner:


Keep putting in a little time each month on appliquéing the pieces that over lap the blocks on this chicken wall hanging. 


Finish the quilting on the hexagon quilt BOM:


Finish the top for the guild mystery BOM quilt:

Piece the back with the leftover fabrics from the front and raid my stash for the remaining part of the back.


Keep up with the online mystery BOM:


Begin a pieced/embroidery project to keep the dust off of my embroidery skills!


Start new projects.

This is the fabric for a pieced, appliqué and embroidered project! 


I also need a new bag to carry my quilt projects. I have this bag of selvages to work with:


Sew another 50 yards from my stash. 


Have FUN!


This is a lot for a list and many of the projects are hold overs from the first quarter. I'm okay with that. As long as I'm making progress, I don't mind having long lists!  Also, if I am a bit more specific about the result of the progress, perhaps, I'll make more progress!

Thursday, April 7, 2016

Six Dark Background Blocks Quilted!

I've quilted the six dark background blocks in my hexagon BOM! There was the snowflake which I chose to use a metallic thread and play on the snowflake idea.

Next up was the bee hive block. Because each of us were given two free standing embroidered bees, I planned to have a "bee line" for each. The background is quilted in three different patterns of swirls.

I was feeling like I was on a roll! Then came the anchor! I wanted to quilt a rope around it. I also thought about quilting water in front of it. But, that black background had me stumped. I also didn't have a rope design that fit the anchor. So, sketching was in order. 

Truth be told, my drawing abilities are close to nil. But, I started with a curve I liked, added a second line equal distant from the first line and then filled in with slanted lines to create the rope.

I actually liked what I drew! Next, I traced the rope on another piece of paper; cut it out and traced/drew it on my block. Next up was quilting it. 


When I outlined the rope in a light grey, it was too transparent. I didn't photograph it so I can't share it with you. Next, I tried to fill it in with a dark gray thread. 


It still looked too transparent so I stitched it with silver metallic thread! 
Usually, I cringe at working with metallic thread because it shreds. This worked well. The only shredding issues I had was when I was stitching on top of several layers of metallic thread. It played nice with my machine!

Starting the process, I knew I would lose the segments, so I thought that if I stitched one segment horizontally and the next segment vertically, I'd retain the rope look. Nope. . .I was surprised at how the metallic thread which is a Glide product, didn't show the directional stitching.


So, I outlined those segments in black which looks great. I decided stitching a wave design on black was going to be too challenging so I filled in the background with pebbles.


I had fun stitching the rocket. These are the threads I used to stitch this block! I stitched the fireworks with the sulky metallic sliver thread and again, my machine stitched it like it was cotton. I've had these threads for years; but my previous machines were much pickier with metallic threads! 


To figure out the fireworks, I looked online at some line drawings and then drew a few to see which ones I thought would translate best in thread. It was fun picking the threads and even more fun to see the results!

I also had to add a little more flame/exhaust to the rocket! For the background, I meandered so that the fireworks would come forward a bit.


For the tree, I decided to go for a more traditional kind of background and I used straight lines stitched a quarter inch apart. Some lines are horizontal, some are vertical and some lines are diagonal. I used silk thread.


Last, I stitched the pumpkin. Again, I decided to go for a more traditional kind of background. I repeated the straight lines; but, varied the distance at three eighths of an inch and only used diagonal lines also stitched with silk thread.

The last two blocks gave me a chance to practice some more with the ruler. I have found that if I rest the ruler to the right side of my foot, it bumps up against where the foot attaches to the machine. This is a secure spot and works well. I did have to adjust my quilting though because it limits the direction that I can quilt!


Next up is quilting the sashing. I'd like to do something Judi Madsen or Angela Walters like. I did a little sketching.


I thought that I'd get a lot of great ruler practice. Turns out, I can't go in the direction that I need to go and my chalk marking doesn't last long enough! 

I'll have to think some more! Do you have a solution or two?

Friday, April 1, 2016

Stitching the Mystery Clues/On Being a Fiber Artist

The clues this month for the guild's mystery quilt were to make these sections pictured at the left. Next month, we will receive the clue that tells us how to put all the parts together!


The clue for the online mystery was to stitch a border around what we made last month. This is too big to put on my design wall now; but, it gives me an idea how it could look on a bed! It measures about 74 1/2 x 74 1/2 inches. There are about 20 more inches of clues to come!


Next we made a bunch of pinwheel blocks and then added some half square triangles to end up with blocks like this.


It will be interesting to see how these blocks are used in the next clue!

Earlier this month a friend challenged me on Facebook to post a quilt each day for seven days and to nominate someone to do the same.  I rarely post on Facebook. I enjoy making my quilts; but, outside of my blog and an occasional local show, I rarely share them. This challenge stretched me and it was a good stretch. I received some sweet comments which I appreciated.

I attended a family dinner and one of my brothers commented on the Facebook posts. He didn't realize that I created each quilt I posted. He thought that I had just posted quilt photos that I liked. His wife replied that she knew I had made each one and said I should post more. Then she said that I must have enjoyed posting my old projects! 

Their comments surprised me. My brother didn't read the posts or he would have known that I had made each quilt posted. Perhaps, he didn't think I could create some of the quilts I posted. Hey, until I did it, I didn't think I could create some of them either! As far as posting old projects go, my sister-in-law hasn't seen these projects; so why would she think they were old? Besides, I prefer to think of my finished projects as nuggets along my quilting journey. There is nothing "old" about them! Their comments bruised the fledgling artist spirit in me. Perhaps a fiber artist isn't a valued skill.  

When my sister in law asked me to create a special quilt for their daughter who is also my niece, I politely declined. I said what a wonderful project they could take on with each other to create a special memory and of course, they could send it out to be quilted! 

Life is good! :)