 |
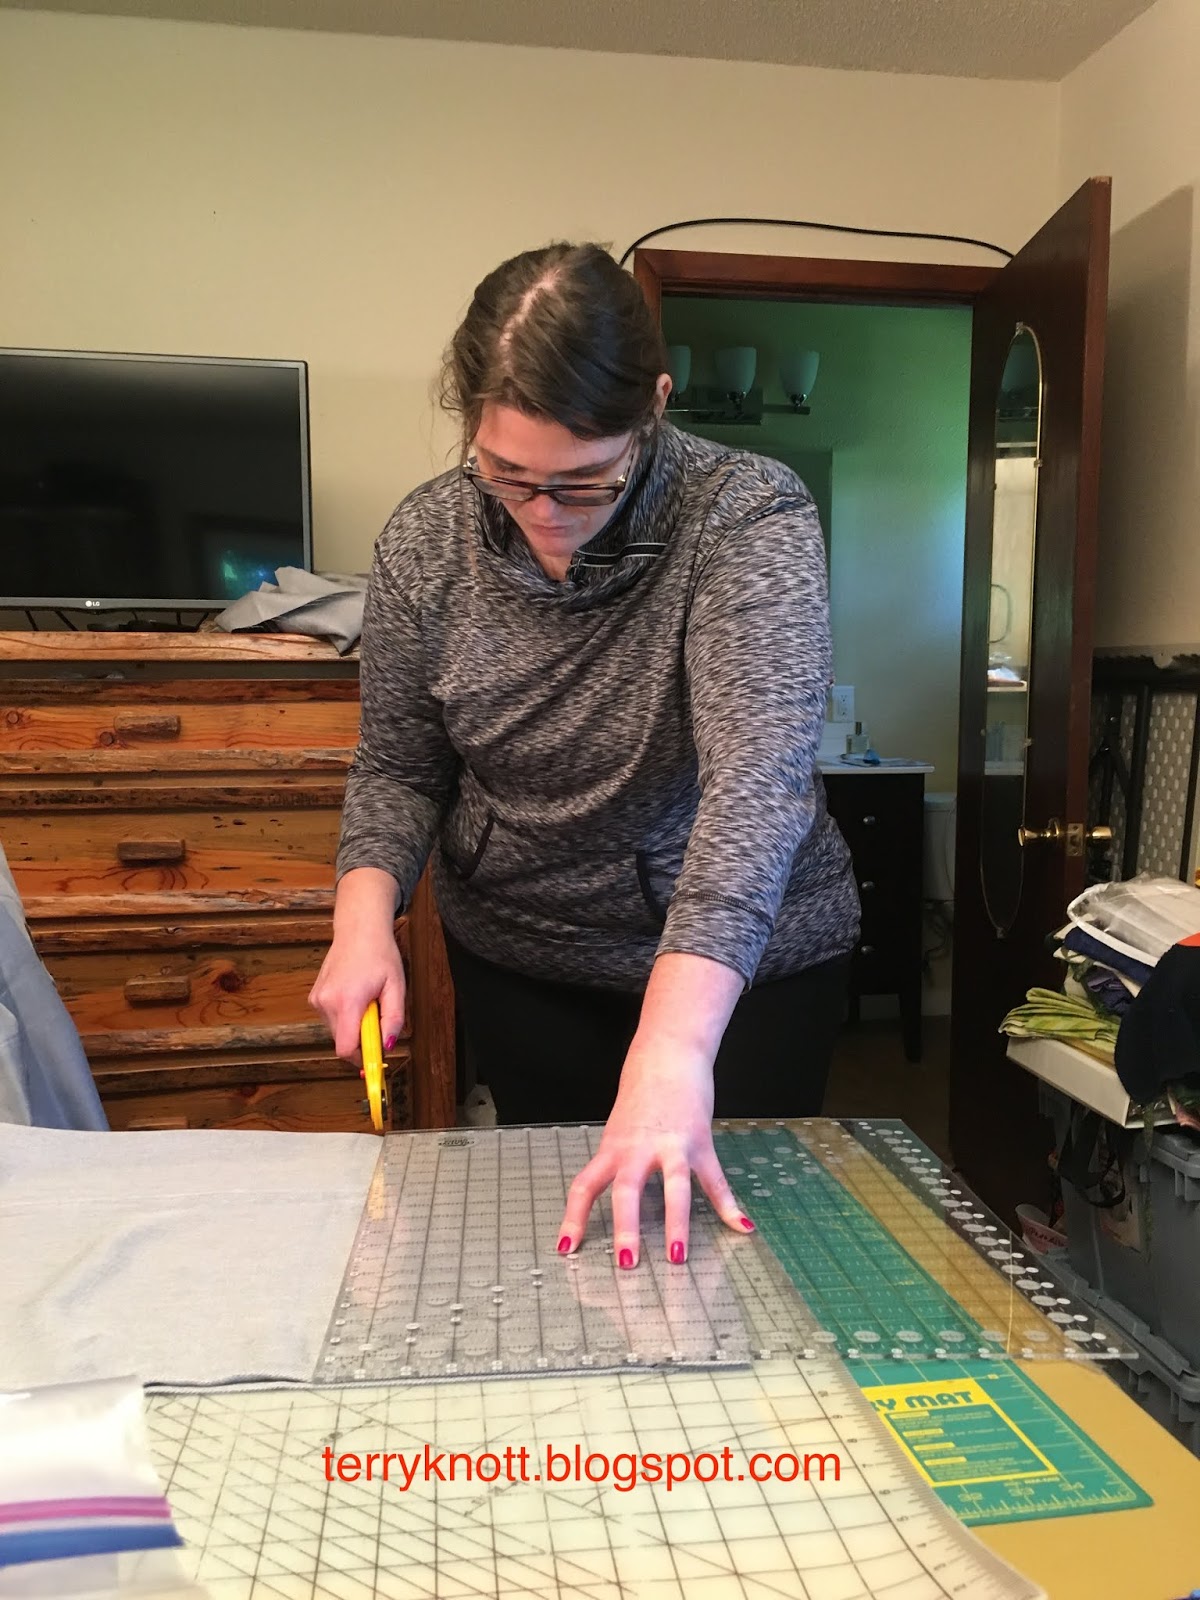
| Cutting off the excess |
N thought for a bit and then decided to purchase ones that might be too long as well as purchasing the same drape in a darker shade of gray. She googled other locations of that store and over four days went to the closest ones looking for the style and shade of gray drapes that she liked best.
 |
| No going back now |
She texted her friend, who is staying at her flat while she looks for her own place, to measure the space for the drapes. Her friend used an application on her phone to measure the space and within minutes of the request, the "numbers" were available! Technology is wonderful!
N decided to return the darker gray drapes because she found enough of the lighter grey drapes. She even. . .now this shocked me, purchased a pair of drapes that have a floral design for something different! In the past, N was never one to choose a fabric with flowers in it.
In the end, she had four pairs of drapes that were too long. N asked for help to shorten these drapes. Hemming drapes rates right up there with hemming jeans. Both tasks are not ones I want to do.

Earlier that week, Joie went to the "spa" for her annual maintenance. Unfortunately, she required a part so who knows how long she will be away from the work room. Fortunately, Bernie was ready to stitch those hems! Bernie is my first Bernina.
N has sewn projects. She made a quilt when she was 11 years old. She has sewn a lot of swim suits; but, she hasn't worked on a project in the studio for a long time. . . .I don't actually remember the last time that she used an iron, rotary cutter and pins!!
 |
| This is taking too long |
N said she supposed that I would be posting about the project. I replied, "Of course!!!" I couldn't resist documenting N working in the studio. She knows me too well!
There was a little time spent figuring how much to cut off each drape. I was not involved in that process. Instead, I searched for a gray thread. I also needed to remember how to wind a bobbin on Bernie. It's been about a year since we've stitched together. Then, N cut the fabric. She made a comment that she hoped her math was correct because there was no going back now! (Her comment was so true. How often I have thought the same after I made that first cut!)
 |
| Finished drapes |
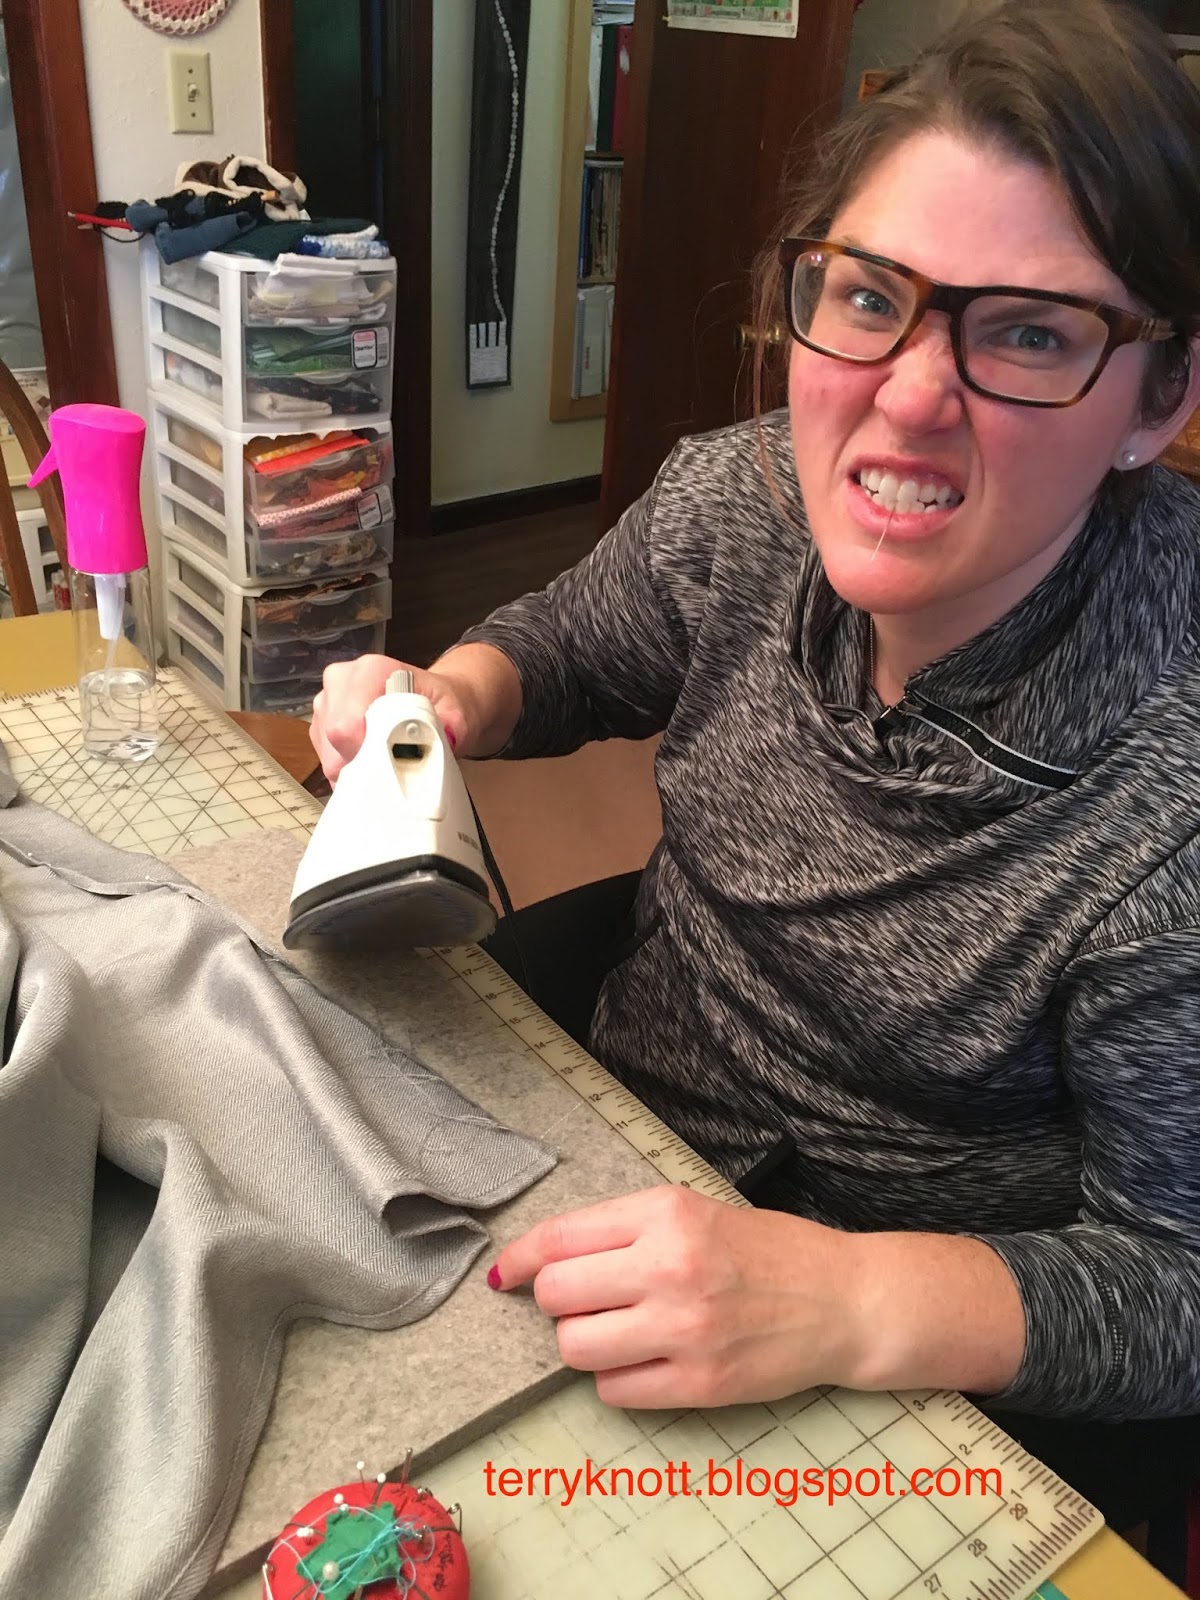
I then stitched a quarter inch from the edge. N pressed the quarter inch. She then pressed and pinned a two inch hem into the drape. She used a wool pressing mat which worked great. I pressed a few hems myself while she was on a work call. We spritzed the edge of the polyester drape with water. We used a dry iron on a polyester heat setting to set the edge. The wool mat held the heat as well as absorbed the excess water. It was a great pressing surface.
I stitched the hem. N razzed me about stitching so slow. . .I finished a hem and took a body stretch in about the time that she finished pressing and pinning the hem. I offered to change places with her; but she said she had a rhythm going that she didn't want to interrupt! (Had she sewn, it would have been pedal to the metal speed!)
Soon it was job done! She folded and packed the drapes. . .I hope that she will send a photo of how they look in her flat!
It was great to have her in Oregon for a few days. of course, the time swept by all too fast. She managed to squeeze "Ripples" into her bag so two quilt projects ended up in her luggage. She said I could have visiting rights anytime! I made the half square triangles (HSTs) in "Ripples" from the leftover triangles in my "Dad's Stars" quilt. Although, I will miss "Ripples," I am honored that she wanted it and will enjoy it.
 |
| Ripples, London bound as well |


