|
| Border fabric approved |
As the completed row of the month blocks grew, I played with possibilities. My oldest granddaughter popped in for a visit and I asked her for her thoughts. She picked a Kaffe print which was perfect. There is a yard which should work for the border. I thought that I could cut it for filler blocks. The print, however, is so large that I would get a different color for each month.
 |
| Inner border and filler block possibilities |
Next, I considered adding a narrow inner border. I chose a brown which was okay; but when I shared with my Friday Sit and Sew group, they suggested to choose an orange or a pink instead. In the stash was a dark pink/red purple that was the winner.
 |
| Filler block auditioning |
I opened the jelly roll and looked at the possibilities. I chose two strips in the same print. While I liked the bluer print best next to the geese, the greener strip looked best next to the border fabric.
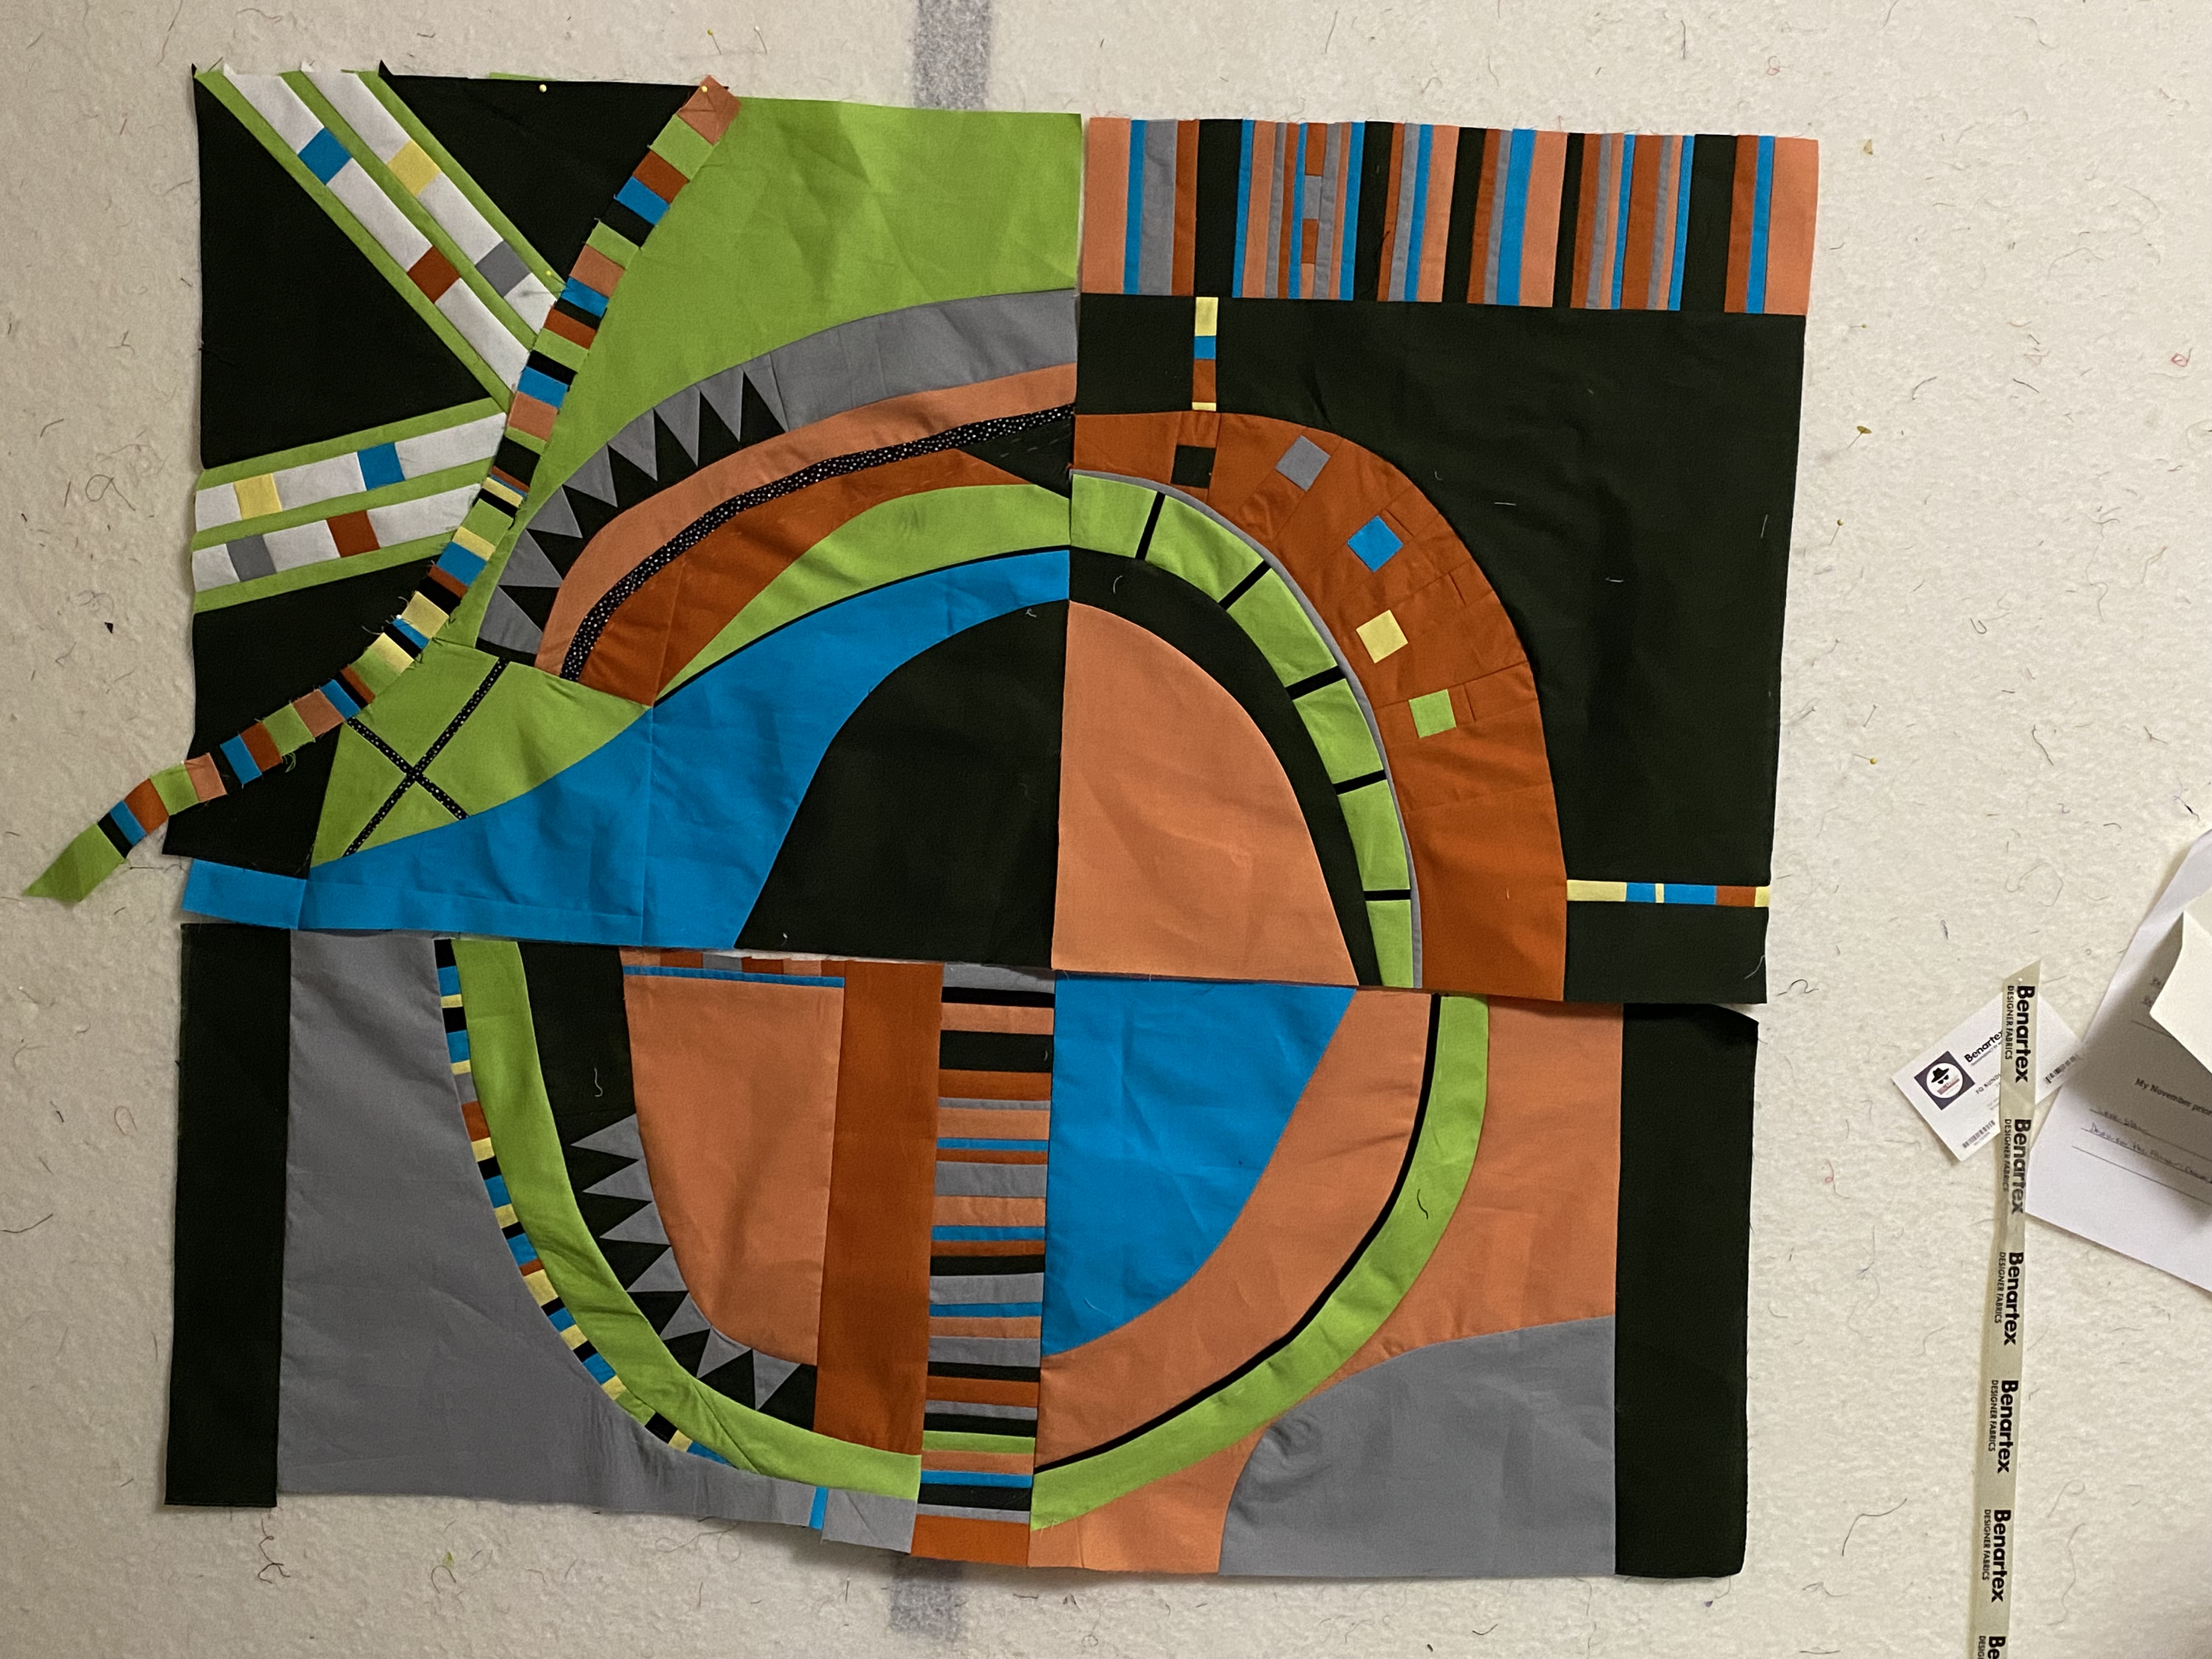
I am caught up with piecing the blocks. I've sewn the months January through May together. I'm excited about how this project is coming together.
I'm happy that I was able to use stash fabrics for the project! After I made the |
| January through May |
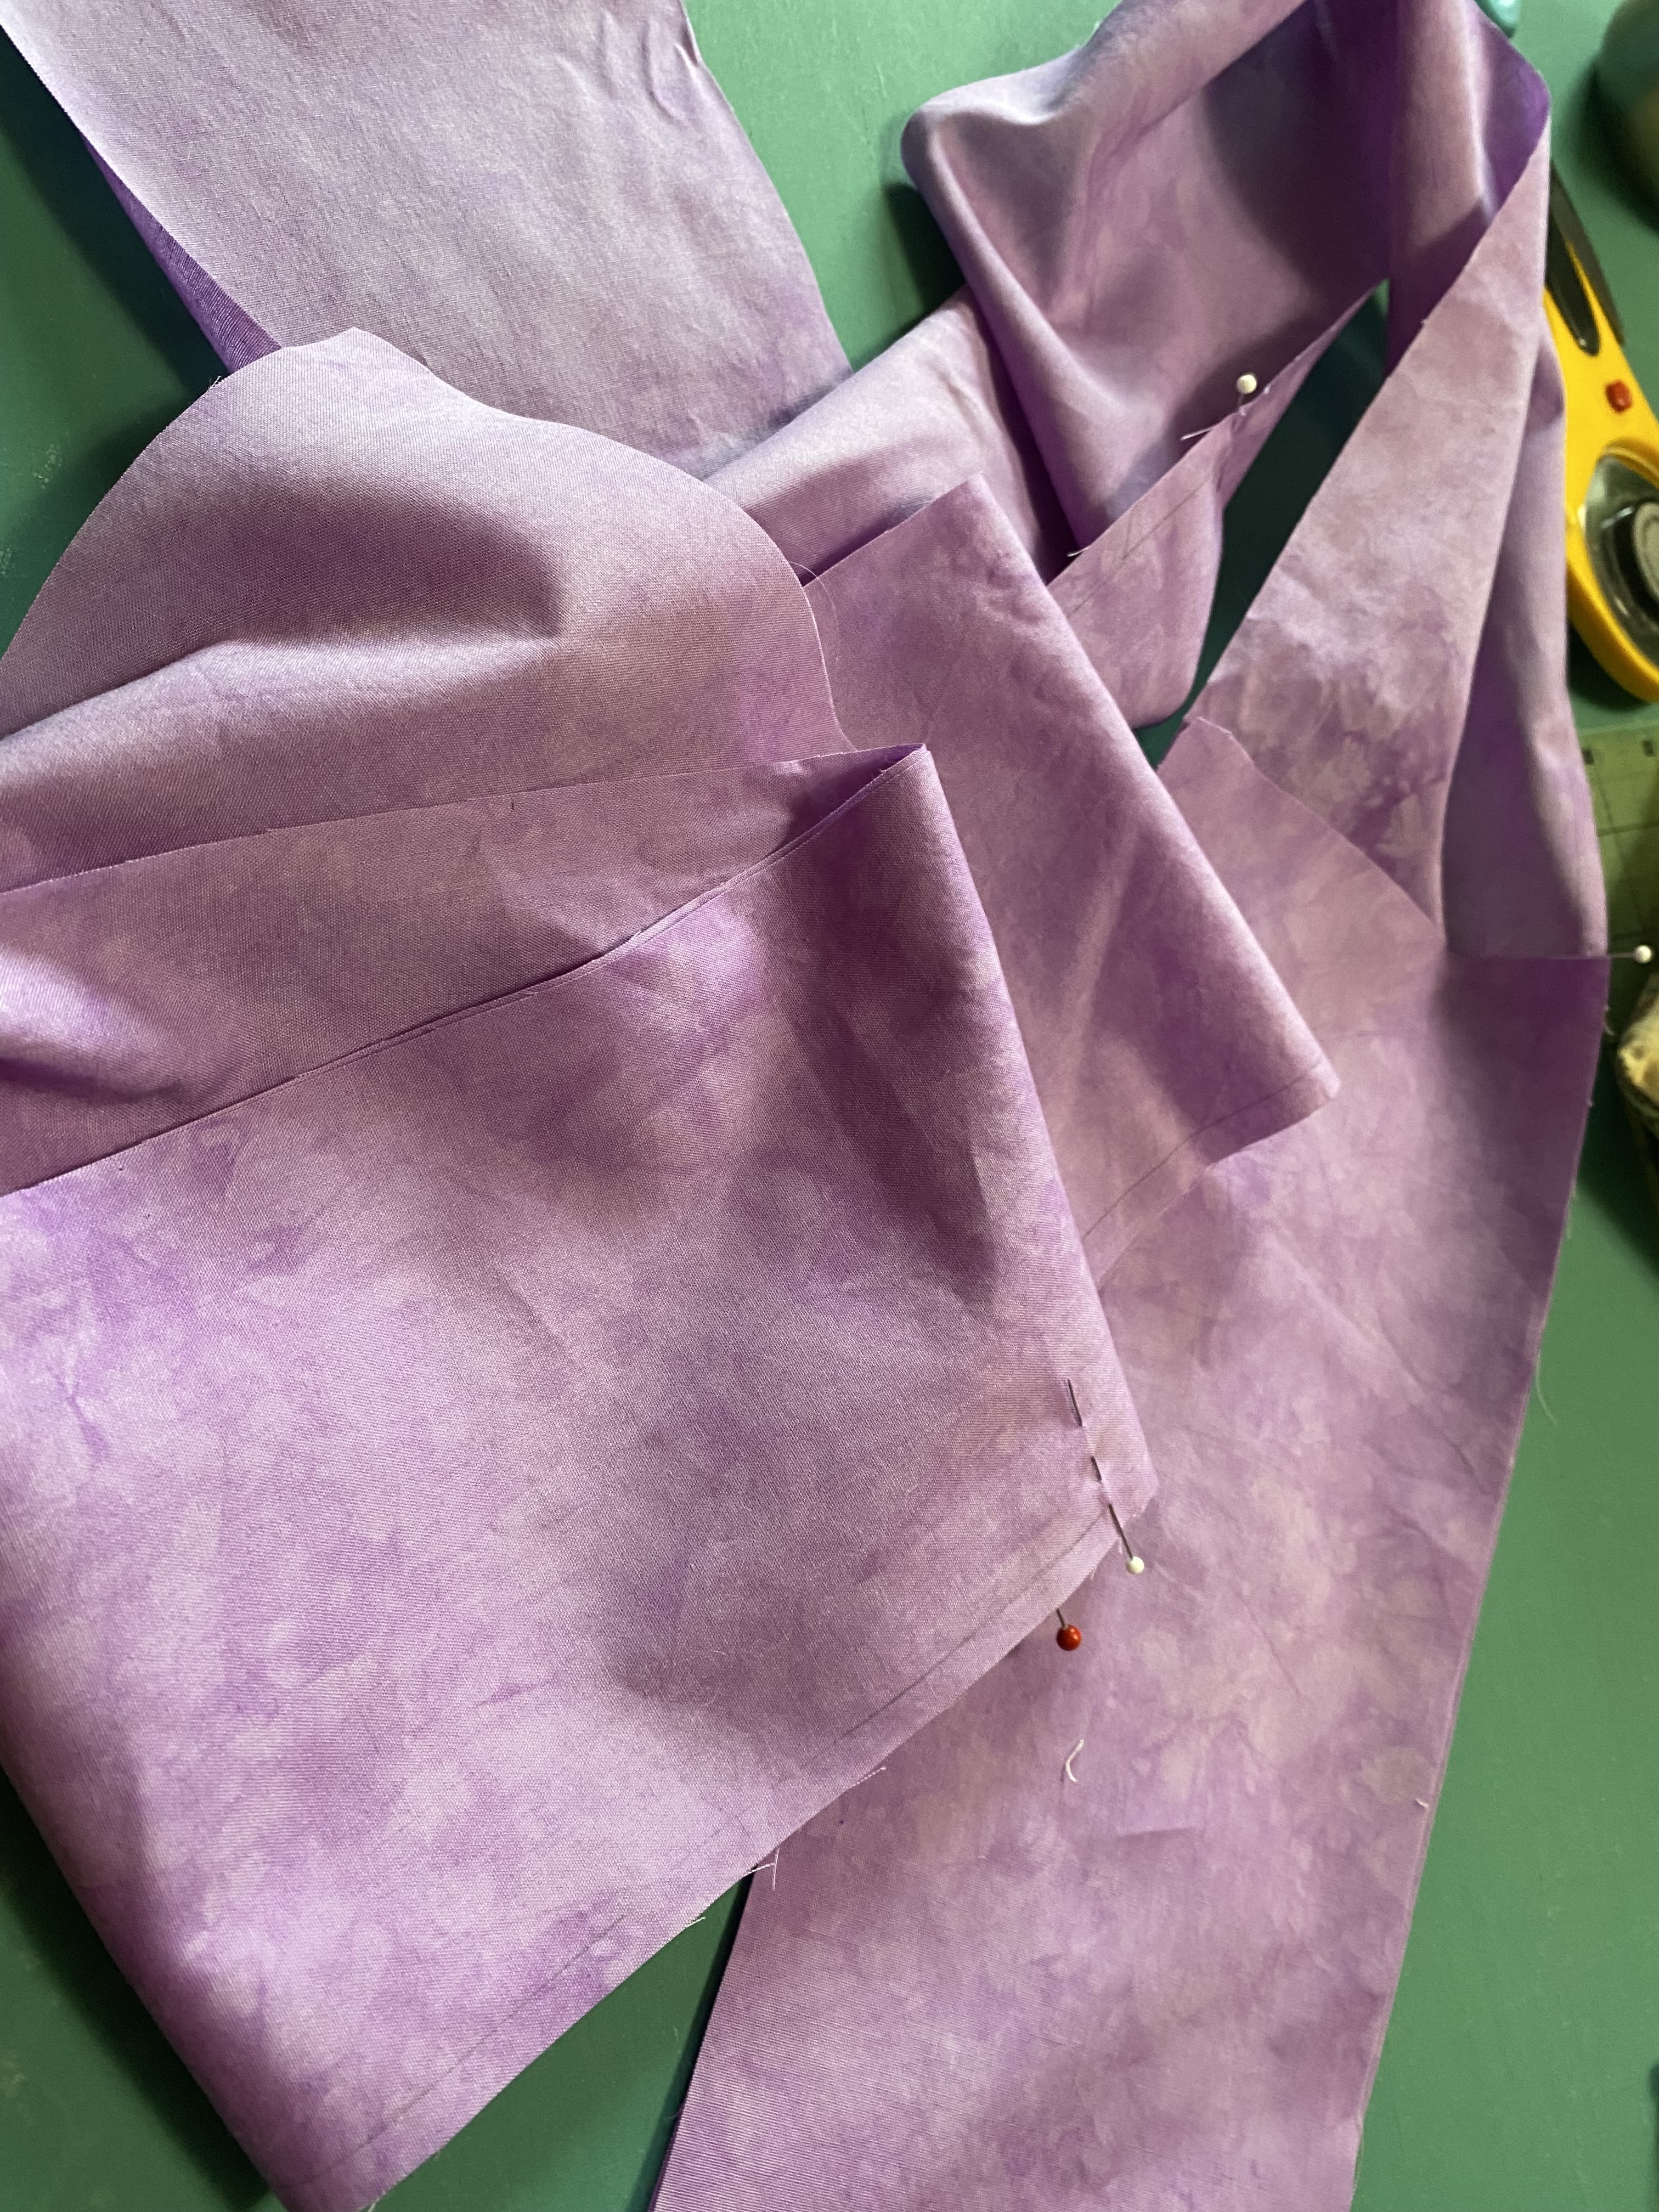
I've loved using these hand dyed fabrics for the temperature quilts. Unfortunately, I recently learned that Vicki Welsh has closed her business earlier this month so if I decide to continue with this project next year, I'll have to source a new fabric line.
Do you have a preference of Bella Solids made by Moda or Kona Cottons made by Kaufman? I'd appreciate your thoughts both pros and cons!