 |
| Some hand stitching and center quilts |
I was making great progress when I realized that I hadn't checked the back for tension issues. Sigh. . .there were tension issues. . .I ended up ripping out all that I had stitched. It wasn't hard because the bobbin thread was laying on top of the fabric; but, it did take some time!
 |
| Stitching that didn't work |
I changed the needle and changed the tension. I did a test on another quilt sandwich. I stitched a little on the project and checked. . .all GOOD. So I continued restitching the background. I used a cream colored cotton thread from Superior Threads Masterpiece line.
 |
| Quilted top |
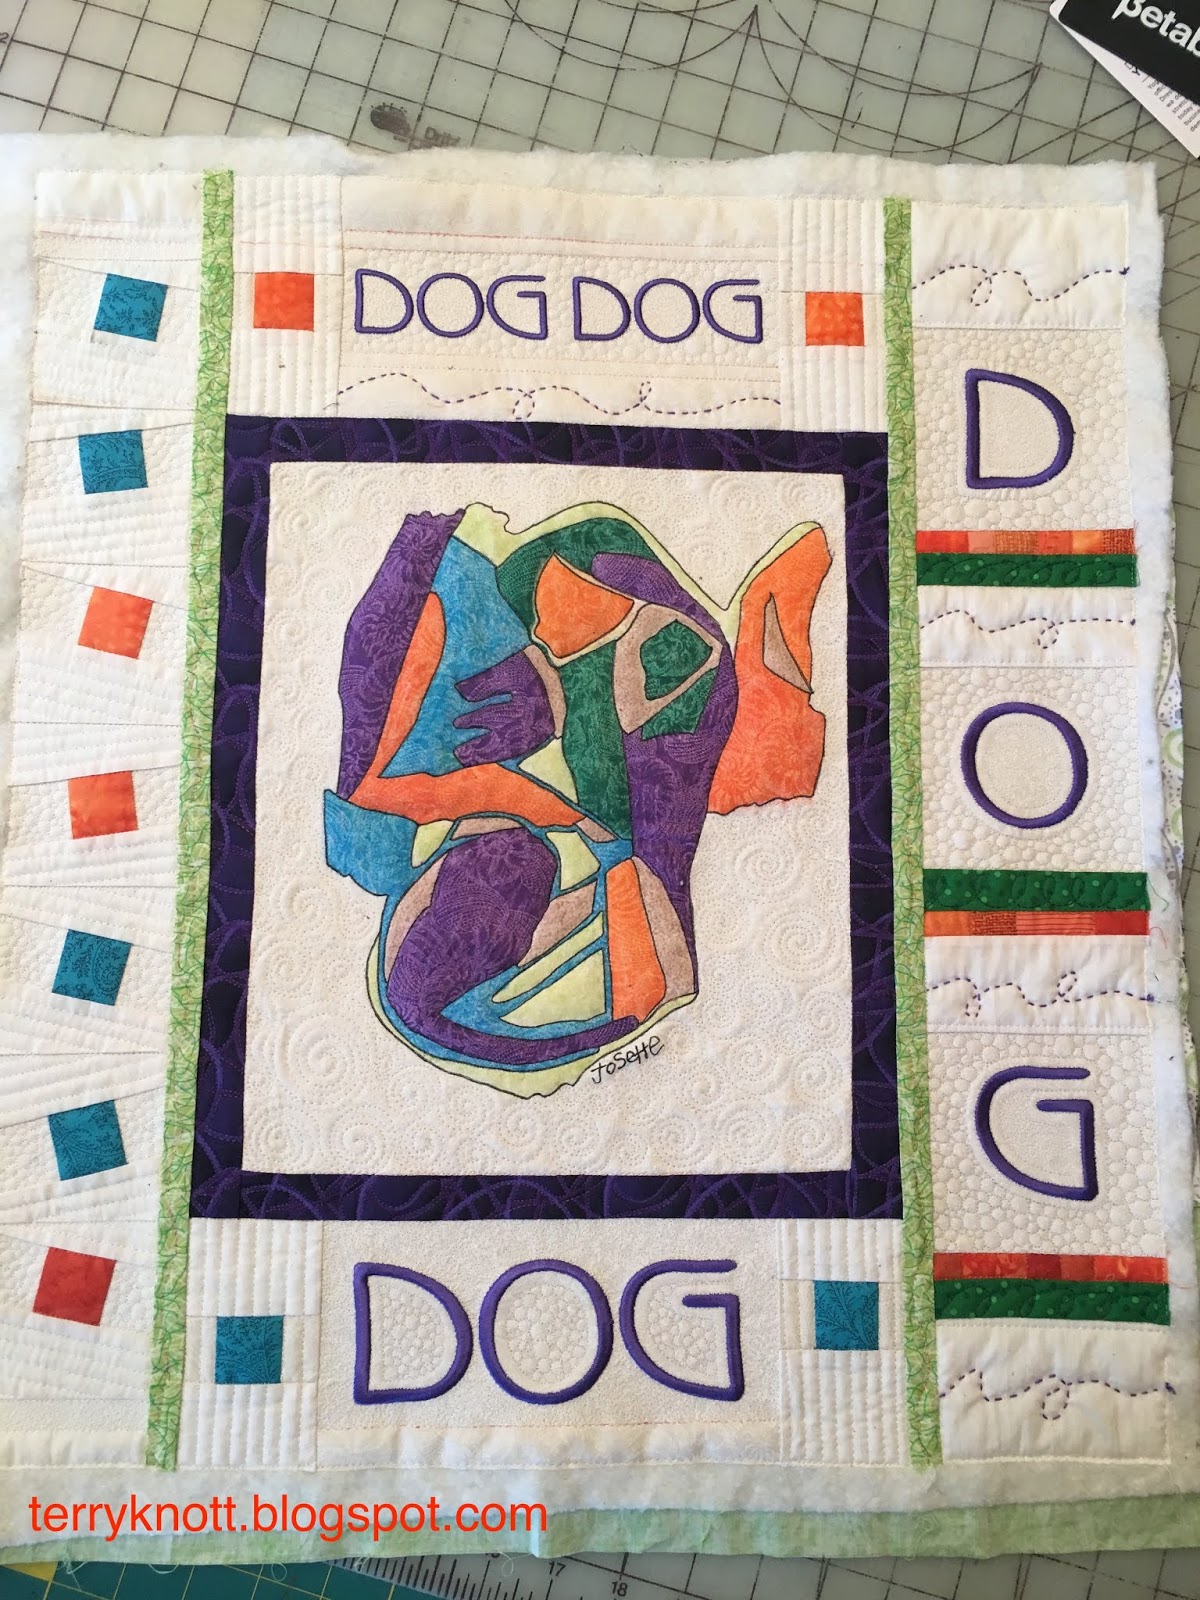
I added vertical lines to the sides of the embroidery at the top and bottom of the art work. I liked the look of leaving some spaces without quilting. Then it was time to quilt the left side of the project. I thought that I needed some purple thread in that area. I stitched a few lines. I tried a different approach. It didn't work. The lines detracted from the wonky paint pots.
 |
| Label and view of back |
The big question of what to do came next. I was stumped. When I am stumped, I call a friend. I also take a look at what fillers I've already quilted. The phone call and reviewing what I had quilted worked. I considered repeating some quilting designs. Repetition is a great method to unify sections of a quilt. I repeated the pebble filler in each side of the paint pot squares. I also decided to quilt straight lines in the areas adjacent to the pebbles using the diagonal line as a reference line. I had planned to again use different background threads; but, decided I liked using the lightest thread the best.
Two fat quarters make up the back. I chose the black and green fabric because it reminded me of Mis J's original lines in her crayon doodle. The sleeve is the lime green fabric that is also behind the label.
I used two yards of fabric in this project. My goal this year is to use 57 1/2 yards of fabric fro my stash. This means that I have used 30 1/2 yards and have 27 yards left to stitch before I meet that goal! This was goal number ten on my1st Quarter FAL list. It is my seventh finish this quarter.
Reading the "Art Forger" by B.A. Shapiro inspired me to finish this piece. It was fun to work in the spirit of a master artist and even more fun to team with Miss J. Actually, I'm a little sad to have finished; but, I suppose that means the two of us need another project!
Previous posts regarding this project can be found below:
Post 1
Post 2
If you want to revisit!
 |
| Finished front |
2 comments:
Really great design and details. It's nice to see the inspiration for your lucky seventh completion. On behalf of the 2019 FAL Hosts, congratulations on your first quarter finish and thanks for participating
Thanks for stopping by. . .my grand sure had fun helping design this project!!
Post a Comment