 |
| Fabrics for the project |
While I waited for the pattern to arrive, I started perusing my overflowing fabric stash. For several years, I have fondled a tray of two inch squares that would work as the colorful squares in the nine patches. I spied a piece of yellow/gold check fabric, which came from Martha's stash, that would work for the center star. I had a bag of cream scraps to use as background. The gold fabric made me think of fall. I thought a fall quilt would be nice to have. Other participants may be making a Christmas quilt.
 |
| Miss J sorting the colors |
Miss J helped me sort the best squares for the project. I watched her decide if a square was blue or black or pink and then followed her logic. She is good at making a decision. She is also good about keeping her decisions consistent!
 |
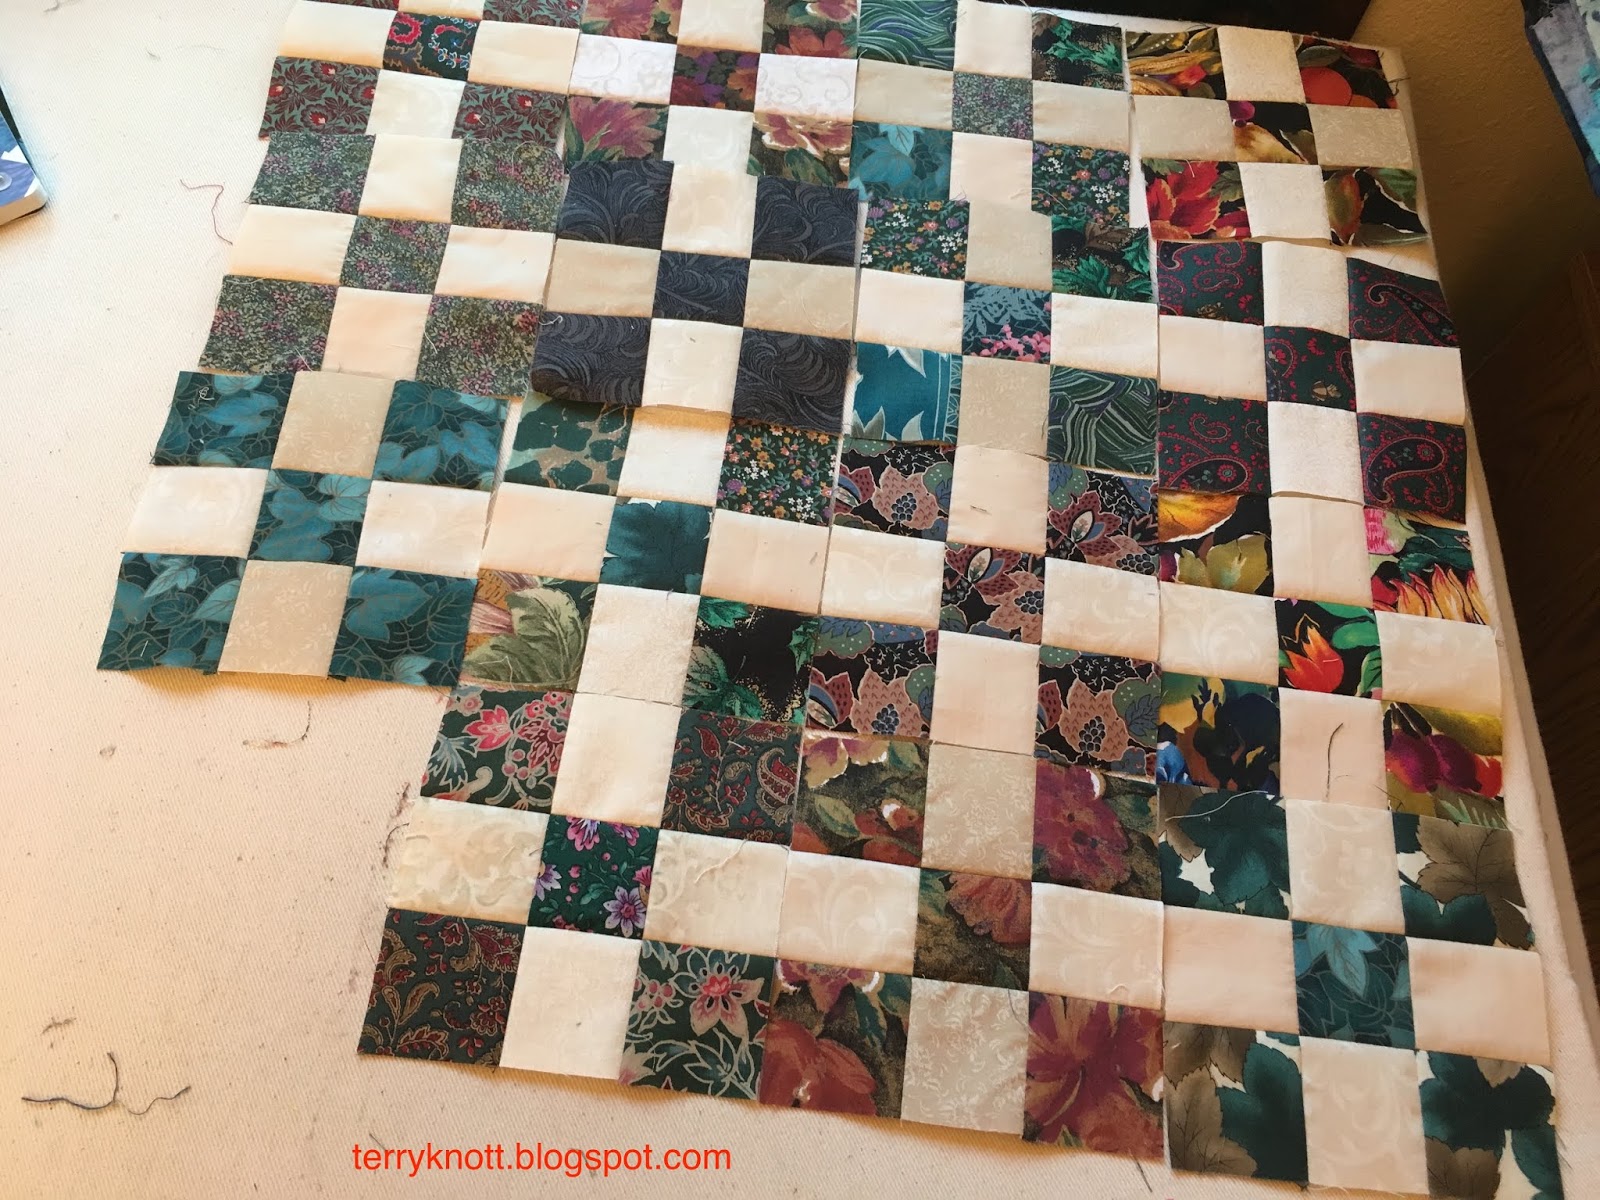
| Project pieces cut and ready for stitching |
Cutting the 240 background two inch squares took some time; but, I used up a bunch of the cream scraps that were crammed in the drawer! I did sort through fat quarters to find one that I could cut a few five inch squares. I also had to scrounge to find some other cream background fabrics to cut 80 five inch squares and some other parts to the quilt.
I like scrappy quilts; but, I'm not all that confident about my fabric choices. As we stitch through the project, I'll see how well my scrap choices work!
 |
| 15 nine patches--goal for the second week |
For this quilt along, we post to Instagram. I'm not much into social media. I rarely post more than a happy birthday on Facebook; I've tweeted once and I didn't have an Instagram account. I wanted to see the other people's progresses so I opened an Instagram account. Let's see how that goes!
For the second week, we were tasked with stitching 15 nine patches. Stitching 15 nine patches of 60 was a doable assignment. I stitched slowly, pressed carefully and in not too long a time, the blocks were complete.
 |
| Flying geese ready to become star legs |
The third, fourth and fifth weeks had the same stitching assignment. Since my project was
organized, I'd spend a few minutes stitching blocks each day until I'd stitched the assignment for that week.
Week six, we were tasked with making the checkerboard for the center of the star and the flying geese blocks that make the star legs. Amber's technique for the geese is to cut a square, draw a diagonal line corner to corner, stitch on the line and trim a quarter inch from the stitching line.
What is nice about this technique is that having four edges helps to keep the orientation of the sewing line truly on the diagonal. I found it helpful to baste the stitching line at the intersection of the nine patches to be sure that I didn't cut off any nine patch corners.
 |
| Finished Star Patch top |
The downside to her technique is that there are two huge half square triangles remaining. I stitched it, sewed four together and made two large pinwheel blocks which I plan to use on the back of the quilt.
The other change I made was to use the technique of spinning the intersections on the nine patches so the seams alternate being pressed to the dark and to the light. The blocks are flat.
 |
| Arranging the leftover chunks |
Week eight I constructed the back. I like pieced backs. Piecing the back is a way to use some or most of the left over fabrics. Sometimes, I like the back better than the front!
 |
| Pieced back |
Amber provided a tutorial for incorporating the extra nine patches that we pieced. I wanted to use the huge HSTs that remained after making the flying geese blocks in week six. She pieced her blocks in one long row; I pieced mine five in one row and four in another. If I had made more nine patches, I would have used them!
I needed to break into my stash for a chunk of fabric so that I could piece a 65" x 65". back. I used about a yard and a half and I also made the sleeve.
Now to layer it, baste it and quilt it! Perhaps, I will get a start on the quilting in this quarter!
2 comments:
What a delightful plan for this year. I love that your grandaughter is learning to sew. I have no grandaughter, so I spent some time teaching my grandson to sew.
Thanks, BJ. I remember your posts about your grandson sewing. Some day, his abilities will be much appreciated. My husband learned how to sew and in college, he marked a lot of hems for dresses, pants as well as patched holes and sewed buttons for his male and female friends!
Post a Comment