 |
| Beginning layout |
As I read the book for the third time, I was inspired--
to use the letters I had embroidered to symbolize the writing of Jo,
to make it a baby quilt to symbolize Beth,
 |
| Auditioning scraps for the center section |
I looked at the sizes of the leftover flannels from Martha's fabrics. It looked like I the largest chunks I could cut were some 12 1/2 inch x 6 1/2 inch rectangles and 6 1/2 inch squares from the scraps. With those sizes in mind, I sketched a layout. My goal was to make a crib quilt that was about 36 inches wide by 52 inches high.
I began cutting the pieces and arranging them on the design wall. I decided cornerstones would be a nice addition. A couple strips of a print scrap became the 2 1/2 inch corner stones. JoJo gave me the yellow flannel for the sashing.
I've sewn flannel nightgowns and pajamas. A couple of years ago, the grands and I made a crib quilt with minkee. Earlier this year, I stitched flannel potholders. I haven't made a flannel quilt because I was concerned with how much the flannel would stretch. It did stretch. Pinning the intersections helped. Some intersections are "in the neighborhood" and I'm okay with that!
 |
| Finished top |
For this project, I chained stitched the vertical rows. Once the section was "webbed," I stitched the horizontal rows. This process worked great. Once I had the top and bottom sections stitched, it was time to figure out how to incorporate the embroidery into the design.
The 3 1/4 inch polka dot strip was about the right length to border the embroidery. I cut it in half and stitched it on the embroidery. The next step was to decide what to use to fill in the space on either side of the embroidery. I decided to use more of the striped fabric. At this point, the quilt measured about 34 inches wide by 52 inches high.
To my eye, it was too narrow! I didn't want to add a border on the sides that looked like I added it because I wanted the quilt to be wider. For a while, I was stuck about what to do. When that happens, I let the parts marinate and wait for inspiration.
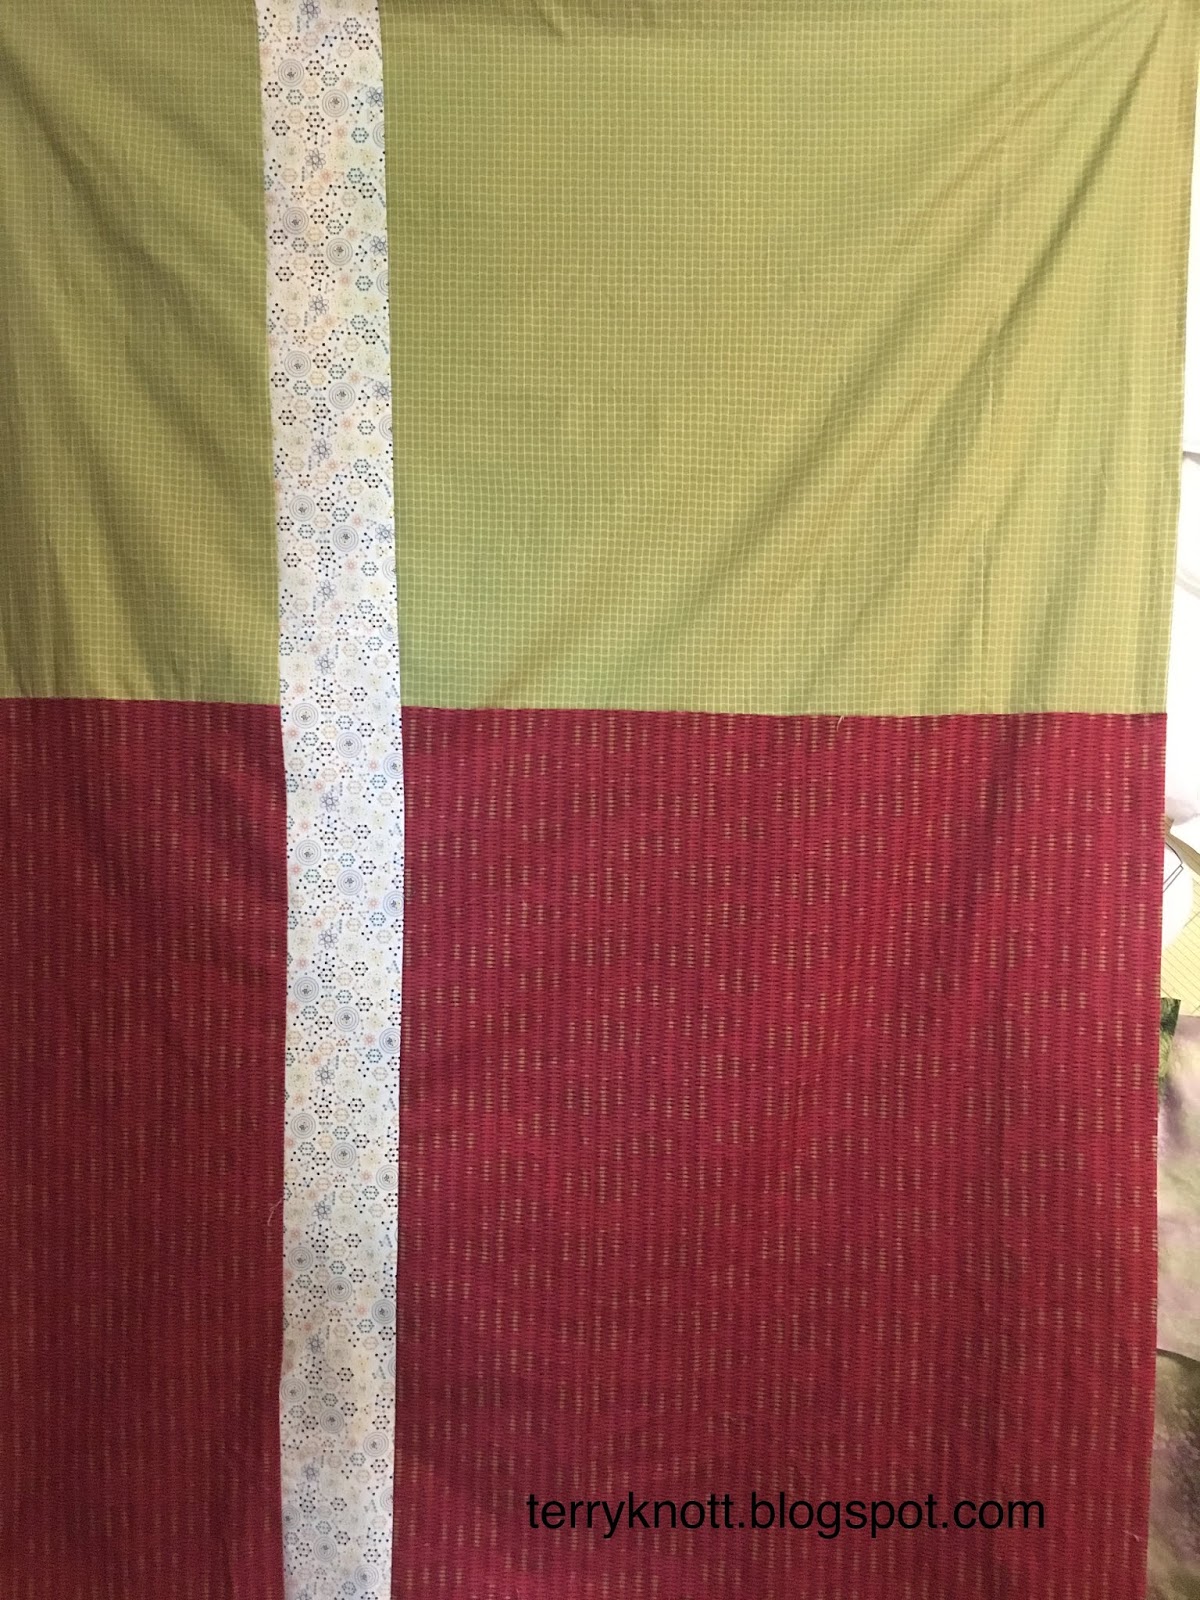 |
| Pieced back |
Eventually, the cornerstones gave me a clue. I decided to add another row of yellow sashing with the corner stones at the mid-point of the previous sashing strips. Unfortunately, I was short three cornerstones. The leftovers contained a print similar to the cornerstones; but, in a purple color way. Our quilting ancestors would have figured out a way to make do.
I made do. I cut three cornerstones from the purple color way. I sprinkled those blocks into the mix, sashed the blocks and added the strip to the side of the quilt. I'm glad the quilt wanted that border as I liked the interest it provided.
I decided the quilt needed an outside border. What I REALLY wanted to do was to buy a piece of
fabric for the border and for the binding. I've been on a "use what I have" so I forced myself to come up with a plan with fabrics I already had. I kept telling myself I could do it.
 |
| Beginning the pin basting |
I auditioned various chunks of the scraps and decided that I could use the purple print with the green swirl and the green plaid fabrics for the border.
With some careful piecing, I was able to cut the borders at three and one quarter inches. I had almost no purple left and a small amount of green left. I like the interest the two borders added to the top. The size was now about 44 inches wide by 61 inches high.
Figuring out a back was the next project. I decided that I didn't want a flannel backing because it would make quilting too hard to push and pull fabric with the flannel next to the machine bed. I picked a green cotton print and red cotton print fabric that have been in my stash for a long time. I was short about six inches in width so I found a chunk to add to the back. I used about two yards of fabric for the back.
I basted the layers together so this project is ready to quilt.
No comments:
Post a Comment