 |
| Defining the design lines on the photo copy |
--extend the design so that the raw piece would be two inches larger than the photo copy pattern. This "extra" would be wiggle room for quilting and for trimming the quilt for the facing later.
--use fabrics that replicated the colors in the photograph.
--finish the piece to the facing/sleeve stage and deliver it to the person stitching the facing by August 1. We are also to return the photo copy pattern.
I started with tracing the copy of the photograph. I used a fine tip sharpie and marked the highlights. This marking makes it easier to see the design lines when the transfer material is on top of the copy.
 |
| Painter's drop cloth trial |
 |
| Design transferred to tissue paper |
This time, I didn't want to purchase plastic film. I had a roll of tissue paper that came from the guild free table a long time ago. It was probably the last of what was used in a physician's office. I used a window and traced the tissue paper over the photo copy. I used an extra fine tip sharpie for this step!
 |
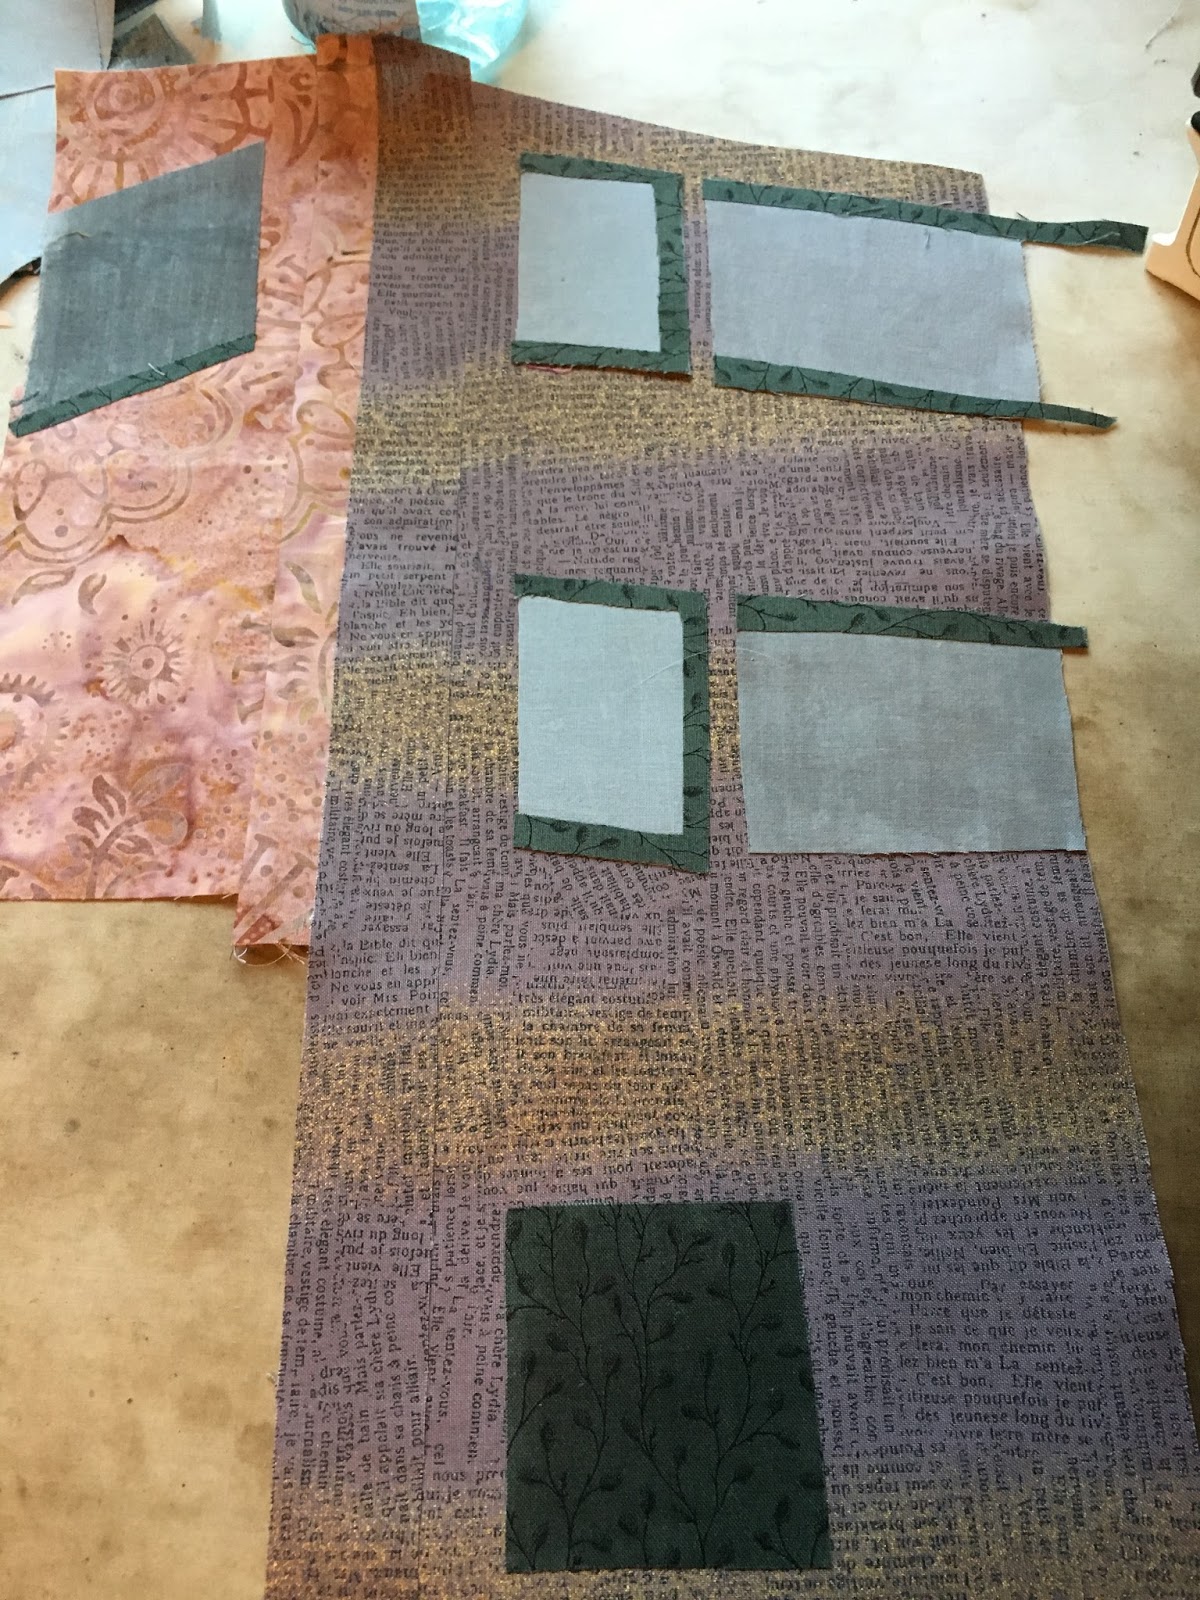
| Following the colors in the photograph |
Each time I added a section, I carefully checked the color with the color photo I was given as well as used the tracing paper to make sure I was placing the piece in the correct position.
 |
| Fusible is on the incorrect side of the fabric! |
 |
| Top floor |
I thought it would be easiest to work from the top down--ah. . .not so much!
 |
| Brick portion of the building |
I used the same fabric in all but the darkest window in the above photos. I used the markers to shade all the window fabrics so that the value was closer to what was in the photograph. The hard part was waiting overnight for the marker ink to dry!
 |
| Adding a 'curb' line |
I found it easier to work from the bottom up! I used a marker to place the "curb" line. I'll share my progress once I figure out the trees. It took me about a week to get to this point! Isn't that crazy?? It takes a lot of time to cut those little pieces and fidget them into the correct spot!
9 comments:
This looks like a wonderful project!
This looks wonderful! Nice work.
Terry,
It's looking good! If you were doing the entire piece by yourself, it wouldn't be so exacting. You could always use the phrase 'artist's license'. But when you are a 'part' of the picture, you always want things to be as exact as you can get them. Collaboration can be fun even though it's daunting at times.
My star arrived, and it will be the subject of conversation tomorrow with my peeps. Thank you for such a lovely piece.
Thanks, BJ. This project has stretched me in ways I hadn't considered!
Luann, I think I will be using the phrase "artist's license" soon! The quilting sure sucked up some of the "allowance! Have fun with your star. I'm glad it arrived and that you plan to share it with your peeps!
Wow Terry! I love what you are doing with your Hall project!
Thanks, Lynn. I hope my fabric choices truly "work" when all are fused!! I'm honored that you read my blog!
Wow, I can see that this is pretty challenging. When things go awry, you can't just say "creative licence" and keep going! It's more pressure than I thought. But your design and fabric choices all look excellent. You'll get there!
Monica, this project has been a different kind of challenge for me. I'm pleased with how it is coming together!
Post a Comment