 |
| Motif selection |
Happy Valentine's Day! Yes, it was yesterday; but, these days I tend to celebrate holidays anytime!
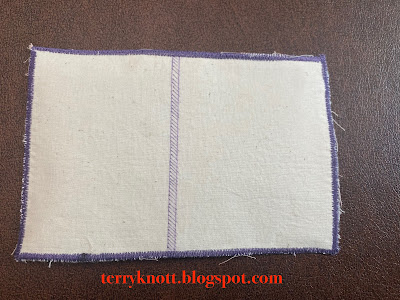 |
| View of the post card back |
 |
| Mofifs pressed into place; ready for quilting |
In my friend
Martha's scrap stash was a metal box of flower and star motifs. Martha had backed the fabric in fusible web before cutting out the shapes. I have no idea what her plan for these motifs were. I didn't see her cutting out the flowers.
I don't think that she made any postcards either. Perhaps, she planned to raw edge applique these motifs to quilt blocks or perhaps to build a border. She had all sorts of creative ideas.
I thought that the box contained good ingredients for making postcards. Valentine's Day was approaching. (Yes, I started the project a couple weeks before THE day.) Here was an opportunity to create some cards that I could gift.
Years ago, I asked Bonnie Sabel to lead a Saturday Workshop to teach people how to make a fabric postcard. Bonnie authored the book,
Positively Postcards: Quilted Keepsakes to Save or Send. Bonnie wrote the book in 2007. She made kits and vended those kits as well as her book at many quilt shows over the years.
Her booth was always popular. She was always gracious with her time and knowledge. Bonnie taught a Saturday workshop class for a number of years in a row. Her classes were well attended. Participants had fun creating little pieces of art. Bonnie gifted me a copy of her book which was reprinted at least two times!
I always would tell myself, I wasn't going to stray into making postcards. It took about ten years for me to stray into postcard making! I cut leftover batting scraps as my filler. I cut backgrounds from my scraps. I arranged and then fused the motifs to the background.
 |
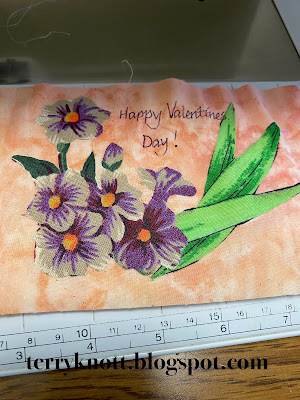
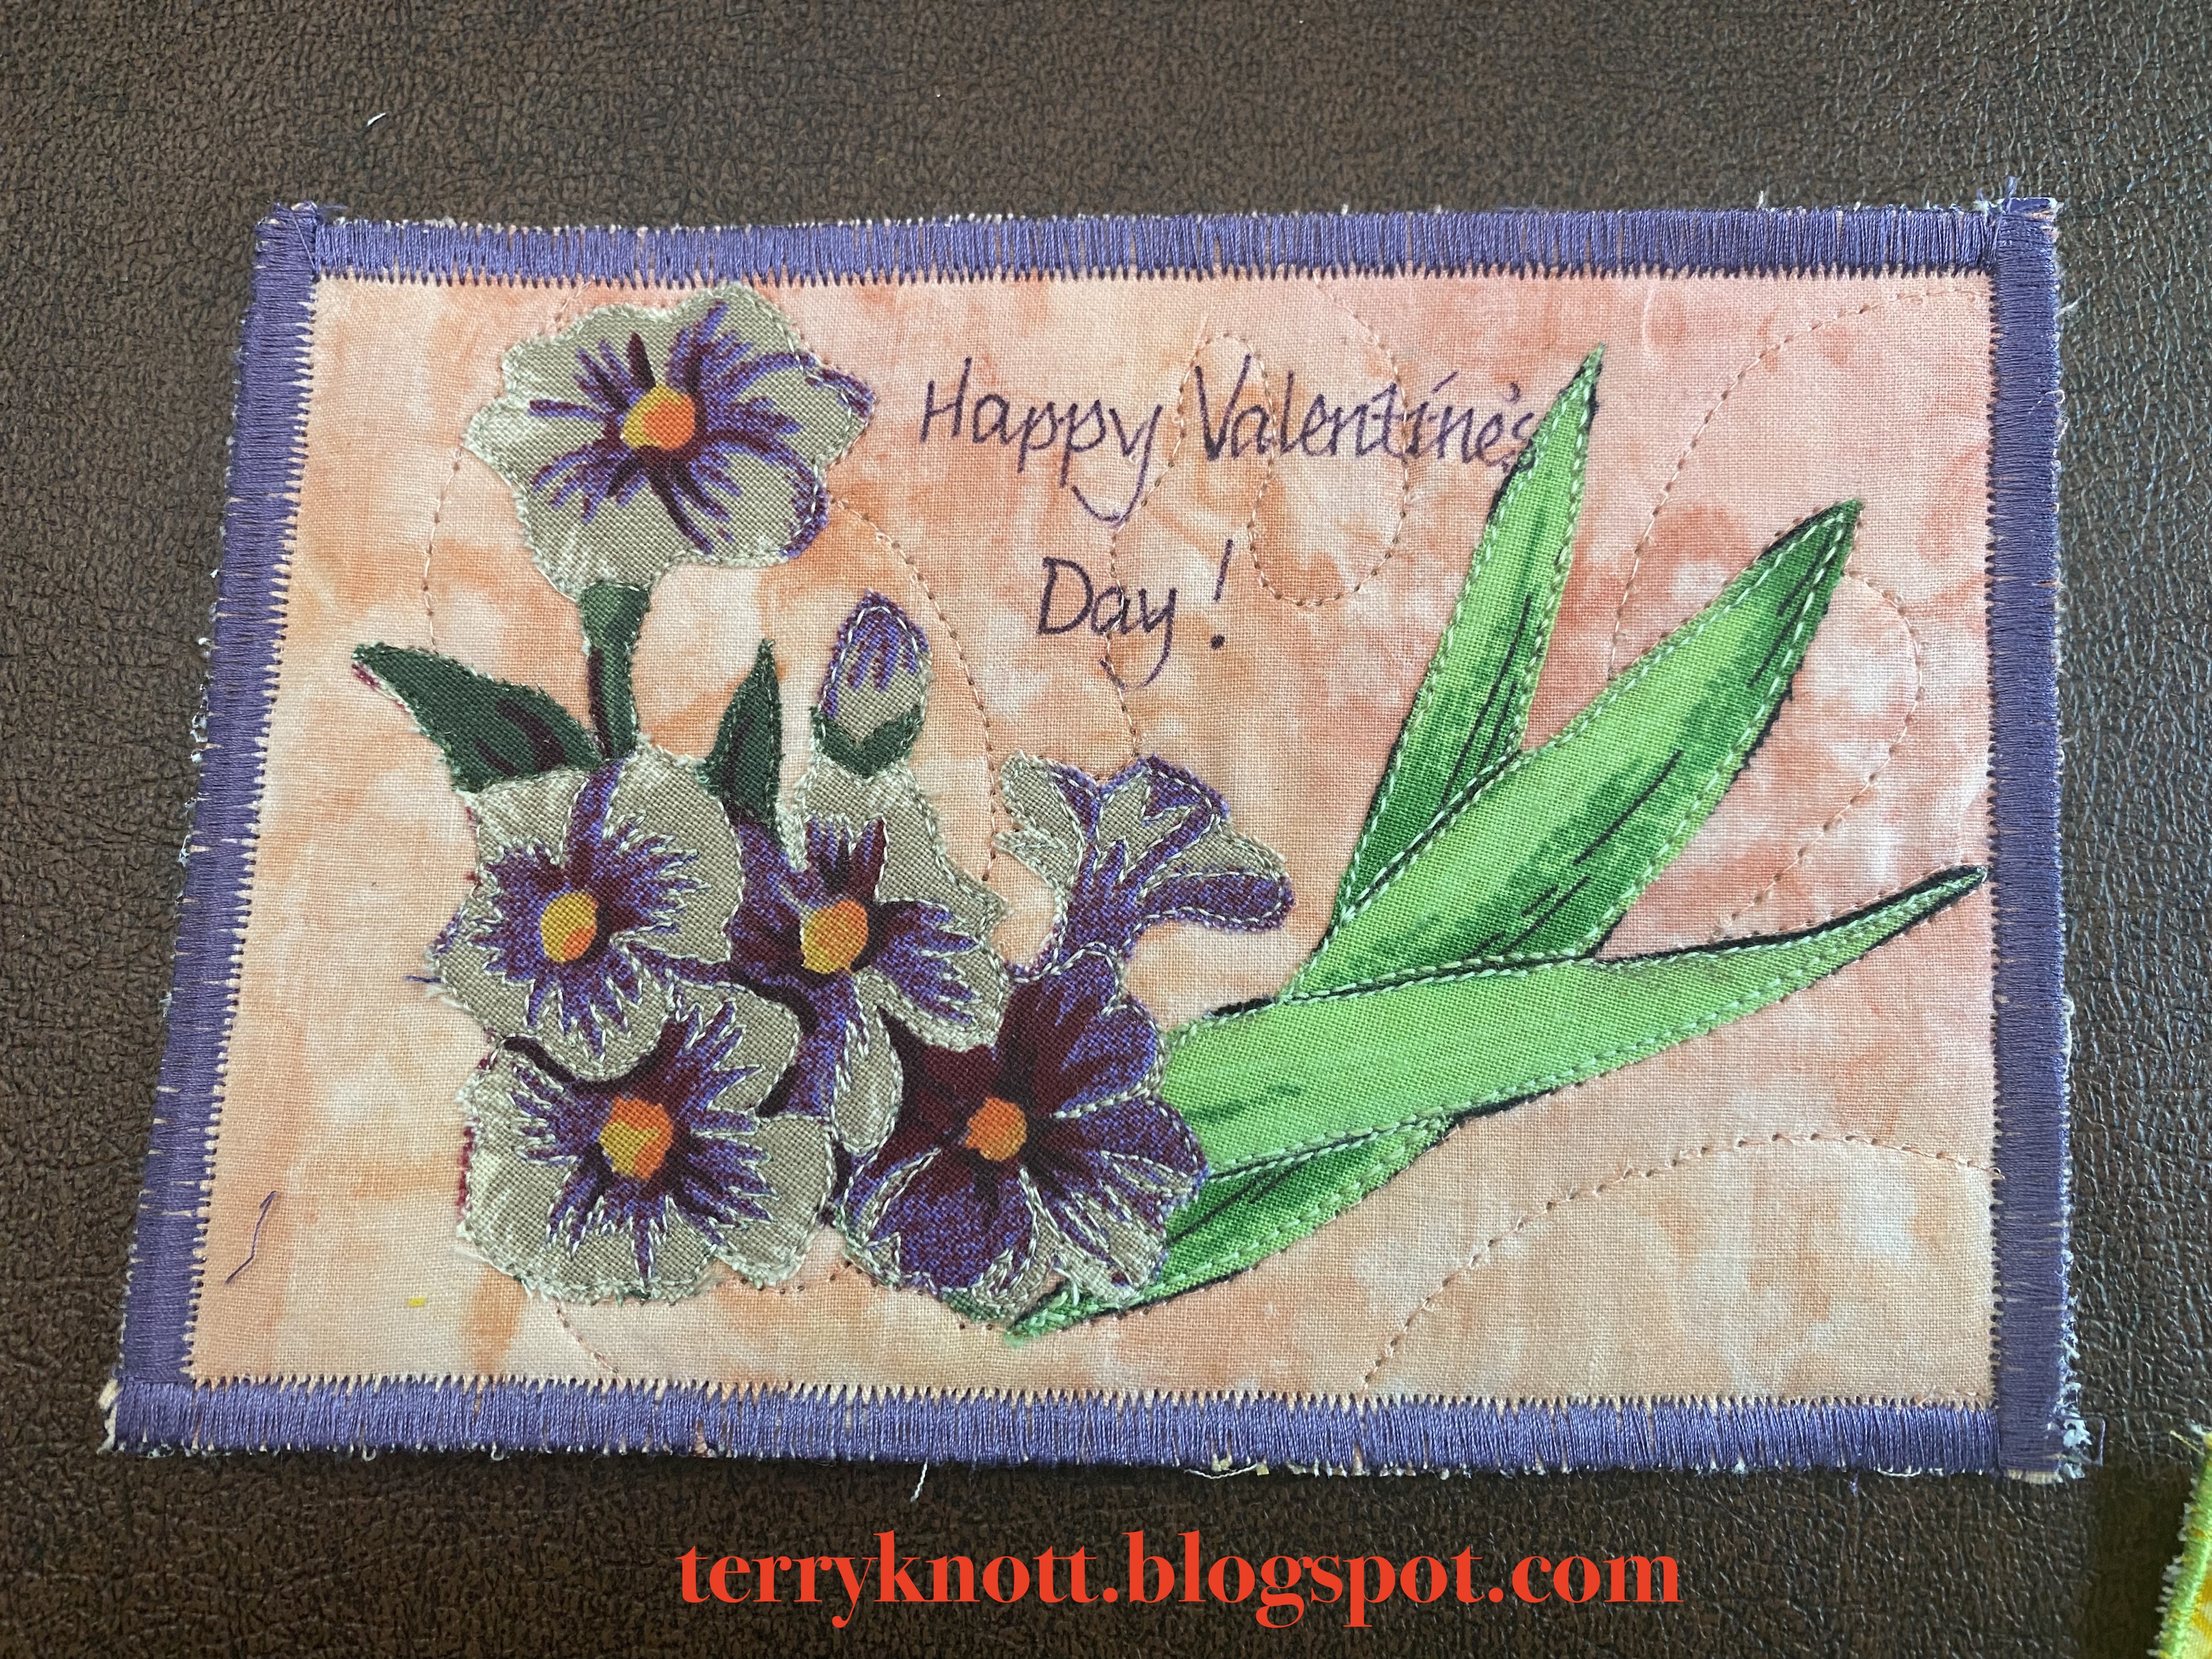
| Finished front of card |
I used a pigma pen and wrote Happy Valentine's Day. Using a matching thread, I free motion quilted the motifs to the background and I quilted a bit in the background. I slipped a backing on the card and satin stitched all the layers together.
Of course, the process took much longer than I had imagined. My friend Wendy gave me a package of postcards to use as backing. I made three postcards. I found that the satin stitching perforated the backing paper too much.
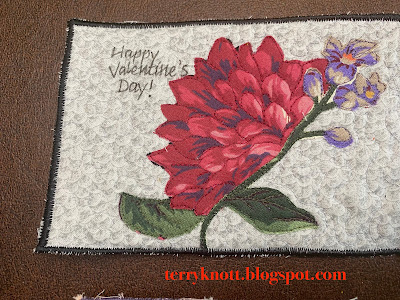 |
| Narrow satin stitching |
I considered camouflaging the description area of the post card with Washi Tape; but I didn't. I did like the stability that the postcard provided.
For the next three postcards, I used a neutral light fabric that I backed with freezer paper to be my backing. I left the freezer paper in the project.
I drew a line on the backing fabric two and three quarter inches from the right edge. I drew a second line two and seven eights away from the right edge. I used this space to divide the card into a message and address area.
 |
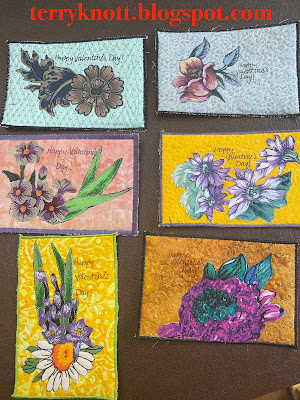
| The first six finished postcards |
I wrote most of the messages on the card backs before I applied it to the card front. I did write one message after I had assembled the card. I had no issues writing on the back of the card after it was assembled. Again, I used a pigma pen. I also heat set the ink when I finished.
Next, I experimented with the satin stitching. I thought that I liked the wider finish on the edge of the card. After experimenting, I decided that I liked the look for the narrow stitching better.
 |
| The second group of six finished postcards |
I achieved the narrow stitching in three stitching rounds. First, I stitched the
perimeter at .60 for length and 2.5 for width on my 790 Bernina machine. Second round I stitched the perimeter at .45 for length and 2.8 for width. Third round I stitched perimeter at .30 for length and 3.2 for width. I also found that I liked the impact that polyester thread made on the edge better than the cotton that I had used in the beginning.
 |
| The last ten cards |
It was fun to place the motifs on the background. Sometimes, this took me a long time. To ensure that I would have supplies for all the batting that I had cut, I made little minis. I placed components on the batting and stacked the batting as I progressed. I did leave a few components behind as filler material.
Arranging the minis helped me move a bit faster through the process. In all, I created 22 postcards. There are still fusible backed motifs in the container. Those will wait for another day.
I mailed 13 of the postcards. Nine were mailed sans envelope. Four were mailed in envelopes. Two of the four were mailed overseas. Three were hand delivered. At least three will arrive after Valentine's Day. The remaining six postcards will wait for an occasion to be sent.
I tracked how many spools of threads I used in the process. . . 23! I'm glad I have a thread stash!
These postcards were fun to make. I likely will make more cards in the future. Making postcards is great way to use small scraps! It is a good way to play with fabric values, design arrangements and free motion quilting motifs.
 |
| 23 spools of thread used during the project |
I used three-quarters of a yard of fabric scraps from my stash. This brings the total yards I've used from my stash to negative six and one quarter yards.
This was goal number five on my February goal list. Check out my Sunday post, I'm finishing a hexagon sample. How is that for a teaser??


1 comment:
Your postcards are lovely. That looks like fun :-).
Post a Comment