 |
| Notes in process of burning away the organza |
 |
| The quilting blends into the background providing texture |
To protect from burning my fingers, I used tweezers to hold each note. Slowly and carefully, I touched the tool to the organza. It was a process; but, I'm happy with the results. I found that wiping the hot tool against a dry towel helped remove some of the "goo" from the melting/burning process. I also found that rubbing the hot tool on a piece of sandpaper helped too. The reason for removing the goo was that I didn't want black goo on my silver notes. I appreciated that my friend shared her tips and encouragement with this process.
I layered and pin basted the top to that pieced back. I used a piece of wool batting. I used wool batting because I wanted as much loft as I could get for the figure. I also thought that the wool batting would be lighter and it might give my quilting on that denim more definition that if I had used a different batting.
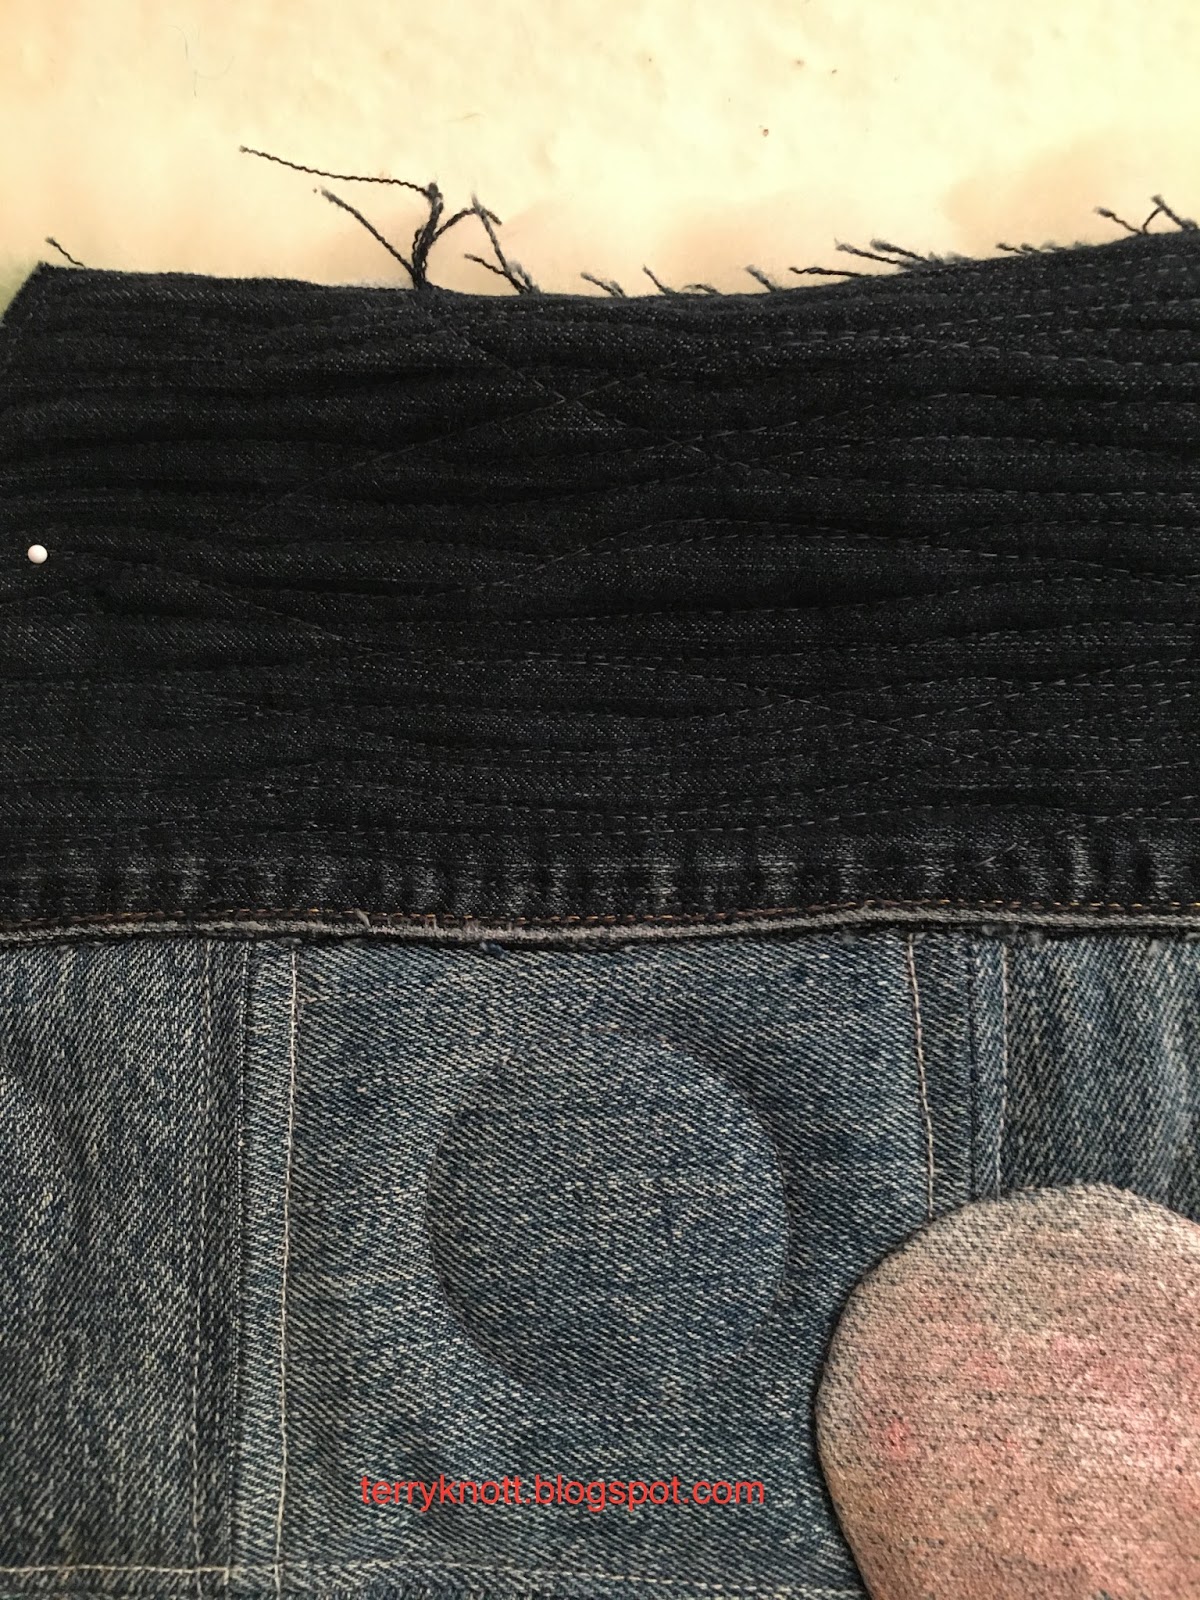 |
| Circle and texture of the top of project |
 |
| Top trimmed and ready fro the facing |
At the top and bottom, I free motioned quilted gentle curved lines. I liked the texture the quilting provided and I liked how the quilting brought the figure more into the foreground. For the letters, I quilted straight lines which helped accentuate the embroidery. I used the same cotton blue/gray thread for quilting the entire top and the same cotton olive green thread for the back.
In my stash, I located a six inch piece of turquoise fabric that coordinated with the back fabrics. It was just enough to become the facing! I cut three 2 inch strips. To cover the bottom edge, because I wanted the raw edge of the denim to be exposed, I blind stitched the facing to the edge.
 |
| Facing ready for hand stitching; auditioning the label |
Check back on Wednesday for the finish post!
4 comments:
Thanks for sharing your tips and techniques! The wood burning tool did a great job on your notes. I can't imagine sewing each individual note onto the quilt, though. Seems like a difficult, tedious job! But I'm sure you did an incredible job of it! I look forward to your final post!
Nancy, Stitching the notes on the piece wasn't too tedious. I liked how they were three dimensional. I sure was challenged with her hair though!
looking good .. all the hard work is paying off x
Thanks, Diane! This project was sure outside my comfortable box!
Post a Comment