 |
| Fabrics for the project. |
 |
| The first layer |
Three weeks before class, I asked my neighbor, Pat, to give me some feedback. She has amazing color sense. She agreed. It helped to talk through my choices and hear her feedback. I made a few changes. I felt better about my choices. Thanks for your help, Pat!
I cut the fabrics into the size pieces listed on the class list. I labeled each piece. I also made a cheat sheet of the fabrics so I could refer back to "what was I thinking" at a glance. I packed my supplies according to the class list. I was ready!
 |
| The second layer- appliquéd |
I LOVED class. I was so inspired to play with Karen's techniques in a number of my other projects! My friend, JoJo, also went to class. This was extra great because not only were we able to keep each other moving forward as we learned the new techniques; but, we also rode together to class. Sharing a ride when class is a minimum of 45 minutes away was nice because we were able to visit as we drove!
 |
| Making a sample of the zig zag |
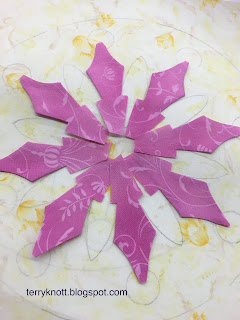
I couldn't believe how quickly the first layer was ready for stitching. Karen employs a technique of using painting spray starch on the fabric shape, then pressing the fabric shape over a heat resistant template material. After she removes the template, the shape is ready to appliqué into place.
 |
| Circles and inner ring appliquéd |
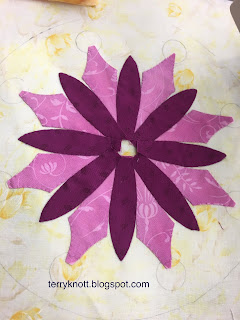
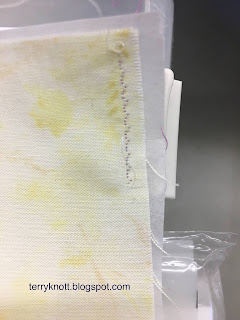
At the end of the first day, we had made points and learned some how to stitch around the applique. I LOVED how the stitches don't show. We had homework. I went home and prepared a lot of circles and some shapes for stitching the following day.
 |
| Progress at the end of the second day |
It was great seeing all the different color combinations and fabric choices. Although these circles are good, I know how now to make even better circles. Turns out, I needed to use a heavier thread and leave a little larger seam allowance for better results!
At the end of the second day, I had the gold frame placed on the project and was ready to cut the
focus fabric to be placed on the outside. I was shocked that I was able to keep up in class. Usually, I'm half a day or more behind everyone else!
I also purchased more products from Karen than I have from any other teacher. I spent some birthday dollars purchasing a pair of scissors, some template materials and some other "necessary" supplies.
One of the products I especially liked was the glue pen. It is easy to use and it a little bit will hold the fabric in place. It dries clear and doesn't affect the hand of the fabric.
I look forward to getting back to this project.
4 comments:
Looks like fun! I love the colors especially.
BJ, It was a fun class. I was shocked at how much I could accomplish at the end of each day!
Karen uses exactly the same preparation method for hand stitched appliqué as she does for the machine stitched method demonstrated in your workshop -- I took a single day hand appliqué class with her one day and then the machine stitched version, back to back. So you got a lot of what you wanted to know about the hand appliqué in your machine class! Like you, I bought a ton of goodies... :-)
Rebecca, At first, I was disappointed that the workshop chair had scheduled a machine applique class when I was thinking that I wanted a hand applique class. Like you, once I got into the class, I felt like I had received a good portion of her hand applique class as well! Yes. . .we both succumbed to add her treasures to our stashes!!!
Post a Comment