 |
| Stitching in the ditch |
 |
| Burying thread tails |
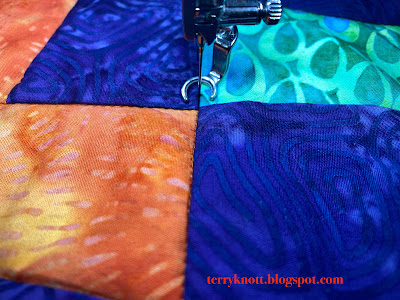
Next, I started stitching in the ditch to secure the layers. I used the same color thread in the needle and bobbin as the fabric. Hey. . .this was over and above my goal!!
I had lots of stops and starts. This time, I decided to bury the thread tails. Usually, I snip the ends because it is time consuming to bury the threads. At a retreat, someone shared a hack about burying threads.Essentially, you use the loop of thread created when you push both ends of a nine to ten inch piece of thread through the eye of a needle. Push the needle into the fabric at the base of the threads you want to bury.
 |
| Curves didn't work |
Pull the needle through a few inches. Open the loop, place the thread ends to bury inside the loop. Pull the loop through the fabric and the thread ends are also pulled through as well. It's a magic trick!
I found a tutorial from Penny Spool quilts that shows photos of the process. This process was sure simpler and easier to use than using a self threading meeting which was my previous method. |
| Straight lines are the ticket |
I spent some time ripping out that quilting. Instead, I used a straight line ruler and quilted lines a quarter inch apart using the angled edge of the pinwheel as the place to begin the quilting.
Again, I'm using a thread in the needle and bobbin that matches the fabric. I don't want the quilting to show. I want the quilting to provide texture. I've completed the straight lines in all the purple pinwheels. I'm slowly making my way around the border squares. Quilting straight lines takes some time! Although, I do see a finish ahead!
Quilting the same design for the background as well as the colored fabric makes the density the same so the quilt ought to lie flat after I've finished the quilting.
1 comment:
Deciding on a quilting design is always hard, but your straight lines look great for these pinwheels! I'll have to check out the thread burying tutorial, too. I use one I learned from a Jen Kingwell video, and it works for me, but I'm always curious to find out if there's a better way!
Post a Comment