 |
| Auditioning the leftovers for a back arrangement |
 |
| Finished back |
When I first started piecing backs, it could take me as long as it took me to piece the front! The more I piece a back, the easier it become for me. Practice does help! I like making interesting backs. Often, the backs could be a front. I also like using the leftover bits from the front. It sure seems like a win all the way around!
I did cut the fabric for the hanging sleeve and I saved some fabric to make a pillow case. When I give a quilt as a gift, I like to make a pillow case for the project. I use that as the "wrapping." The pillow case protects the quilt too! Usually, I wait until the quilt is at the binding stage before I start cutting the remaining leftover fabrics into usable "parts."
This time, I decided to clean up early. I spent about 20 minutes and at the end, I had a few more bits to add to my "pre cuts." For 22 yards of fabric, there wasn't much remaining!
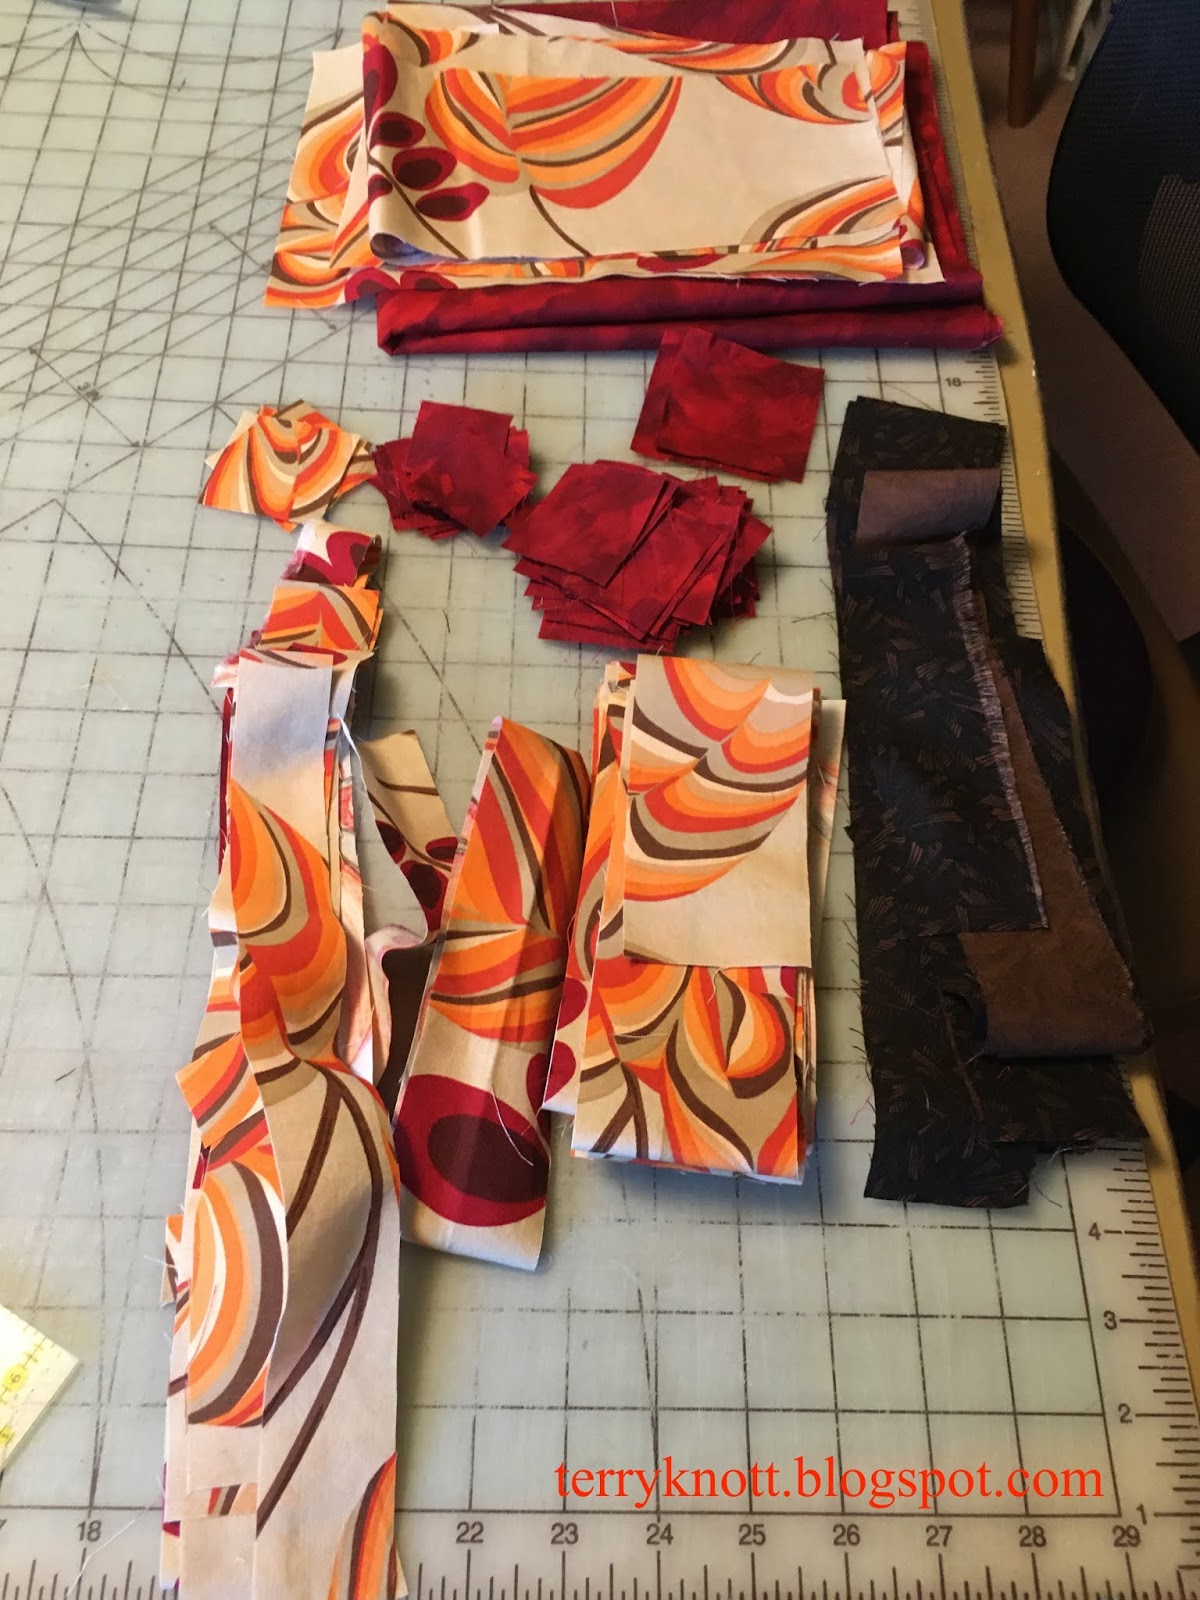 |
| Bits ready to add to the pre-cut section |
 |
| Piecing the batting with Bernie |
The roll of 80/20 cotton/poly batting that I had on hand was almost large enough. I did need to piece it. I do save the leftover bits of batting. I generally put a lot quilting stitches into a project so pieced battings work fine for me. I also use the pieced battings for placemats, bags and other smaller projects. Any smaller bits that can't be pieced, I cut smaller. . .like shreds and use as stuffing. I also use some smaller pieces to dust surfaces and to clean my cutting mat. Rarely, do I throw away batting scraps. The next step was to layer and pin baste it.
To pin baste, I use a modified version of Cindy Needham's technique that I learned through a Craftsy (now Bluprint) class. I have used various brands of temporary spray adhesives to baste quilts. That process worked. I didn't like the smell and I didn't like having to be careful about over spray. (I managed to spray my floor which wasn't as easy to wash off as I had envisioned!) I decided that the cost wasn't worth the convenience. I did wonder if removing the spray from the finished product was as challenging as getting it off of my floor was. Although, I haven't noticed any issues with the quilts that I did spray baste. It has been years since I spray basted. In the end, I decided pin basting was my best option.
 |
| Pinned and ready to quilt! |
My knees no longer can hold up to long periods of time on the floor so I baste my projects on the kitchen table. It took me about three hours to pin baste this quilt. I used all my pins which was not a surprise!
I worked in sections which equated to about a third of the quilt was on the table at any one time. Had my husband been at home, I would have used his help to pull the table apart and put in the leaves so I could have pinned a larger section at a time. Repositioning the backing and smoothing all the layers takes some effort. The less times this needs to be done the better!
I have about 40 hours in to this project. It will be a week before I can start quilting because my 790 Bernina Joie is working in my neighbor's studio. We purchased our machines at about the same time. Her thread cutter had to be repaired with a part from Bernina which was taking weeks to be shipped. She was worried that the craft items she agreed to embroider would not be ready for a craft fair she committed to vend. I offered to lend her my machine. After she thought about if, she took me up on the offer.
I worked on another project while I waited. Bernie, my twenty year old 1630 worked great to piece the batting and to compete the zig zag stitching I needed to do.
To all of my American readers, Happy Thanksgiving. We will be cooking dinner here for a couple friends and my mom. Yes, I do plan to do some Black Friday shopping as that is a tradition I have done for lots of years!
2 comments:
Happy Thanksgiving to you, too! Your pieced backing process is interesting. With all of that extra work, it's a shame for the back to be hidden at all! As for the pin basting, have you tried using risers under your kitchen table legs to raise the height when you're basting a quilt? It would make it easier on your back. I'm talking about these thingys that they sell for raising college dorm beds high enough that storage bins fit beneath them: https://www.amazon.com/MEETWARM-Risers-Furniture-Stackable-Platform/dp/B07SDCYRM6/ref=asc_df_B07SDCYRM6/?tag=hyprod-20&linkCode=df0&hvadid=344022675838&hvpos=1o3&hvnetw=g&hvrand=9457681946833844513&hvpone=&hvptwo=&hvqmt=&hvdev=c&hvdvcmdl=&hvlocint=&hvlocphy=9060248&hvtargid=pla-781757270365&psc=1&tag=&ref=&adgrpid=72020984114&hvpone=&hvptwo=&hvadid=344022675838&hvpos=1o3&hvnetw=g&hvrand=9457681946833844513&hvqmt=&hvdev=c&hvdvcmdl=&hvlocint=&hvlocphy=9060248&hvtargid=pla-781757270365.
Good grief, that link I copied from Amazon is HUGE! If it doesn't work, just google "bed risers college dorm." Have a great weekend and happy quilting!
Hi Rebecca, Yes, I have used bed risers that I bought at Bed Bath and Beyond. . .I just haven't broken them out for this job in a while. Thanks for your comment and the time to find the link! As for the pieced back. . . .the recipient could choose to use the back for the front. Once it is gifted, it is theirs to determine how they want to use it! :)
Post a Comment