 |
| The look I wanted to achieve |
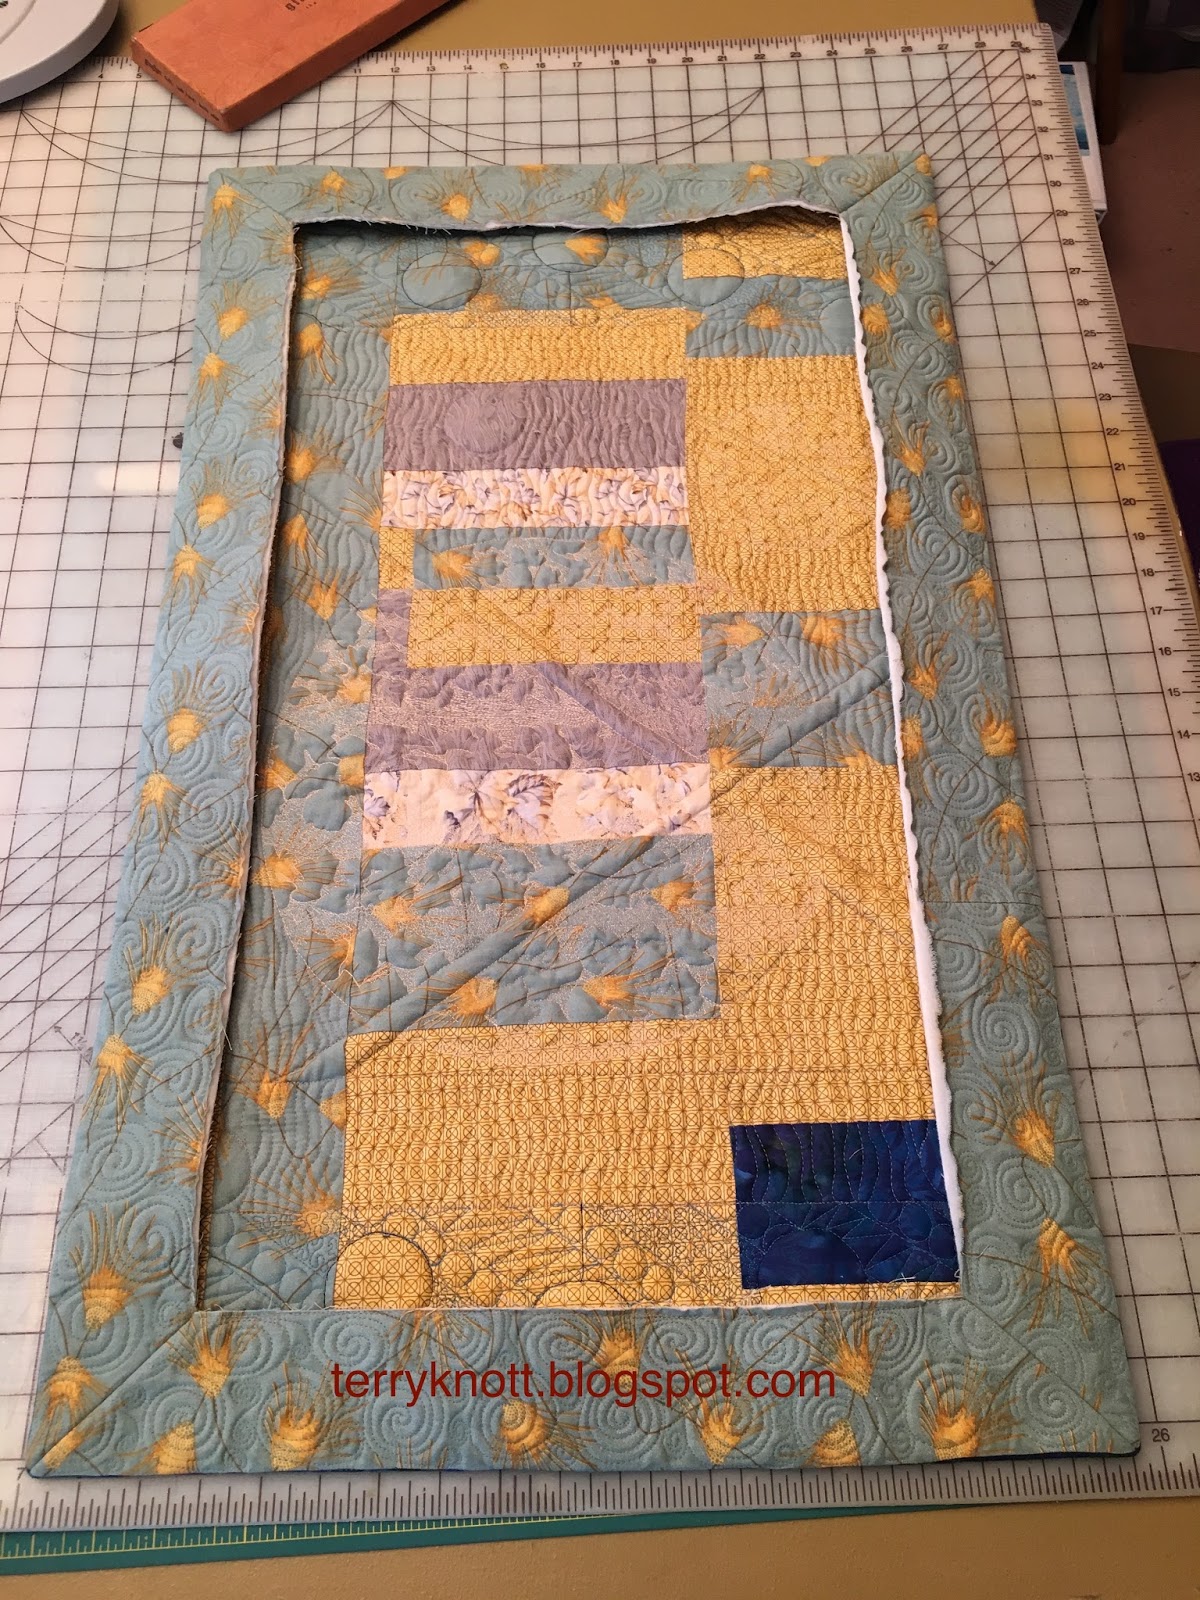
It was time to turn that quilted border to the back of the quilt and turn it into a facing. First, I squared up the quilt. This was the easiest process that I have had. Second, I pressed that border, which now became a facing. I was impressed with how easy it was to press to the back of the quilt.
 |
| This method didn't work |
Third, I experimented with how to miter the corners. In the beginning, I thought that pressing the edges then marking the fold line was the way to proceed. It wasn't the best approach. The thickness of the fabric caused the chalk marks to not be accurate enough for the miters. It was however cool to see that the corner could come together!
 |
| Pressed and ready to stitch |
 |
| Ready for the edge finish |
If I had thought more about this finish step, I should have stitched the finish fabric to the raw edge before I had stitched the corners.
If I do this technique again, I will enclose the raw edge first. It was a challenge to stitch this strip without stretching the facing. This strip came from the backing that I trimmed away from the quilt. I started with a 1 1/2 inch strip, I used a 1/4 inch seam and stitched close to the corner.
Then I pressed the seam with the bulk towards the strip. Next I turned the raw edge toward the facing and pinned it in place for hand stitching.
I like how the piecing added to the interest. I was sad that the little piece of blue in the top of the finished strip would be covered with the sleeve. The corners were also a challenge.
 |
| Label |
I like how the piece looks. I love the back and I love the interest the facing adds to the back. It could be a conversation piece of how does the quilting show there; but, not on the front? Although, most likely the only people who will know about it are you and me!
Oh and the pieces left to trim in useable bits using Bonnie Hunter's scrap saving system? Not many remained at all!
 |
| Finished back |
 |
| Leftover bits ready to cut into squares and rectangle |
I used about 2 1/2 yards of fabric in this project. I used four fat quarters from my stash for the front and the back came from my "chunk" drawers that had way too many gold and too many green fabrics to close. Each drawer closes now! I have used 11 1/2 yards from my stash and I have 38 1/2 yards to go to achieve my goal of using 50 yards from my stash this year.
This was goal number four on my second quarter Finish-A-Long list. If you missed the previous posts, you can click the links below to read them.
Circling the Sun post 1
Circling the Sun post 2
My next project will be stitching up four kitchen dish towels. I probably have supplies to make more than four; but, I'll reassess after I stitch the four!
 |
| Finished front |
8 comments:
It turned out really nice! I like the facing technique!
Thanks, Nancy! Maybe this will be my claim to fame. . .although, I don't believe I could be the first to try this idea. Let's wait and see what happens!! I'm itching to try out this technique on my truck project. . .soon when my workload eases a bit!!!
On the back! LOL. That is dedicated attention to detail, Terry. Anyway, I can see that it supports the edge very well. Great finish!
Too funny isn't it?? One of my friends didn't say it; but, from her body language, she thought it was crazy to have that outer border as the fabric didn't support the theme of the piece! It's on the back where it belongs and most viewers will never even see it! Thanks for stopping by, Monica!
Great finish and lovely detailed blog post. Congrats on both!
Thank you for stopping by, Mary. I appreciated your comments!
Wow. That facing technique is impressive. On behalf of the FAL crew, thanks for joining in!
Thanks, Ella! It was so cool to have an idea and then have it work!! Congratulations in emptying one of your project totes! I look forward to have similar success at the end of the 3rd quarter !
Post a Comment