 |
| Two filler stitches used in the backgrounds |
I used silk thread and a small stipple to fill in the background of the leaves in the circles. Sometimes, I'm asked why I would choose to quilt dense sections like this in my piece. The reason is that varying the scale of quilting or providing some shadow provides the eye with more interest.
If I quilted the piece in all sunshine or at the same density as the wavy lines, the piece wouldn't have as much impact. I want the viewer to see my piece across the room and "need" to come closer. My goal is for the viewer to want to be "nose" close!
My pace to quilt this piece was moving along at a great speed which is usual for me. When it was time to quilt the dark border, I drew on it. I stitched on it. I removed the stitches that I had I stitched. I repeated that process many times. I was growing frustrated because this part of the project is small!
 |
| Detail of blue border that had my stymied for awhile and the quilted facing to be |
I used a white pencil to mark the areas. Using a a lighter blue cotton thread, I free motion stitched with a ruler to divide the space. I haven't used a ruler in a while so it was good to scrape the rust off that skill! I liked where the quilting was going. I like to repeat shapes that are in the quilt top in the quilting. In this case, I repeated the circles. These are larger pebbles than I'm used to making. To make these shapes appear consistent, I marked a center line and then divided the remaining space into equal units.
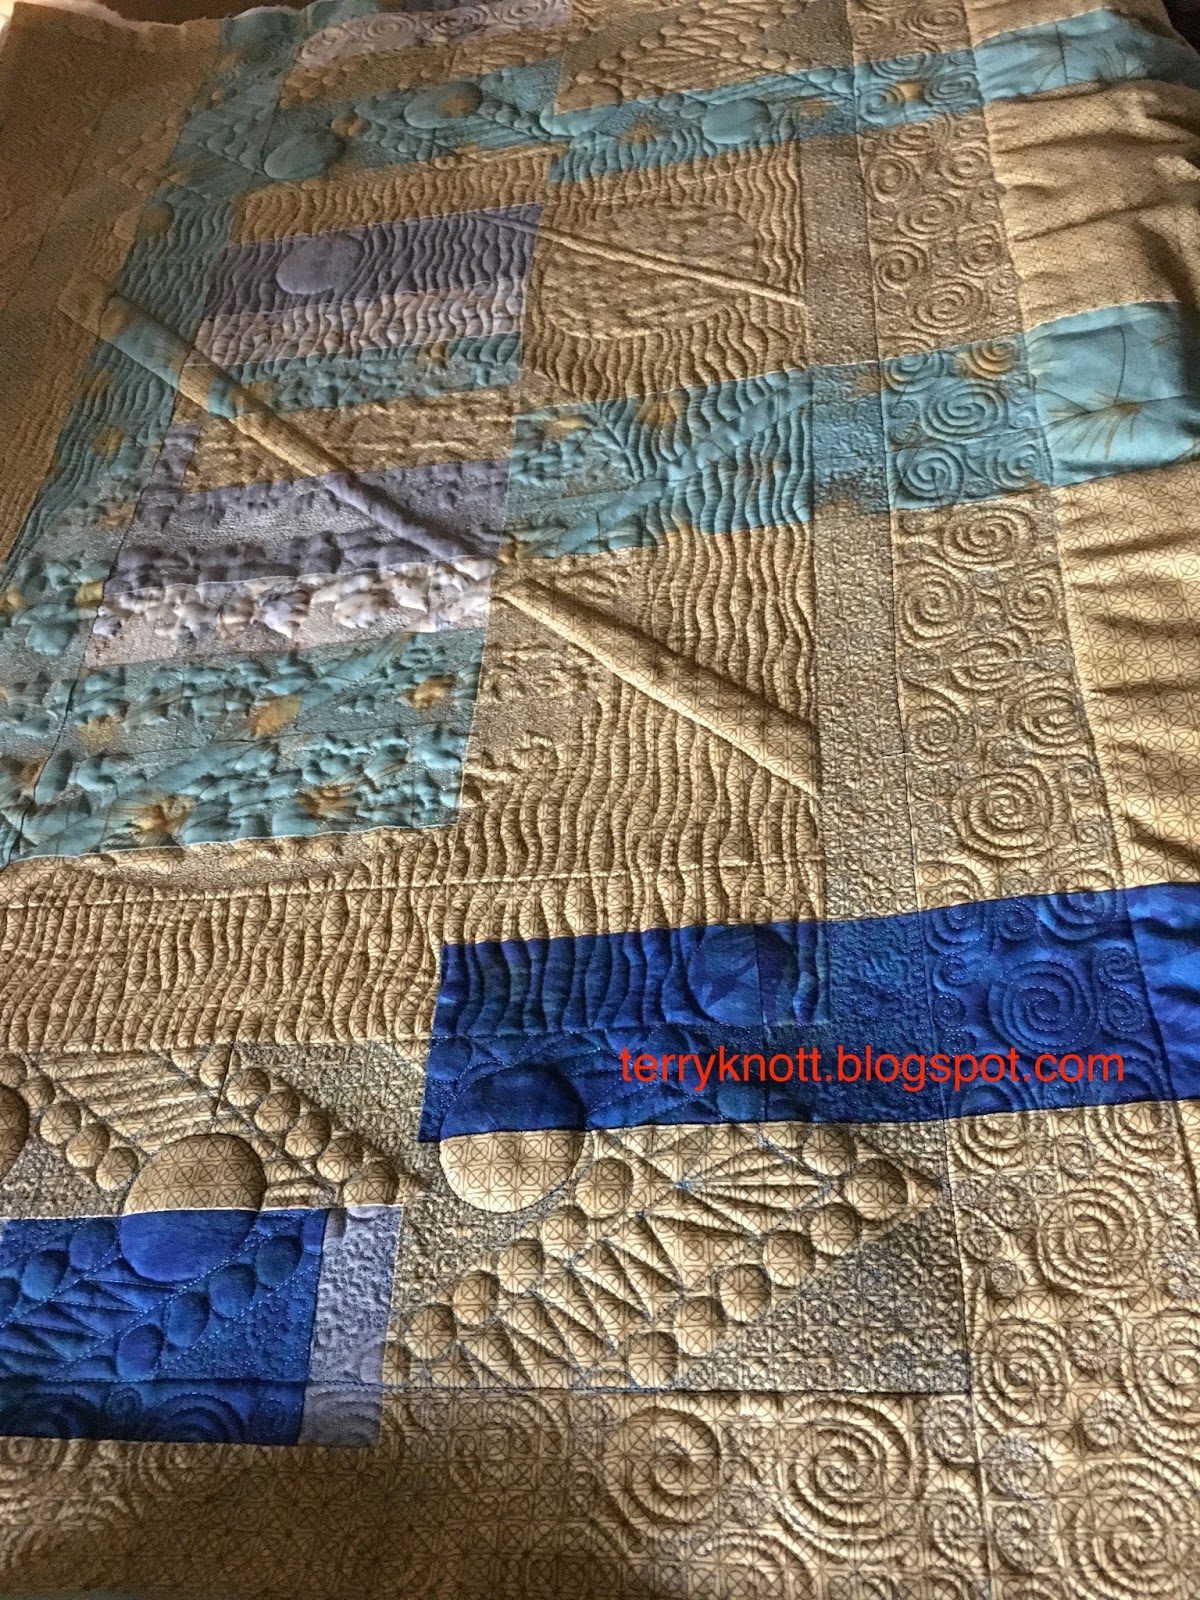 |
| Back of the quilt |
Next, I divided the space adjacent to the smaller circles and quilted that with more lines. These lines reminded me of the flight materials--maps especially, that my dad used when he flew. Now I was in the stuck spot again. I needed to fill that space.
Originally, I planned to leave it open; but, that space was telling me to fill it. I decided that I would repeat the stipple fill; but, use a darker blue cotton thread so that the lighter motifs would stand out more. I liked the result.
From the time that I pieced that outer border which I plan to turn into a facing, I knew that I wanted to quilt swirls in that section with a blue/green cotton thread. This part is only going to
show on the back. I like the variety it will give to the back when I figure out how to achieve that part!
I've included a photo of the quilt back because it is fun to see the quilting textures on the pieced back!
Next up is figuring out how to achieve that quilted facing. I was mindful to pin baste this project well. I was mindful about stitching in the ditch. I was mindful about quilting evenly across the quilt so that I didn't have a lot of easing to do.
 |
| Finished front with quilted facing |
Next up. . .finishing!
4 comments:
Looks like you were able to "divide and conquer". I know someone that might want to purchase your rulers if you aren't going to use them!
Joanne, I just might take you up on that. I think one of the issues for me is that my "table" to my machine is slightly curved and so it is difficult for me to hold the ruler flat as I'm stitching. I'm playing with different configurations of my space to see if I can work in a different machine table.
First, great job! I love that spiral fill on the outer border. Second, I'm not sure what isn't straight. It looks good to me!
Thanks, Monica. It's good to have you back! That spiral fill was fun to quilt. Wait until you see where that border ends up!!! Stay tuned! Somehow, as I quilt, I manage to get the project out of square and I was consistent as this project followed suit!
Post a Comment