 |
| Pieces cut and ready for stitching. |
I had planned to make a smaller bag using this embroidery. The problem was that the daffodil was too tall for the bag so I switched to a different style of bag. I had picked batik fat quarters from my over flowing batik FQ stash for the smaller bag. The new bag pattern used half yard pieces of fabric. My goal is to use from my stash of batik FQs so I did a little revising. Also, my stash doesn't have many half yard pieces of batiks so I became creative with the revamping!
I haven't made many bags and I haven't used many patterns in the last 30 years. While I understand that pattern makers conserve space in their patterns by providing few illustrations and abbreviated descriptions, I am finding that an extra illustration or another line of written text might make the stitching more pleasurable! Writing directions is a skill.
 |
| Outside zipper pocket |
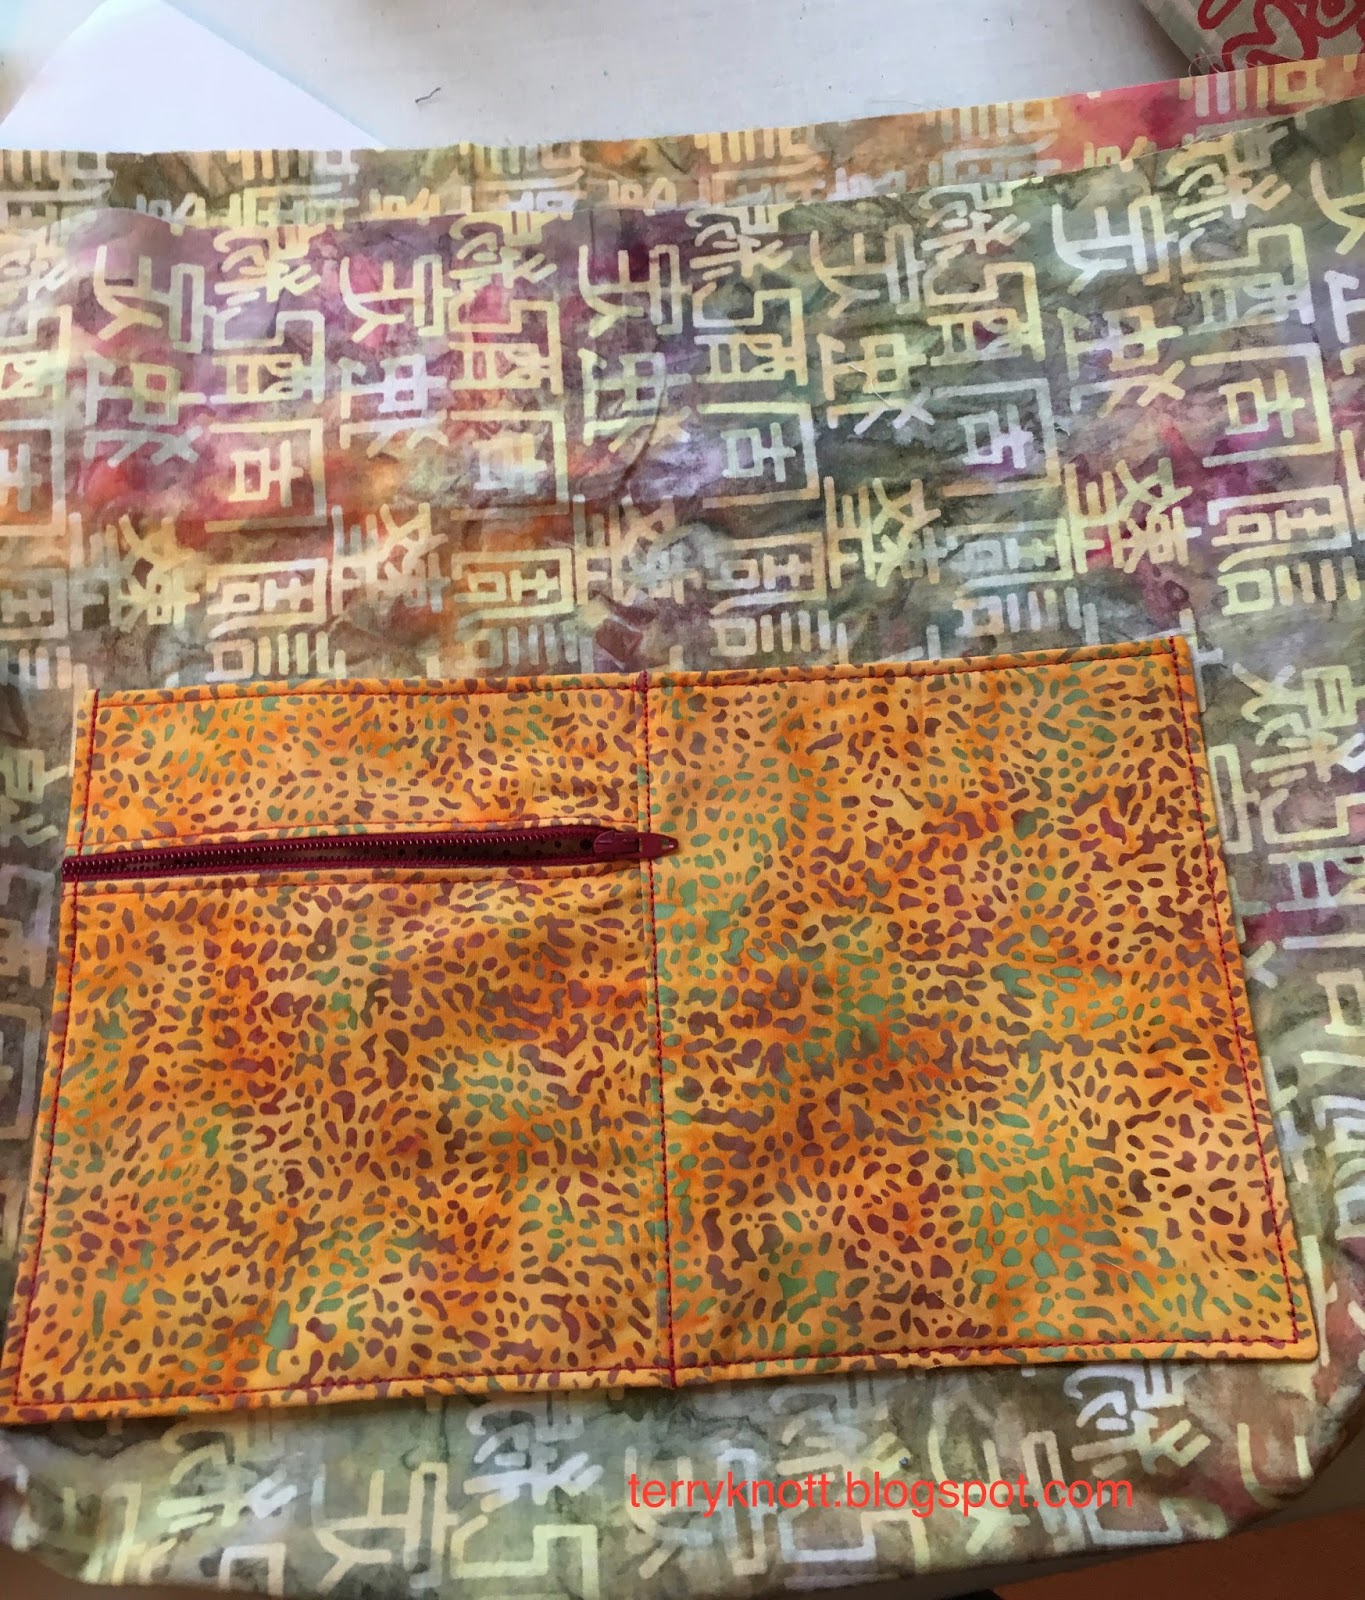 |
| Inside zipper pocket |
 |
| View of the inside pockets |
 |
| Finished bag |
To add the pockets, I stitched on the previous stitching line to secure the pockets to either the bag or the lining. I found that my #10 foot made this an easy task as I used the "rudder" to glide next to the pocket and easily stitched in the previous stitches. I liked the effect of the double top stitching!
Preparing the lining for inserting in to the bag and constructing the bag went well. Soon, I was stitching around the top edge to attach the lining and then I pulled the bag through a hole I had left in the bottom of the lining to expose the right sides of the project. . I top stitched the upper edge and closed the hole in the lining.
I like it! I wish I could keep it; but, it will be either be a Christmas gift or a birthday gift for someone that loves daffodils.
This was goal number 10 on my Finish A Long list and it is finish number 8 this quarter! I used 2 1/4 yards from my stash for a net "loss" of 3 yards! (Only 47 more yards to go to meet my goal for 2018!)
6 comments:
Your bag turned out beautiful! I've used DecorBond in several different bags and haven't had any problem with it getting crinkly or anything. It really does hold up well.
Very nicely done. I have started to keep track of fabric used this year. Especially since I had a bit of a buying spree during January and February. As of now, I’m increasing instead of decreasing, lol. But, if I do anywhere near the quilts I did last year, I’ll end the year with an overall decrease (I hope).
Nancy, good to know about the DecoBond. I am using it again for another tote project and plan to apply it differently to see if the product bonds easier than what I did the first time. Thanks! I was surprised how I could use a gold/red and a lighter green range of fabrics and it worked!!
Luann, I started putting fabric aside for particular projects and found that I quickly outgrew the storage space. I realized that one day wasn't the best way to plan. Now, I'm going to take those sewing projects and slip them in between quilting projects. Any sort of decrease is terrific! I wish you well on the completion of your projects!
What a wonderful way to feature your beautiful embroidered panel! I prefer fusible fleece for bags but Decor Bond has worked well for me in the past too.
On behalf of the global hosts of the Finish A Long, thank you for participating!
Thanks for stopping by and for your support of the Finish A Long. I loved your round robin quilt. . .especially the scrappy binding bits you used. What a wonderful quilt!
Post a Comment