 |
| Evidence that a batik bled |
This was the first time that I purchased a kit. I liked the variety in the fabrics and the $20 each month I spent was less than I would have spent had I bought the individual fabrics on my own. Had I purchased yardage, I would have tested it. A fabric that bled would have been treated and retested. If it bled after a second treatment, I would have tossed it. In retrospect, I should have tested and treated each fabric. I should have substituted a fabric that I had rather than trying to stay true to the fabrics I was given in the kit.
 |
| The bleed after Tsukeno ink applications |
Even though I had rinsed the blocks after I had appliquéd them, I still had a few spots where the dye ran. Ugly!!! I tried a synthropol treatment; but it didn't help and I tried Dawn. . .it helped a little.
I've been asked why I didn't use Retayne instead of Synthropol. You can get a little information here.
I felt that the Synthropol would remove the dye particles that were affixing themselves to areas that I didn't want. The Retayne would affix the dye to the quilt which was a process that I didn't want!
 |
| The bleed after the acrylic paint applications |
I've been trying to figure out why the colors ran this time when they didn't run before. I think, that over time, our water has changed. I know that there is more chlorine in it now than there was a decade ago. I forgot all about that change. I should have used filtered water. Maybe I can remember that for the next time I wash or get a quilt wet!
After the Dawn detergent trial, my next idea was to paint over the areas. Hey, paint covers lots of issues. I used Tsukneko white all purpose ink to cover that fabric bleed. Three coats helped; but, the fabric bleed was too evident for me.
 |
| Sample of where a black fabric bled |
In the other areas where the fabrics bled, I tried the same applications. Unfortunately, I didn't have as much success. On line, I purchased several rubber stamps of chicken or bird tracks and considered inking images on the front of the quilt to "cover" the problems. My thought that a few chicken tracks could camouflage that ink bleed.
 |
| Chicken tracks stamped on practice sample |
I used an archival ink pad. My first test was on my practice/test sample. I was surprised that the ink bled into the cotton fabric as much as it did. The edges just weren't clear on the stamped image. Next, I wondered what it would look like if I stamped a bunch of images in an area. I decided it looked liked a mess.
 |
| Chicken sample--to much bleeding |
 |
| Stamping a bunch of images in an area sample |
Unfortunately, the stamping test on the back of the quilt netted the same results as it did stamping on my practice sample.
I stepped a foot back from the quilt and looked. Yes, I can see that the fabric bled because I know it is there; but, I also think that there is enough quilting, pattern and fabrics to take your eye other places in the quilt. I decided. . . .the chicken wall hanging was good enough as is. So I didn't add any chicken tracks, although it was a great idea!
 |
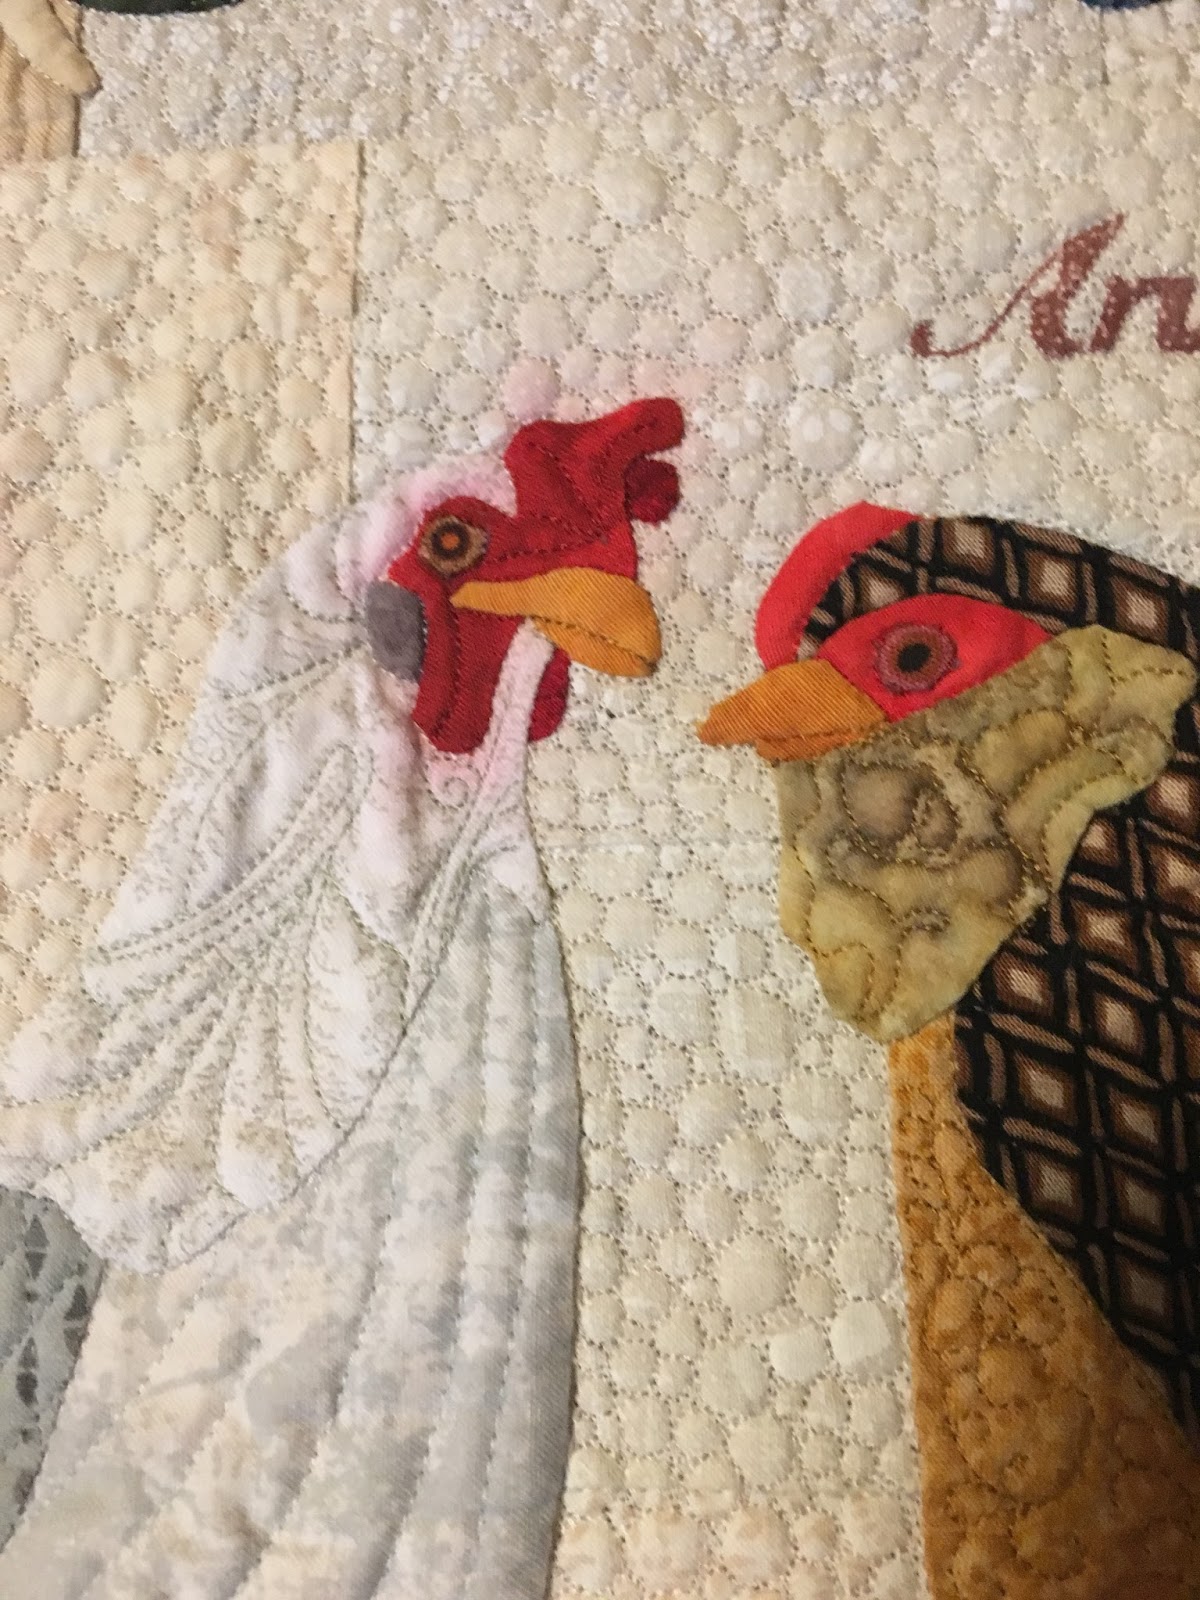
| The bleed is just above the feather with the bottom black square |
6 comments:
I'm sorry about the fabric bleeding! Thanks for sharing all of your ideas for fixing the problem. Very interesting and creative ideas! I think you're right about water chemistry and bleeding. I rarely have trouble with bleeding on my quilts, but a friend of mine has terrible trouble, especially with fuchsias. I think water chemistry is the difference. Look forward to your "I'm finished" post!!
Who knew you would end up being half chemist and half quilter to complete your beautiful chickens! Thank you for giving us so many ideas for correcting bleeding problems. ~Gail G
Oh my goodness -- you've had every challenge possible with this project! But halfway on the hanging sleeve is very good news indeed. :D
Nancy, At the price of fabric, manufacturers should produce fabrics that don't bleed, don't have flaws and are printed on grain!!!! I too am looking forward to posting my "finish!"
Gail, it was an investigative experience. . .maybe I was more like Sherlock Holmes??? :) I'd say. . .try it all. . .what have you got to lose??? I'm glad you think they are beautiful. I might think that in a few months. . . !! :)
Monica, Yes, I have had a challenge each step of the process with this project. . .that hanging sleeve is sure close to being finished!!!
Post a Comment