 |
| Close up of fabrics and free motion quilting/appliqué |
I had taken a class in 2015 from Larkin VanHorn where she taught a fusible applique technique. I loved her approach to using anything and everything in her work! For the class, I purchased a piece of a glittery knit formal wear fabric which I backed with a fusible interfacing. I had been in a long creative slump and thought perhaps using the color yellow would brighten my prospects. I pulled yellow batik fabrics from my stash to take to class. I created a background with some leftover wonky log cabin blocks I had made for another project. The log cabin blocks used brown, green, grey and black fabrics. I went to class ready to create.
 |
| Close up view of beads in the "gold" lines |
Larkin's approach was to add a two sided fusible stabilizer to the fabrics. She would cut various shapes/chunks of these fabrics and adhere each to the batting. She was disappointed that I wasn't trying her background method when she saw my "prepared" background. I do try to follow the teacher's instructions. To that end, I made a second project in her class using her background method which you can read about here. Larkin also free hand cuts shapes to fuse to the background and she embellishes her work with beading. I would have loved to have taken a class from her on beading techniques!
 |
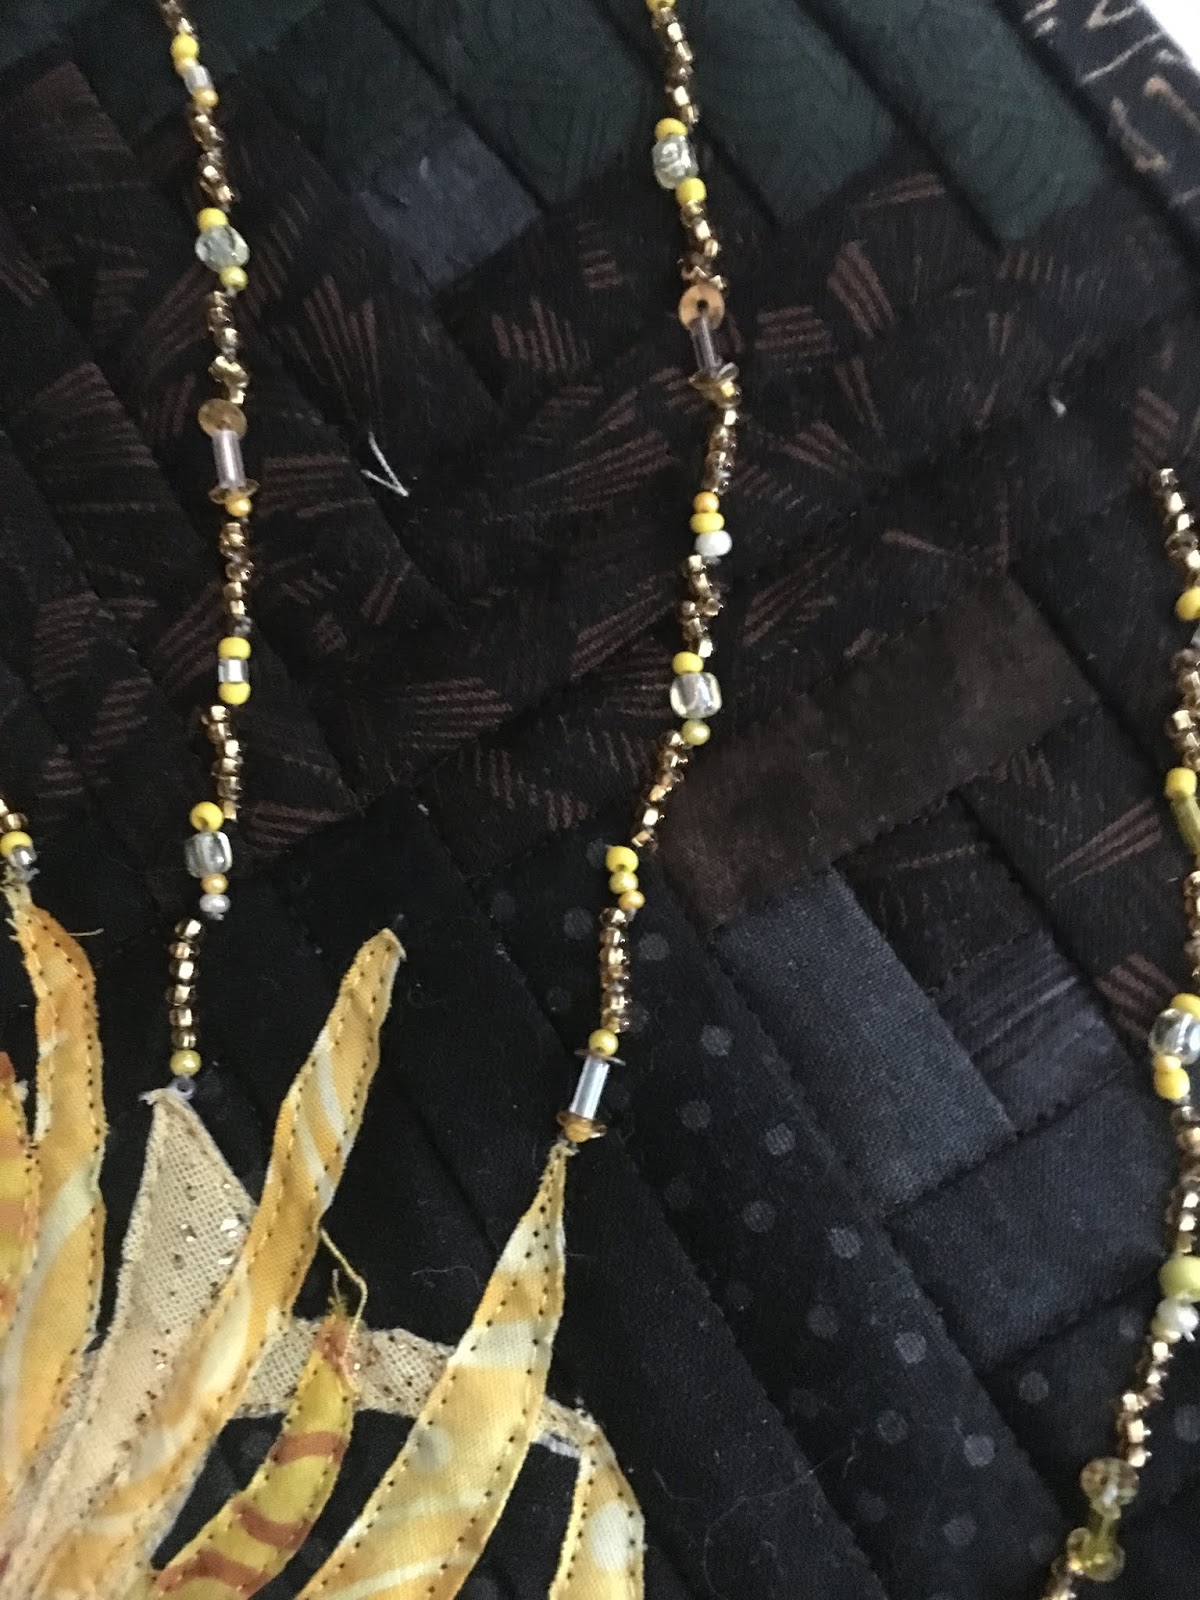
| Beaded lines |
 |
| View of finished back |
I thought about a segment on the TV show, Gold Rush, where the cleaning of the mats are shown. The gold bits end up in a sort of line and show so well against the green background. I beaded that line using the tip of a petal as a point where the small stuff ends and the bigger chunks collect. I used some beads, a few bugle beads and a variety of seed beads to achieve the texture in those lines.
 |
| Close-up view of the label |
At that moment, I started thinking that perhaps, I needed to add borders to the outer edge of the piece because maybe the design was too large for the background. I put the project on the design wall and stared at it for a day. The more I looked at it, the more I liked it as it was.
In the beginning, I planned to add a facing as the finish. Then I had a thought about a binding embellished with "dust" and perhaps some larger chunks falling off the edge of the piece. After seeing the spinning effect, I decided a plain black "traditional" binding would compliment the design the best.
When I pulled my black scraps to cut the binding, I found a brown/black print with gold lines. I decided the plain black binding would be too flat and when hung in a show, the piece would be lost against the dark drapes most shows use. I went with the printed binding.
I purposely ended the beading about half an inch from the edge of the work so that I would have a little wiggle room when I squared the piece. I also would have room to stitch the edge finish without running into the bead. I also though that I could extend the beads to the edge of the binding if I thought that would add to the interest of the piece. In the end, I liked how the "Whorl" floated.
 |
| View of finished front |
When I asked Larkin if she had creative slumps and if she did, what did she do to keep making progress, she said to always play. She said to try a different technique or work in a different medium for a bit. She said to be gentle with your creative spirit and to always have fun. As I look back on the class and this finish, I realize that I have been following her sage advice!
"Stuck" times happen less often and are also don't last as long. I am having fun creating. It is such a wonderful feeling to finish another project that has been hanging in the studio. I used about a yard and a quarter for this project. I have now used 65 yards of fabric from stash this year. This was goal number eight on my 3rd quarter FAL list. It is my eighth finish for the quarter!
4 comments:
Hi Terry, This is delightful work. The beading adds a great deal of loveliness. I like the printed binding too.
Terry,
Your guild would make a bundle if they auctioned this one,,,,,
It’s gorgeous. You’ve inspired me as I have a piece that needs to have movement ‘over the water falls’,,,, oh, the fun of looking for the rabbit holes in life ! !
BJ, The beading was so much fun! I must incorporate some in a future piece soon! The printed binding was a happy accident! Sometimes, the stars do "align!" Thanks for stopping by and for your comment!
Luann, You are MUCH too kind! As you know, I have made almost fifty little somethings for the boutique. I'm going to enjoy this finished project for a while. I waited so long to work on this piece. . .which was silly. . .I mean REALLY??!!! Then again, perhaps, I wouldn't have thought of the beads in that manner. . .Truly, I'm happy to be enjoying it FINSIHED!
Post a Comment