 |
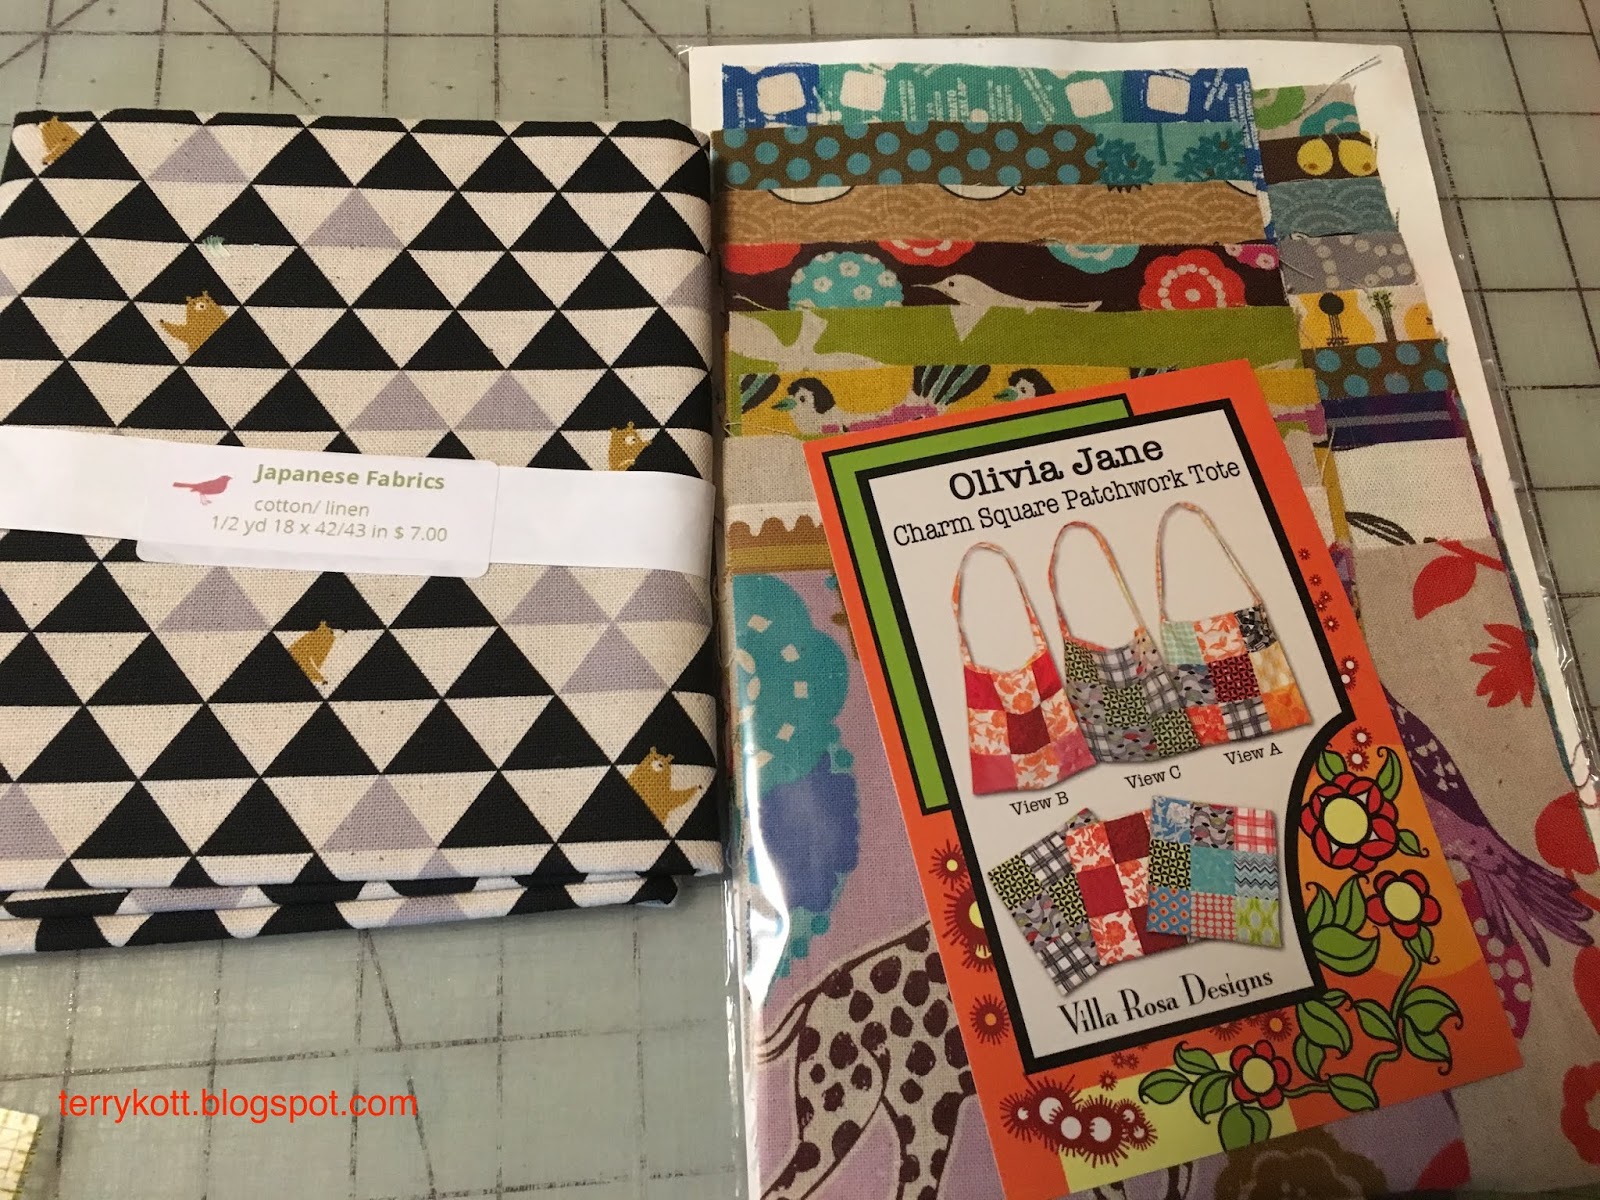
| Fabrics and pattern for the project |
 |
| Lining with pockets |
I laid out the five inch squares in a pleasing three squares wide by six squares long pattern. I paid attention at the half way point to place the blocks upside down so they would appear right side up in the bag. Following the directions, I stitched the sides of the outer bag together.
 |
| Lining, outer bag, handle, zipper tab top constructed |
This was incorrect. I should have added the interfacing; but, nowhere in the directions was interfacing mentioned! Later, I looked online to see if there was a correction to the pattern; but, there wasn't. I ripped what I had stitched and added the interfacing. I did quilt the interfacing to the outer bag. I used a sew in interfacing so stitching it was a good way to ensure the stabilizer stayed where it was intended! Then I restitched the sides of the piecework.
I moved on to constructing the lining. The directions were to stitch the lining as I did the outer bag. I thought the bag would be more useable if there were
pockets so I added some that were segmented to one side of the lining. I did bind the edge of the pocket in a contrasting fabric so it was easy to distinguish the pocket. The middle segment was large enough for my cell phone.
 |
| Top of bag |
The pattern didn't call for boxing the corners; but, I did it because it is easier to find items in the bag
when there are square corners. The bag stands up better too. I liked the fabric that was in the kit for the handle. I pinned the layers together, added the handle and the zipper top. The zipper top wasn't part of the pattern either; but, I like to be able to close the top of my bag.
 |
| Finished bag |
I added a tab to one end of the zipper and a different style of pull to the top of the zipper. Then I basted those sections together. I machine stitched the binding and finished it with hand stitching.
I liked the end result. I hope someone will purchase it at the boutique and raise a little money for the guild during the quilt show in September. This was goal number 17 on my 3rd Quarter FAL list. This project represents about a yard and a quarter of fabric that is no longer in my stash! I have now used 62 and one quarter yards of fabric from my stash this year. This was my sixth finish for the third quarter.
2 comments:
Such a pretty bag! You could make your own bag patterns by now, I'm sure. :D
I have to agree with BJ, you could probably make patterns for bags. I’m sure someone will be very glad to purchase it.
Post a Comment