 |
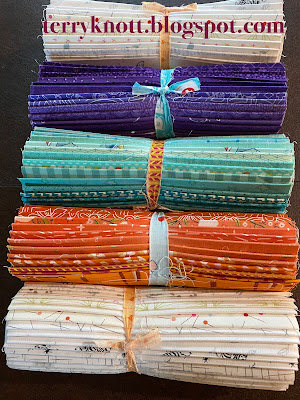
| Cotton Rolls |
The day after Thanksgiving, Bonnie Hunter released clue number one of her
Chilhowie mystery. In October, Bonnie released the "introduction" to the mystery which listed the fabric colors and yardage amounts. I ordered some cotton rolls from
Cotton to Cotton Quilts. I knew that while I had a little of some of the colors, I didn't have enough of any one of the colors. I knew that I wasn't recovered enough from my accident to drive to various quilt stores looking for fabrics. For sure, I knew that I wouldn't be able to stand in line while my fabrics were cut.
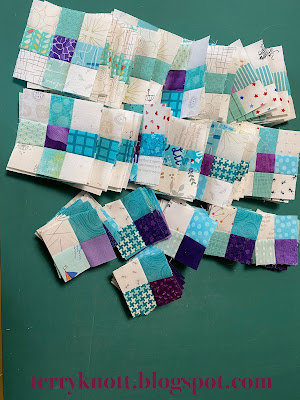 |
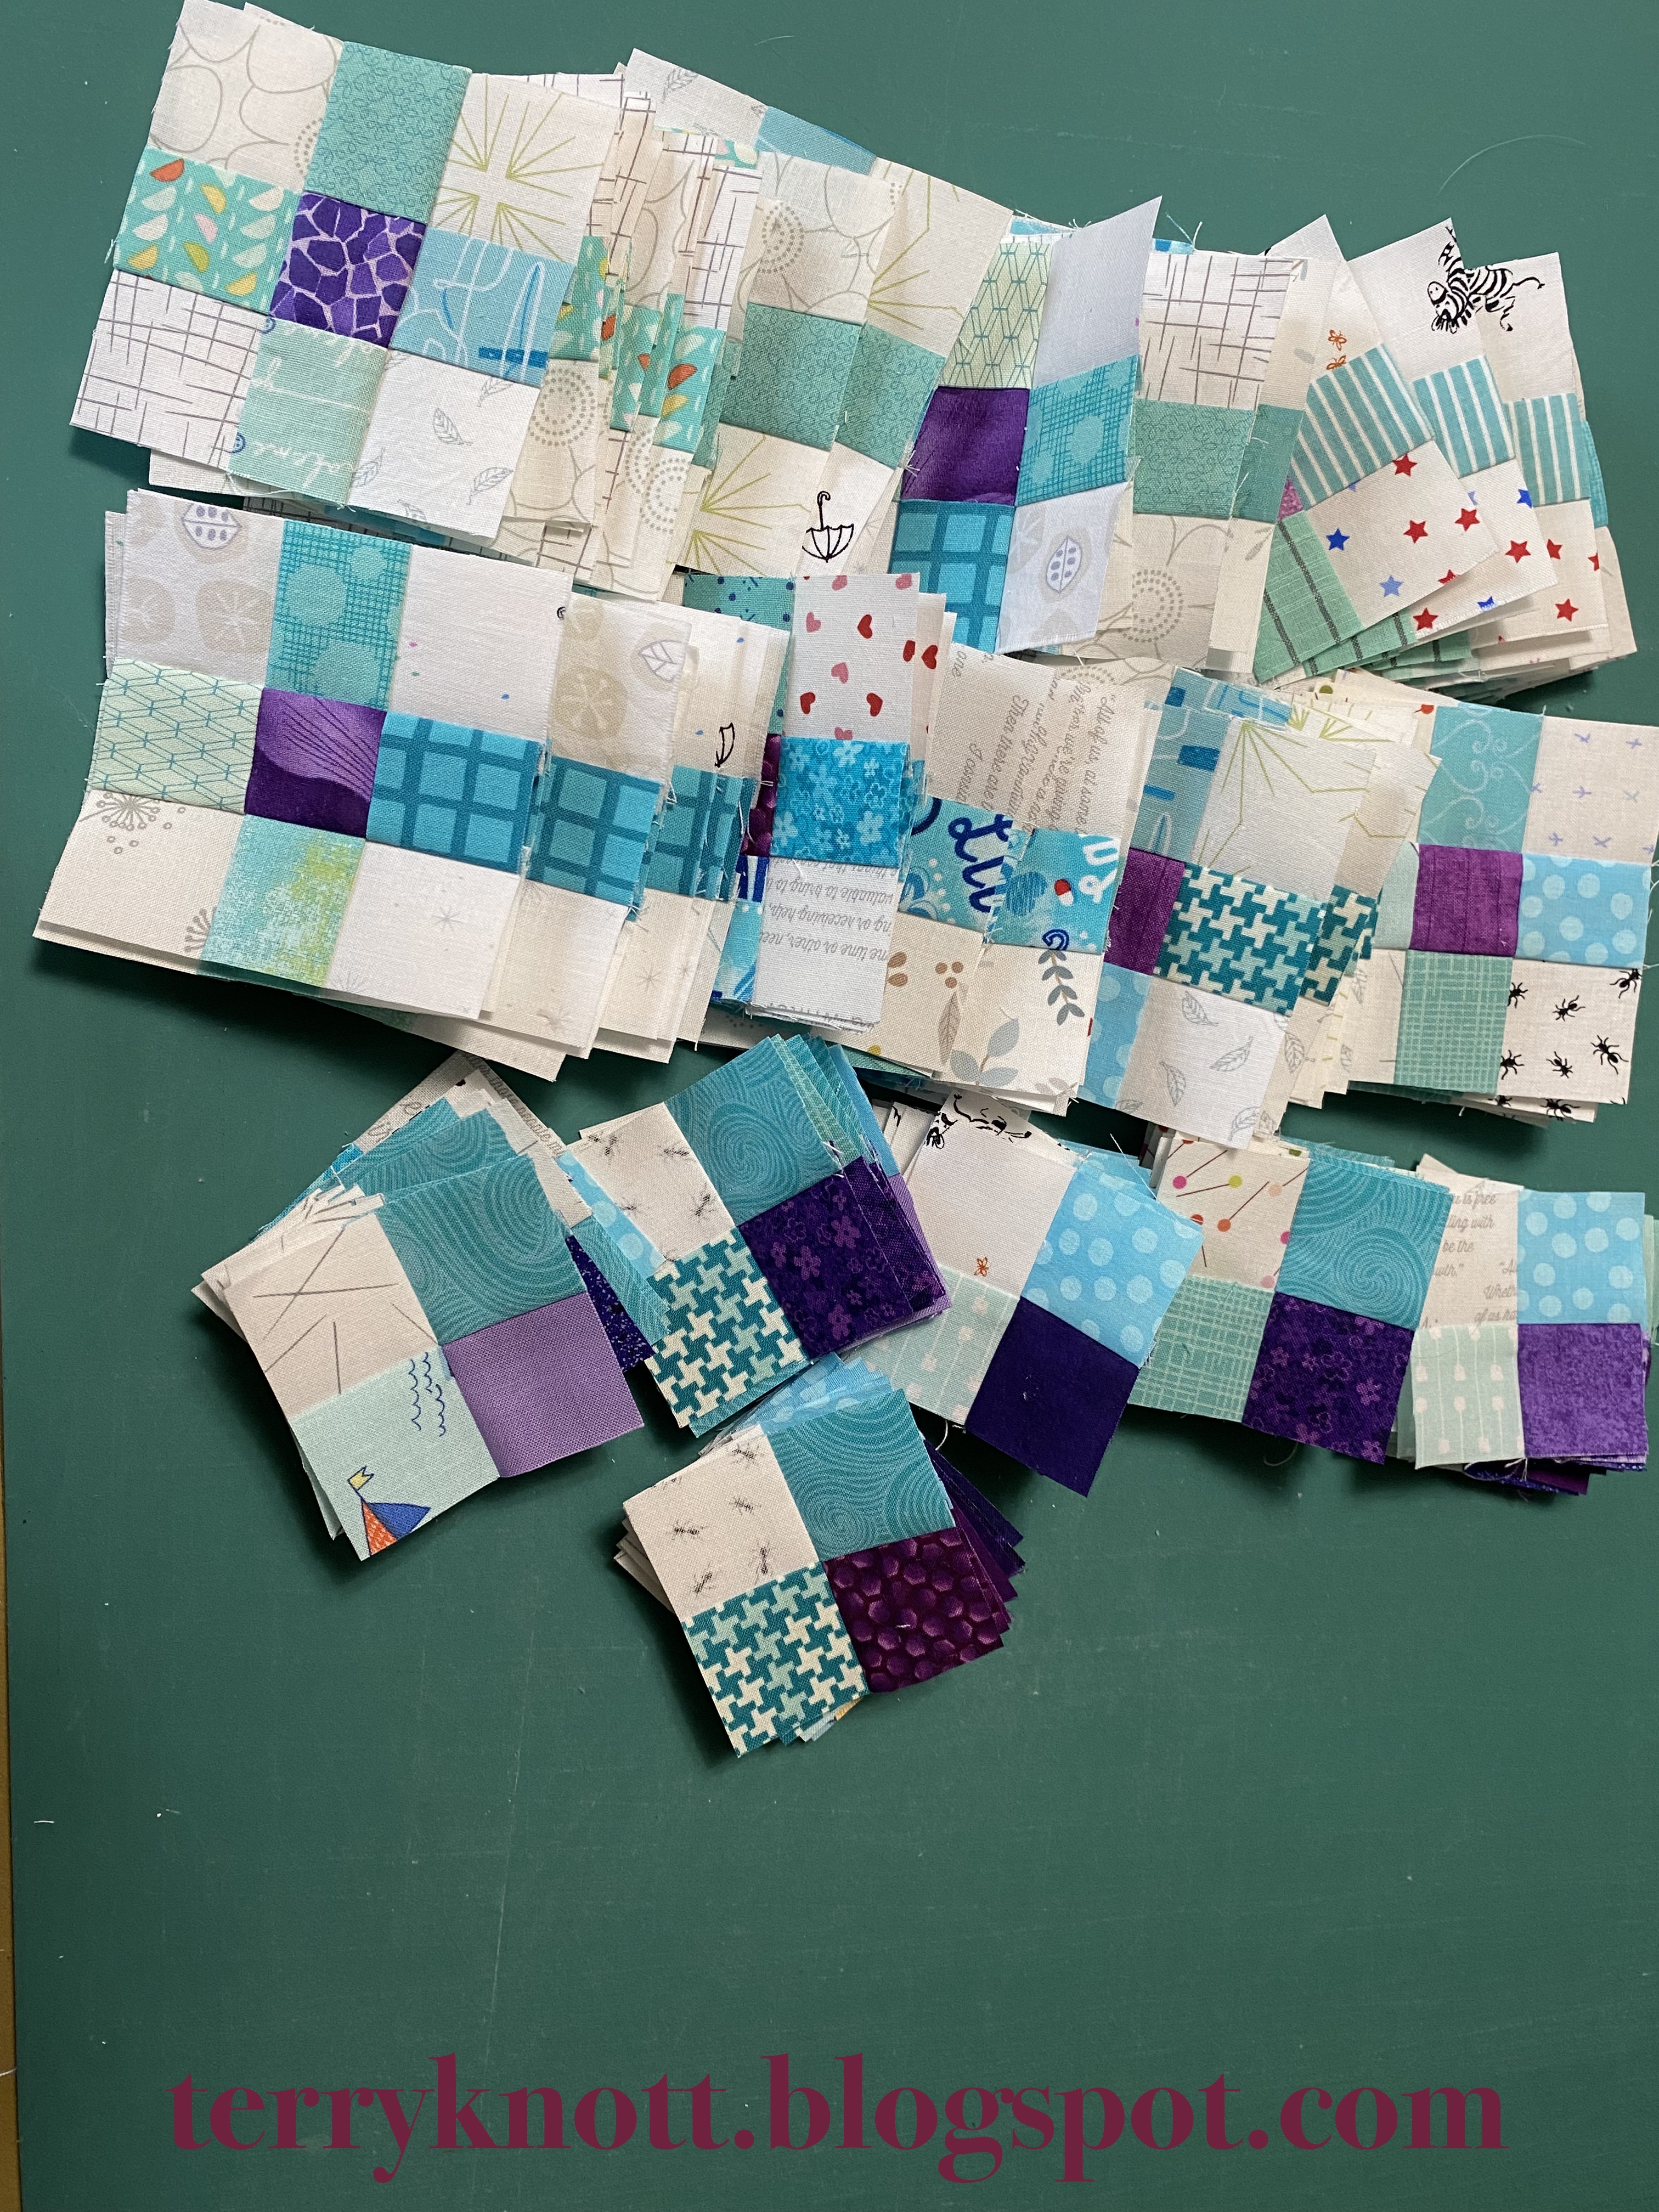
| Nine Patches and four patches |
My order arrived about a week before Bonnie released the first clue. I prewashed the fabric, dried it in the dryer and then starched it. My liquid starch ratio is one part starch to two parts water. I spray the liquid starch on the fabric until it is saturated. I let the fabric dry. I use the shower floor for the process because it is easy to wash away the excess starch after I've finished the process!
I iron each fabric and if the fabric has wrinkles, I will use spray the surface with spray sizing. I use the brand Niagara because it is available at the grocery store. Yes, it is a lot of prep. The prep is worth the time. The fabric is crisp which makes stitching accurate seam allowances better for me!
 |
| More half square triangle usage |
Our Mystery Mavens group is meeting the first Monday of the month. Last November, we began meeting in person. It was so nice to see people in person and to be able to catch up with each other. Our group has grown. There are now 29 of us. When we formed our group in 2019, there were 15 of us! Our focus is to support one another while we sew Bonnie's mystery quilt and/or her other patterns.
I did raid my "precuts" of strips and squares for clue number one. I had almost enough of the purple and about a quarter of of the aqua fabrics. I also pulled a few more oranges and more neutrals from my stash. I added about two and half more yards of fabric from my stash. Primarily using backgrounds with a small print is a first for me. I like the interest those backgrounds provide and will likely purchase more to build into my stash.
 |
| Quarter square triangles in process |
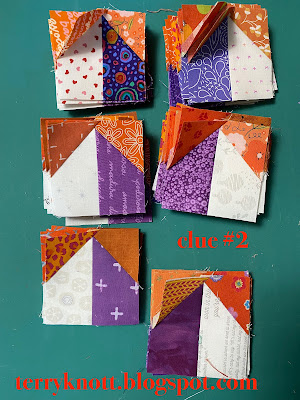
I finished clue number one. . .four patches and nine patches. I also finished clue number two. . .strips with a HST sewn at the end. I will admit that my brain fog had me missing part of the directions in this step. After a chuckle with myself when I thought that there was an error in the photos, I figured out that I needed to sew two sections together! Thank goodness I'm working on this project with a group because I could view their progress and compare it to mine!
Clues one and two, I completed on time. Then I came down with the flu and nothing happened on this project for a month.
 |
| Sets of half square triangles |
Clue three was making a bunch of sets of quarter square triangles or hour glass units. I employed the technique of cutting a few strips of fabric and then sewing the pieces together. After every fabric change, I'd press my pieces. The constant movement and change of tasks wore well on my body.
The crisp fabrics pieced well. After trimming the hour glass blocks, I was happy with the sharpness of the points. It took some time to stitch these!
I was piecing clue number three when Bonnie revealed the last clue. Normally, I would have allowed myself a bit of pity party because I was so far behind. This time, however, I didn't feel that way! I continued on with my
 |
| Combing units into a block |
process. I did like the layout and looked forward to finishing the project.
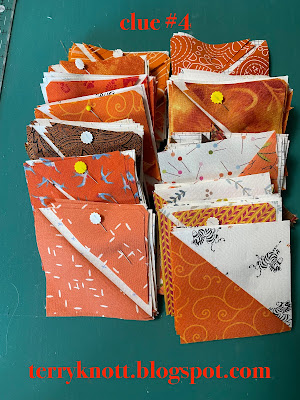
Clue four was to sew sets of half square triangles and to cut additional triangles for use later in the project. I did need to raid my orange chunks because I was concerned that I wouldn't have enough of the orange that I purchased.
After making so many hour glass units, this step was a welcomed change! As we Bonnie releases the clues, it is fun to try to guess how we will use the units. She outwits me every time!
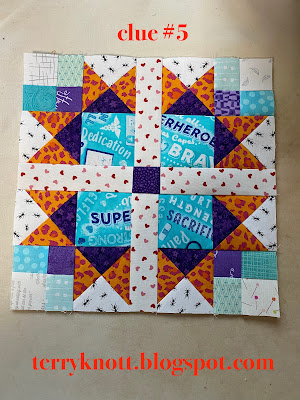
Clue five involved some cutting. We pieced some of the units from previous steps together. I loved that she had us stitch some parts together. Combining units and making more guesses about how these units might be used is fun.
I stitched the first unit together and loved it! Although the first three blocks I stitched were a little large. By the
 |
| Block variety |
time I had stitched the remaining blocks, I had managed to meet the written block size. Using a larger print for the center squares added interest to the block.
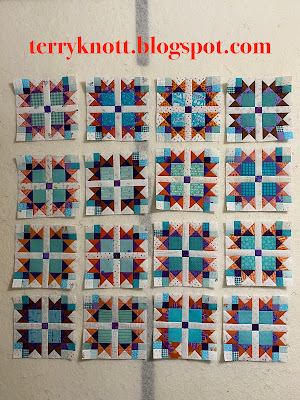
Usually, I stack the blocks as I finish them. This time, I put them on the design wall. My thought was that whatever happened in the next steps, I would have a layout started. I often spend many hours placing the blocks into a layout and I hoped that starting the process early would eliminate some of that angst! The beauty of laying the blocks out and taking a photo was that I noticed a piecing error!
After fixing the error, I started clue number six. To ensure I had a good mix of the units, I laid them out on the design wall along with a fabric that I would cut into squares. For the most part, I left the blocks from step five in the order that I had them on the wall.
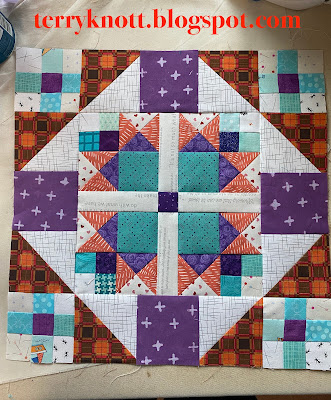 |
| Adding more units to the central block |
The intersection of the orange and white half square triangles (HSTs) was tricky to match. I did a lot of ripping to achieve a good looking connection. In the end, I found that if I were more consistent with my quarter inch seam and if I basted across the intersection to check alignment, I had better and faster results.
I sure like the secondary pattern that the blocks made. It took a few sessions of careful stitching to finish this step. I actually finished it a week after Bonnie revealed the last clue and her finished quilt.
I'm feeling good that I'm not that far behind since I didn't sew for three weeks when I was the sickest with my flu/coughing illness. It has been a month since I first came down with the bug. Goodness, it's been a haul back to health!
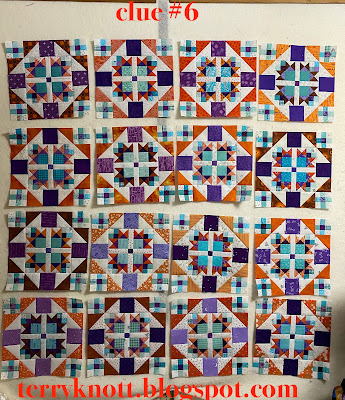 |
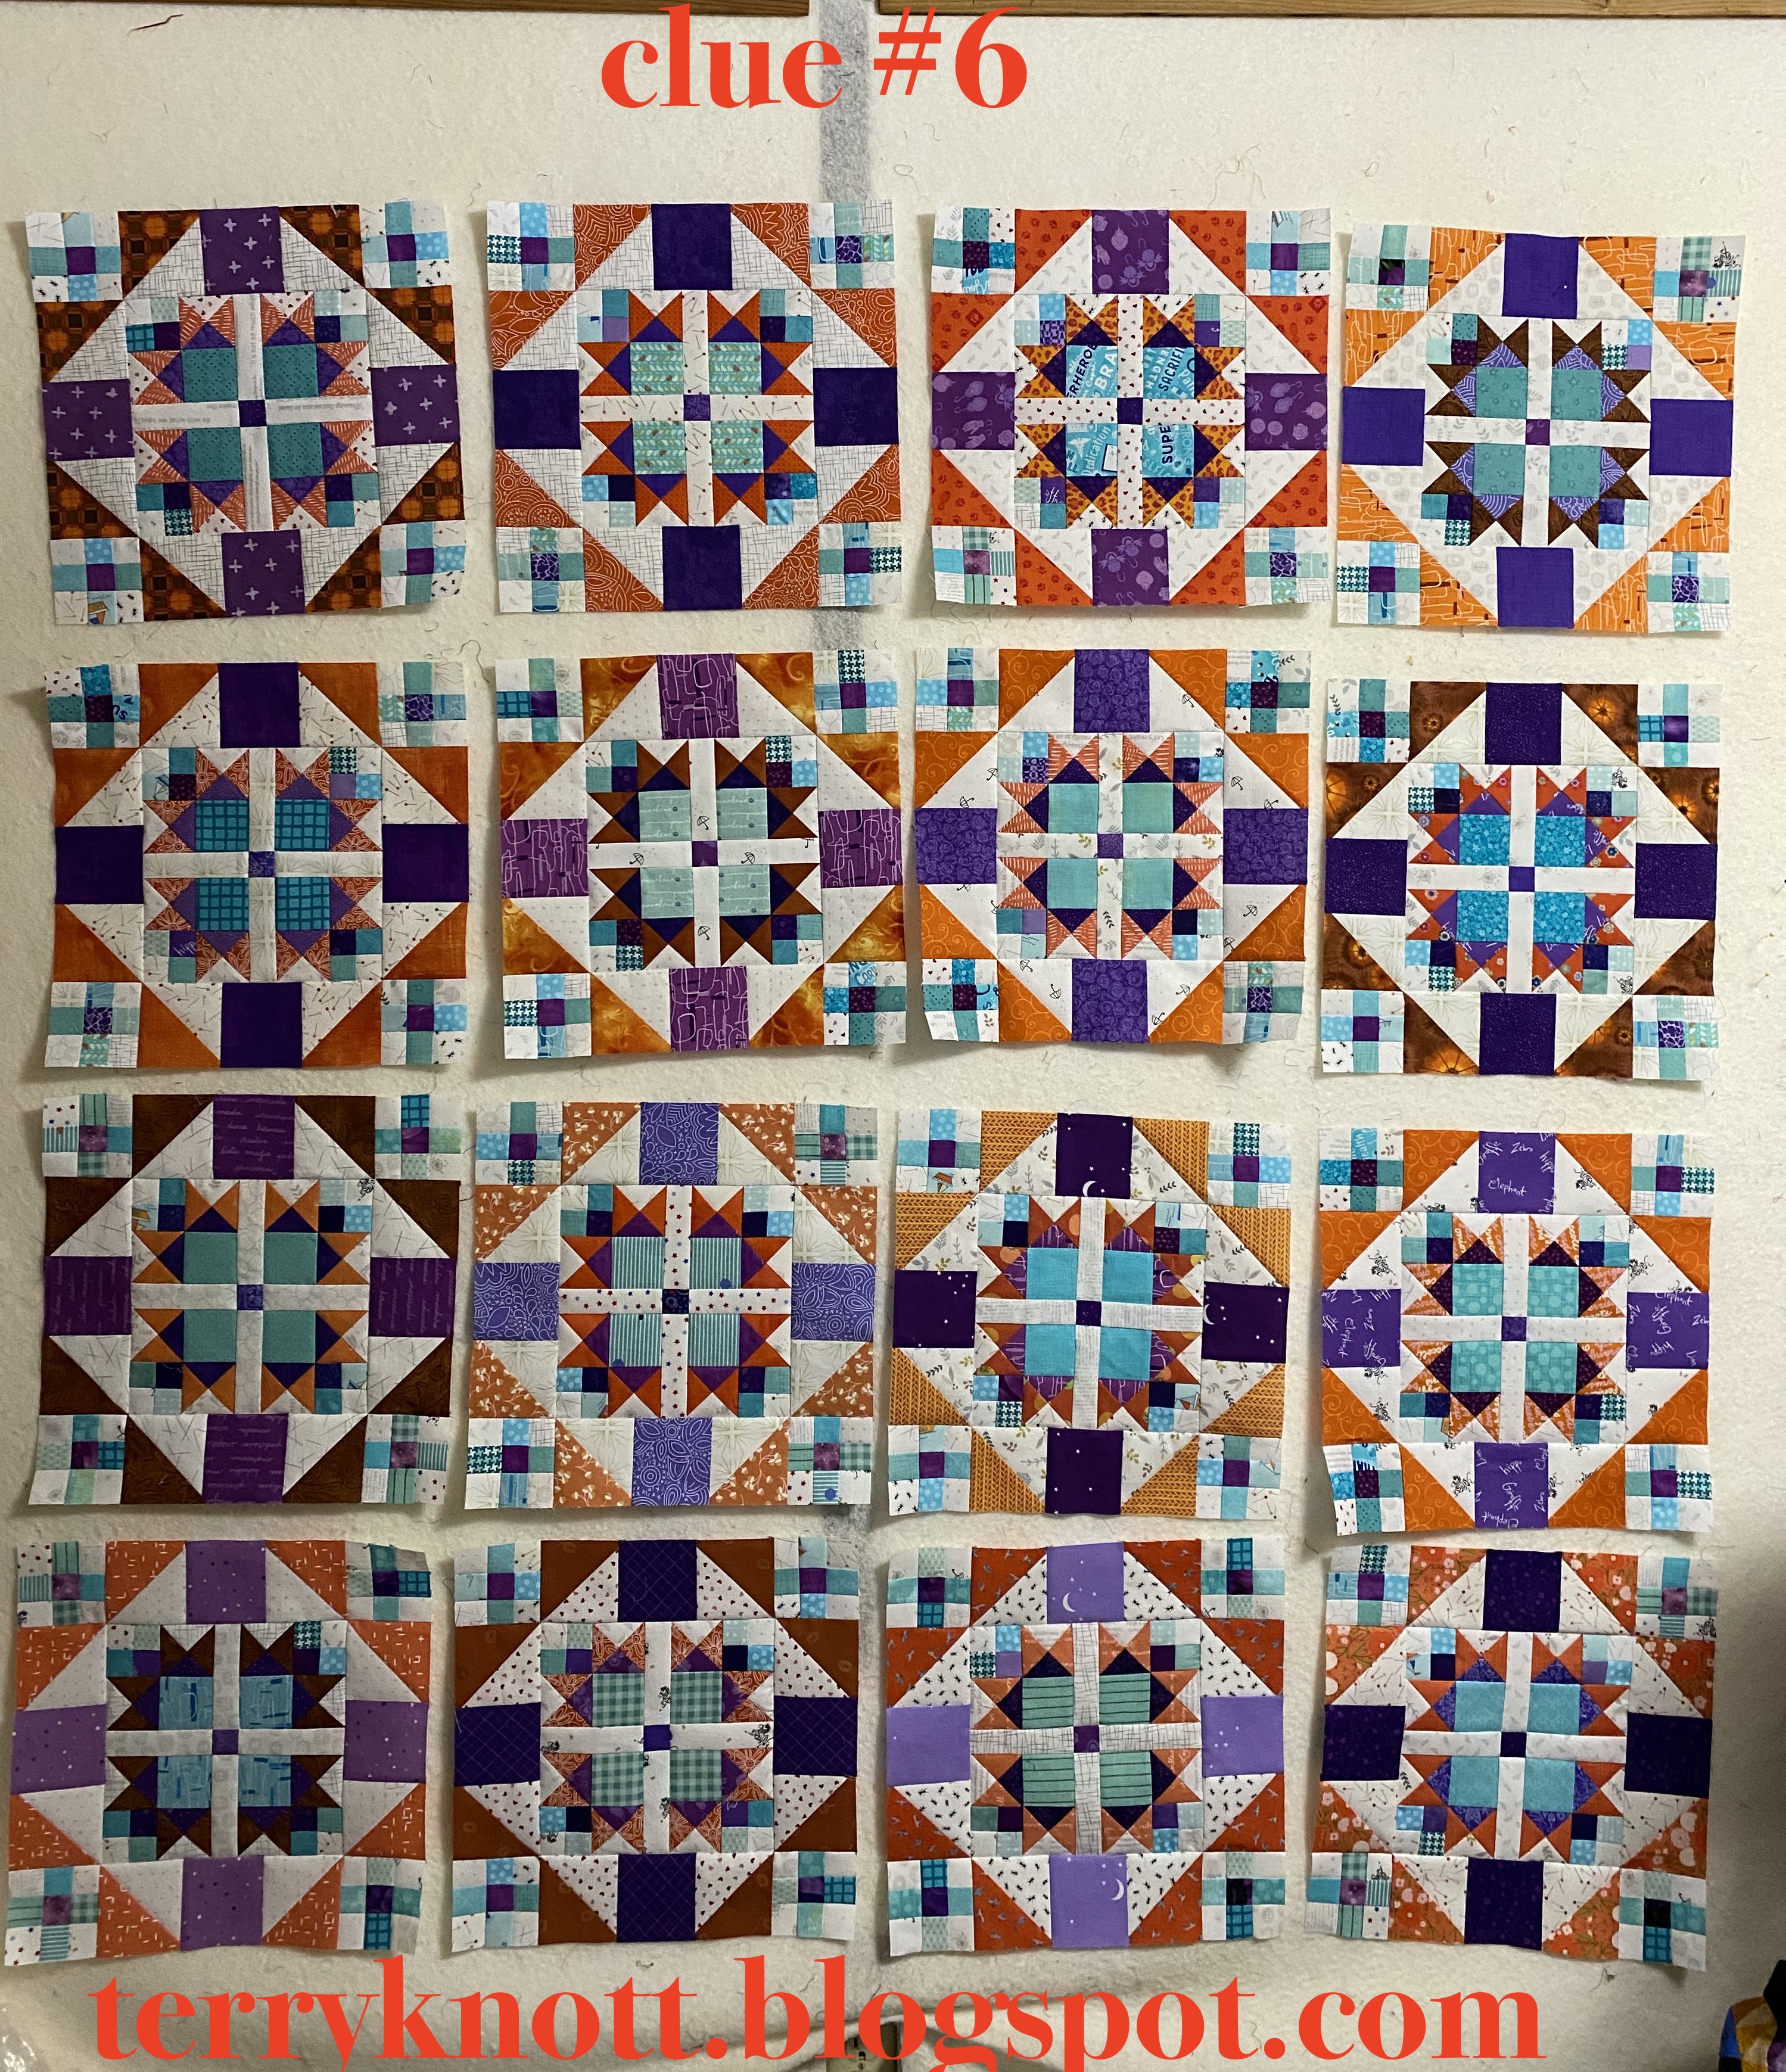
| View of the project at the end of clue #6 |
My goal over the next week will be to add the sashings to these blocks which is part of clue #7. There are a couple borders to add and then the top will be complete.
While the remaining steps are few, it will take some time to stitch the sashings to the blocks as there is a lot of point matching involved. The borders will be fiddly too.
I have sure enjoyed stitching this mystery. The more I stitch, the more I want to stitch. I'm so glad that Bonnie had us put some units together during the process. When she released the reveal, I didn't end up with a bunch of baggies full of parts!
This month, I had planned to work on three other projects to give myself a break from this project. With my brain still skipping at time, I've decided to continue working on this project until I finish the top. Since my car accident, multi-tasking is not in my wheelhouse!
Because I've used scraps in this project, I'm linking to Cynthia at Oh Scrap/Quilting Is More Fun Than Housework.


3 comments:
Love your quilt top (almost). The ant fabric is great, I would do that. I’m almost ready to assemble the bog blocks. I substituted pink for the orange.
Pretty blocks. Looking forward to seeing your progress with this beauty
Wow, look at you go! Your oranges, purples, and turquoise are beautiful together, Terry. Looks like you are doing really well with this mystery!
Post a Comment