 |
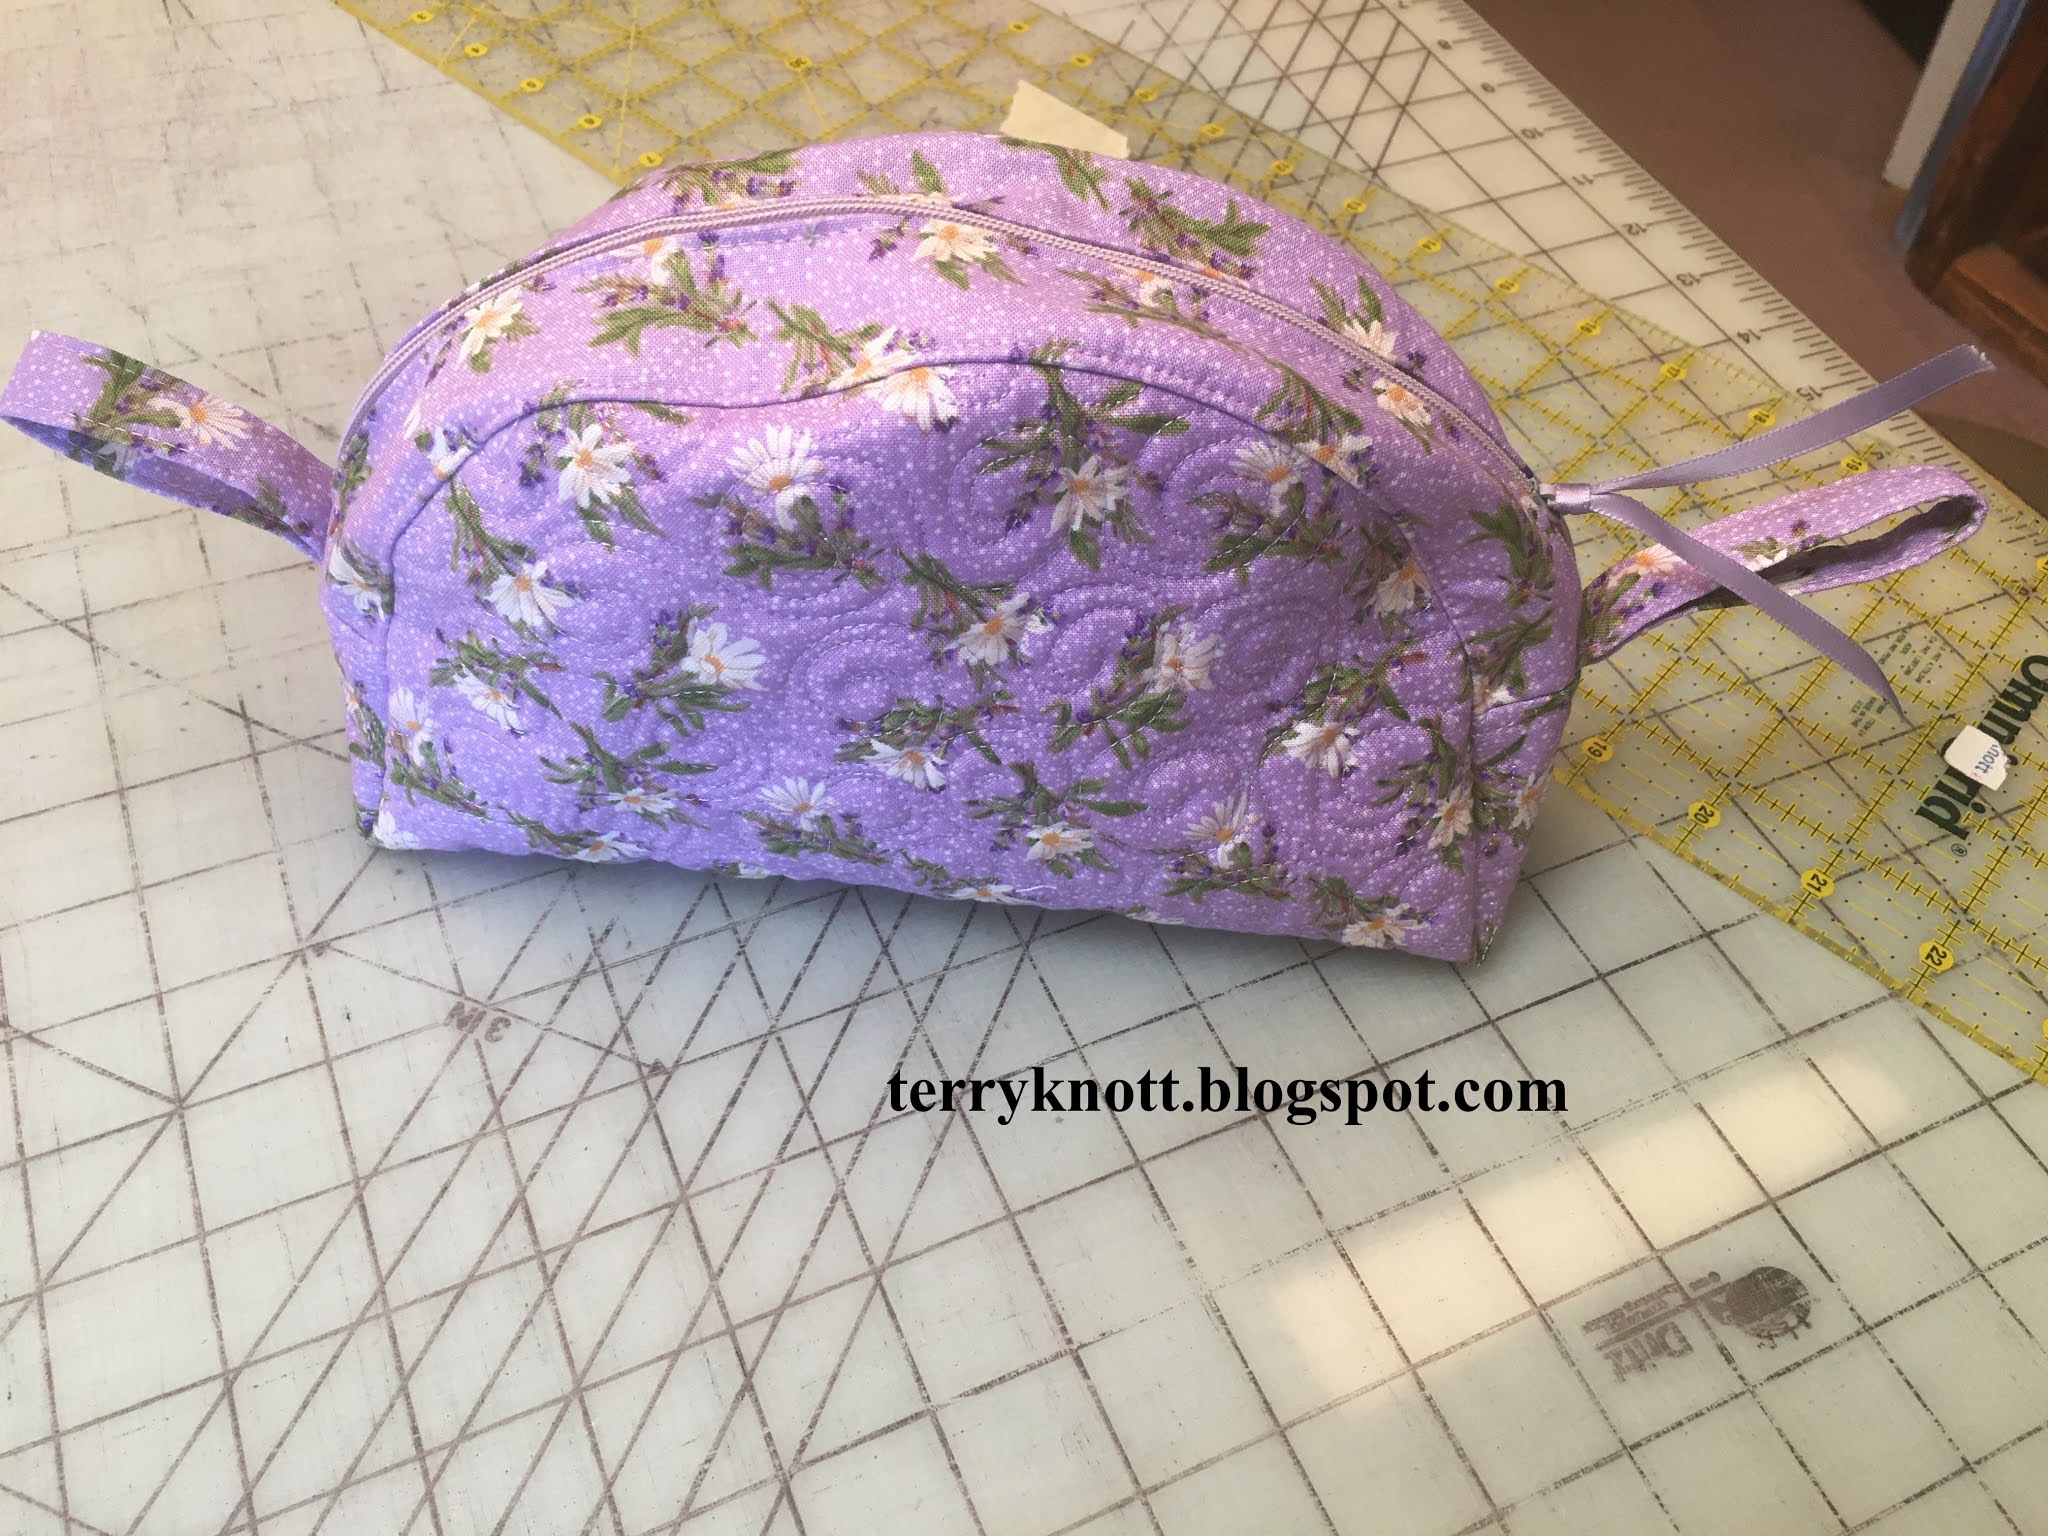
| First completed bag |
Sunday, I started stitching the Camelback Carryall bags. This is a Janine Babich pattern. I've had it for a number of years. I've made at least four bags; but, that was when I first purchased the pattern. The pattern calls for two fat quarters, fusible batting, interfacing, thread and a 12 inch zipper. I've had the fabrics and zippers sorted to make three bags for years in a basket. I decided this month was the month to turn the fabric into bags!
 |
| Quilting around the motifs |
The first bag that I stitched helped me get reacquainted with the pattern, the sewing terms as well as the process of sewing a bag. I quilted the fabric with an overall circular free motion design.
The bags, that I had previously made, had tabs which I found helpful to open and close the zipper. I decided to include the tabs on these bags. I also liked using the tabs as a handle to move the bag. The pattern calls for ribbon tabs; but, I prefer the fabric tabs.
For the second bag, I quilted around the cats. If you want to improve your free motion skills, quilting around the motifs in a fabric is a good skill building process. Between the motifs, I stitched some loops.
 |
| Zipper placket of second bag |
 |
| Quilting detail of the second bag and lining |
When I layered my fabrics to quilt the body of the bag, I laid the bag template on the fabrics and traced a line about three eighths of inch larger than the template. I have found that quilting draws the fabric up about that much. I also have found that it is faster to quilt a smaller item and easier to "reclaim" the leftover fabrics if there aren't a bunch of quilting stitches in the layers!
 |
| Quilting in the body of the third bag |
I forgot to insert the tabs which I made a little shorter and a little wider on the second bag, when I stitched the zipper placket to the bag body. I stitched them in place like a belt loop instead. I like the look of stitching the tab into place before adding the placket.
 |
| Quilting in the lining of the third bag |
Many people avoid machine quilting. This is the part of the process I enjoy the most. I don't do a lot of quilting with my walking foot. This year, I decided that I would play more with the walking foot. The stitch length is sure easier to achieve consistency when the feed dogs are pulling the fabric through the machine as opposed to my hands moving the fabric though the machine!
 |
| Three finished bags |
For all of the bags, I added a piece of ribbon to the zipper pull to make opening and closing the zipper an easier task. These ribbons came from the guild free table. The zippers are from my grandmother's stash. The prices marked on the zippers ranged from 15 cents to 75 cents! The fat quarters were given to me so the only "real" cost of materials in this project was the thread!
During Zoom sews with a couple of my small groups this week, I finished the three bags. I used one and half yards of fabric which brings my total use of stash this year to negative two yards. This is my fifth finish this quarter and goal number eight on my first quarter list.
It is great to finish the three bags. Likely the bags will become vessels for holding gifts. My granddaughters would like bags one and two. My teacher daughter would like bag three. Now. . .what to put in the bags? I like them all. They were fun to stitch and it was fun to try different techniques on each bag. I imagine that I'll make more of these bags as I think that they would make good hostess gifts. For now though, I'm happy to have emptied a little project bag!
I've the selvage bag yet to make to meet goal number one for March. I may stitch that soon. I am planning to finish paper piecing the green string blocks for the Rainbow Scrap Challenge next.
4 comments:
Those bags are going to be so handy for the girls to keep things in for when they come over to sew with you.
I hope the girls will enjoy the bags, Luann. My fingers are crossed!!!
Those bags would be great to make and have on hand for gifts.
Your granddaughters will love theirs!
I do hope that the granddaughters enjoy their bags, Janice!
Post a Comment