 |
| Cord that I used to make "chain" |
I unwound one of the cords. I then peeled off some black threads and some white threads. I remembered seeing a demonstration at my Bernina dealer about winding threads together to make a cord using the bobbin winder. I experimented and then I googled twisted cord. I found a YouTube video. It wasn't long before I had made my cord.
 |
| The practice grommet and the crimping tool |
Once I had constructed the cord, I needed to make holes in the sign so I had a way to thread the cord. I thought about making eyelets and then I remembered that I had a box of grommets from my grandmother's stash. These were small.
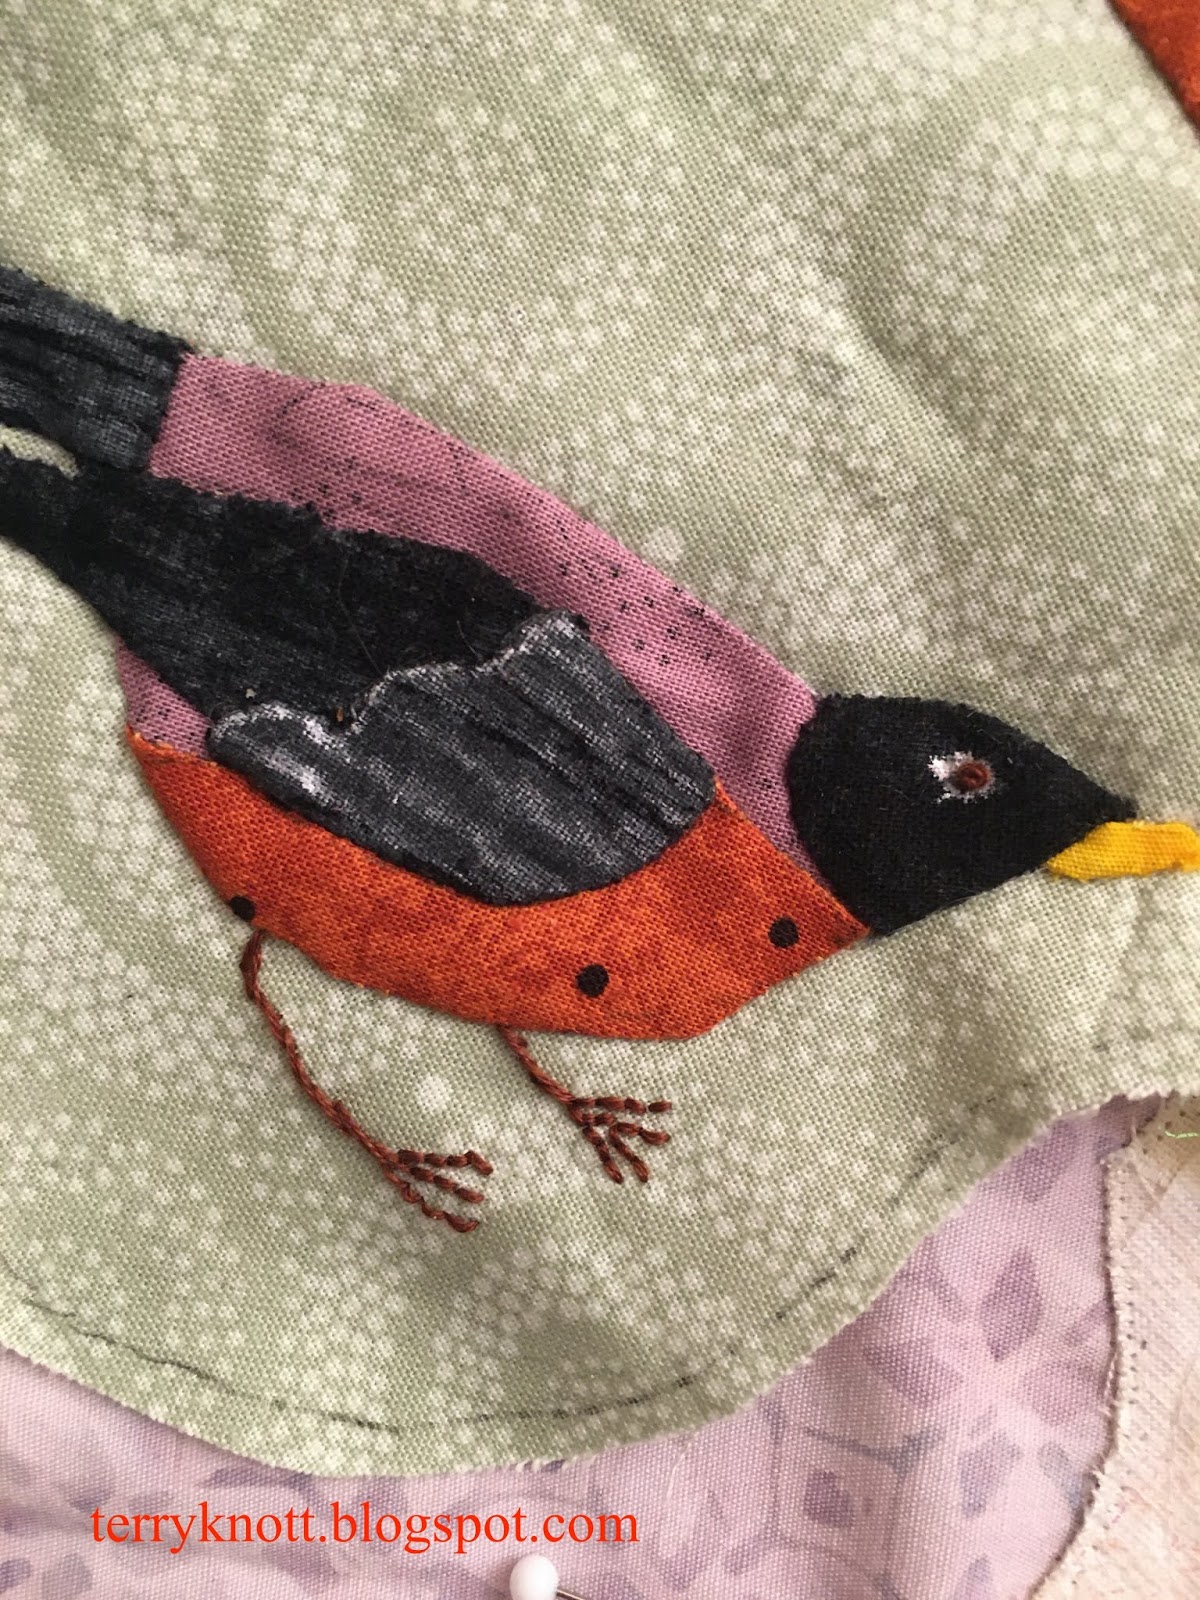 |
| Bird details |
Using the cutting tool with the hammer, I made the hole. Next, I inserted the grommet and crimped the the edge. I did make a practice one to ensure that it would fit in the quilt sandwich. I also made sure that the cord would fit in the hole.
It was scary to cut the holes. It was awesome to see the results! I was challenged with how to secure the cord because I neglected to consider how bulky a knot would be. I do have a couple knots; but, I found that stitching across the end worked great.
 |
| Steam, tea pot, cup in place |
That tea pot needed embellishment because the light color was too close in value to the background fabric. I used a decorative yarn in that area that I couched in place by hand. I added some paint to the bird wings, tail and eye. I added a French knot for the bird eye. I embroidered legs and feet too.
Then, I tackled the shape behind the cup which represented steam. I pulled a few ivory ribbons, a piece of grey tulle and cut a piece of stabilizer the steam shape. I determined the grey tulle was too dark.
 |
| Detail of the cord |
 |
| Detail of cup and team stream |
 |
| Pieced back |
After I had the top together, I auditioned the border. I had considered leaving the bottom of the quilt top borderless; but, it looked "naked" without a border so I added it. I built the fabrics for this top around the border fabric.
I had used this fabric in a previous project and I had a limited amount of pieces remaining. I liked the dark/light effect the pieces had. I did have to do a little piecing to make the border fit all the sides.
 |
| Finished top |
 |
| Ready for quilting |
I looked at the remaining chunks and pieced a back. I'm planning to finish the edge with a facing so I saved the green dot fabric I used for the saucer for that purpose. I also pulled a purple fabric to use as the sleeve.
Originally, I was going to use a layer of 80/20 batting and a thin layer of wool. When I pulled my wool batting scraps, I had a piece that was about the size of the top as well as a piece for the thin layer. I haven't tried a two layers of wool batting so I took this opportunity to see how it quilted.
I wanted the loft of the wool to make the bird stand out on the tea pot as well as the quilting to have more texture.
So far, I used grommets, made cording, made a double wool batting for firsts. I have about 28 hours of my time in this project. I'm thinking about how to quilt various sections; but, the project hasn't spoken loudly enough for me to hear what it wants yet. I do hope to finish it before our group meets for the reveal. If I don't finish, I at least hope to have most of the quilting completed!
No comments:
Post a Comment